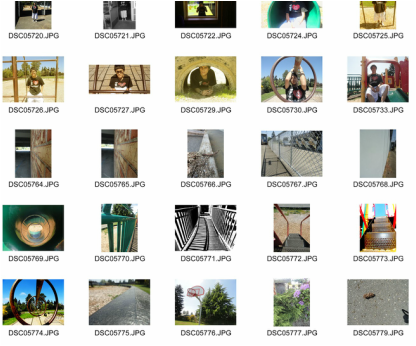
 If you have a card reader and your memory card...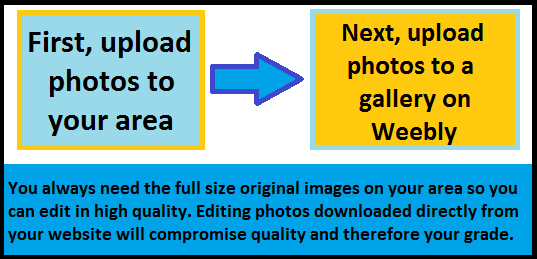 Add a title to your skills development page, followed by a gallery element. Plug in your memory stick or cable so you can access your photos. Save your photos to your area in a folder 'lighting photos'. When finished, pass your card reader/memory card to the next person. Click your gallery icon then upload ALL of your photos (except selfies or silly photos!). This will take a few minutes. Do the opposite task on a word document whilst you are waiting - you will copy and paste it when your photos have uploaded. Click the gallery at the edges so the settings come up. Change the number of columns to 5 or 6 depending on the number of photos you have so they fit more neatly onto the page. Put a title above your gallery called ' Lighting Contact Sheet'. If you are waiting for the card reader or memory card do this whilst you wait...On your skills development page, add a title 'Photoshoot' under the work from last lesson, then a text box below. Write a paragraph to explain the task using the following questions. When writing, always imagine you are talking to the examiner as that is who will read your work! What did you have to do? For this task we had to... What was the purpose of this task? The purpose of the task was to... Explain the different types of lighting that you tried and which ones you found most effective. Give reasons why they were effective. I experimented with different lighting techniques such as... The techniques I found most effective were.... because... Were there any lighting techniques that you found difficult or less effective? Explain your answer. Something I found difficult was... because... Did you have any issues with team work? If so, what were they and how did you overcome them? As a team we.... You will repeat this task for homework - what will you do differently in order to produce better photos? Explain your answer in detail. In order to do better next time, I will...  This lesson you are learning how to create a contact sheet and how to edit the brightness and contrast of your photograph.
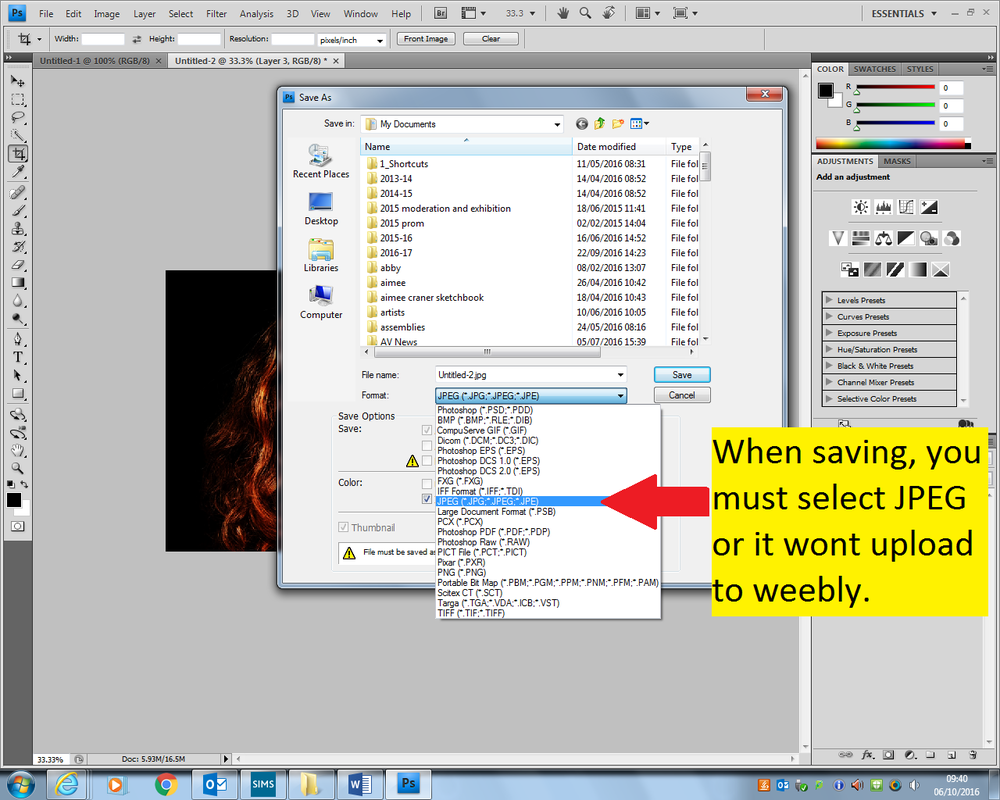
 Open Photoshop then go to Open... then select one of your lighting photos... Basic Edit the brightness and contrast of your image to enhance the lighting and/or shadows. To do this, go to image, adjustments, brightness and contrast Advanced As well as this, experiment with what happens when you alter Levels and Curves. To do this you also need to go to image, adjustments then Levels or Curves. When you are happy with your adjustments, please save your work to your area. Make sure you select the file type JPEG otherwise weebly wont understand the file type. Next, go back to your portfolio, and under the gallery, add a title 'Edited photo' then upload your picture into a large image element underneath. You might want to add the 'before' picture too so that the examiner can see the changes you have made clearly. How to save as a JPEG on photoshop. |


| ADVANCED EDITING Next, select another photo to edit and open it in photoshop. Go to the layers box, then right click and duplicate the later. Desaturate the top layer ( go to image, adjustments, desaturate) then alter the brightness and contrast of this layer only. click the eye icon on the left of this layer to hide it, then click the background layer so it is selected. Alter the hue and saturation, and the brightness and contrast so you have a colourful/bold portrait on the background layer. un-hide the top layer by clicking the eye again, then select this layer so it goes blue. Using the eraser tool on the tool bar, rub out sections of the black and white portrait to reveal the colour underneath! Save as a Jpeg then upload under a title on your skills page 'Going for gold: Colour Splash editing' |  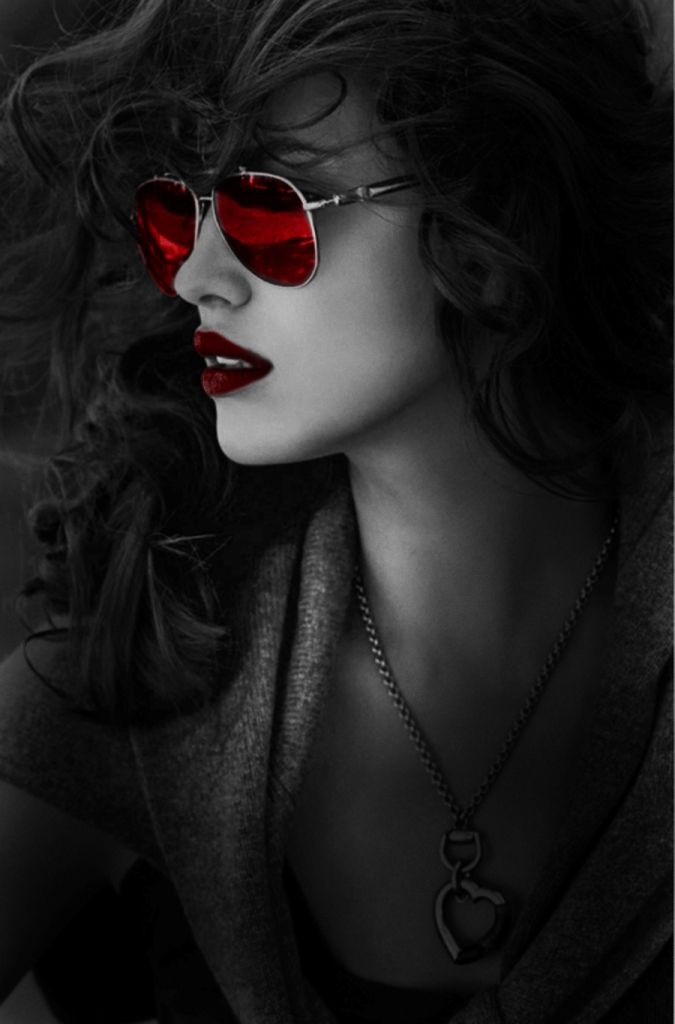 |
Any time you do a going for gold task, put the writing/titles in GOLD!

Your homework this weekend is to take at least 15 photos of the same person using different types of lighting. This is due Tuesday.
The purpose of this is to build on what you have learnt today and practice ways of lighting a portrait photograph.
Remember to think about:
- different types of lighting
- composition
- facial expressions
- body position
- close up/full body/unusual angles etc.
- Background and location - indoor/outdoor plain (eg a wall) /patterned background (eg a curtain)
0 Comments
Leave a Reply.
Author
These lessons have been written by Miss Wilson.
Archives
December 2018
November 2018
October 2018
September 2018
June 2018
May 2018
March 2018
February 2018
January 2018
December 2017
November 2017
October 2017
September 2017
July 2017
June 2017
May 2017
April 2017
March 2017
February 2017
January 2017
December 2016
November 2016
October 2016
September 2016
Categories
All
Component 1
Coursework
Skills Development
Year 10
Year 11
Year 12
Year 13
 RSS Feed
