
You don't always have to edit an image with photoshop... Sometimes you might choose to manipulate a photo by hand
For example:
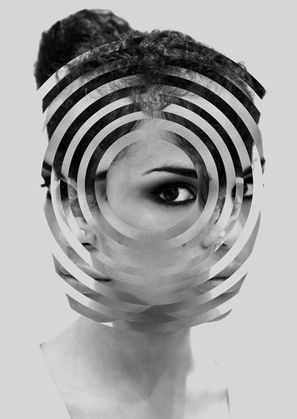
- cut up and rearrange an image
- Cut up photos and piece different images together
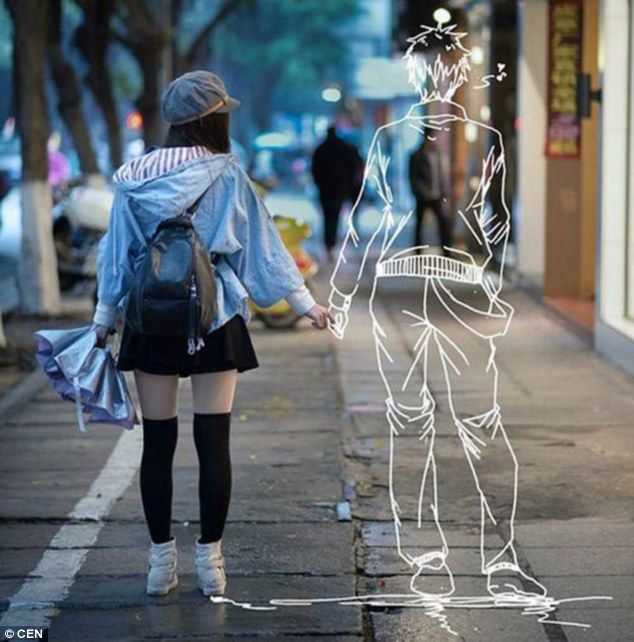
- Draw on a photo
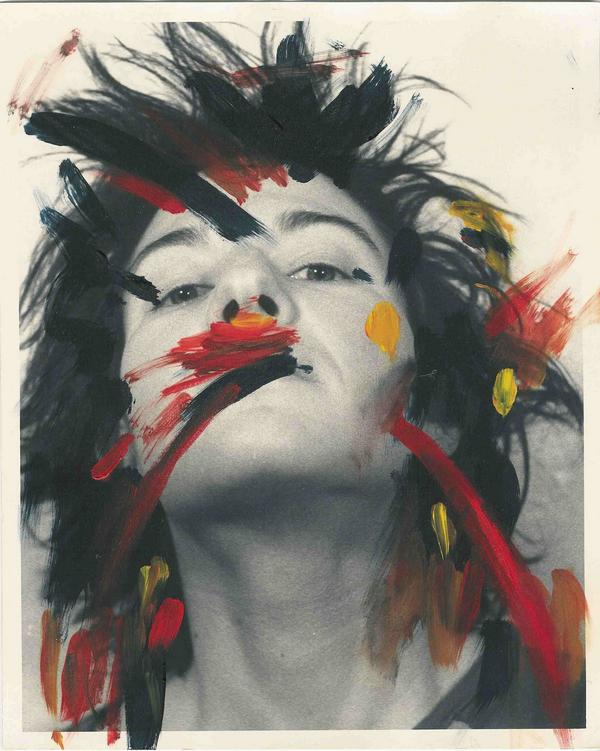
- Paint over a photograph
- Burn an image
- Write on an image
- Scratch into the background
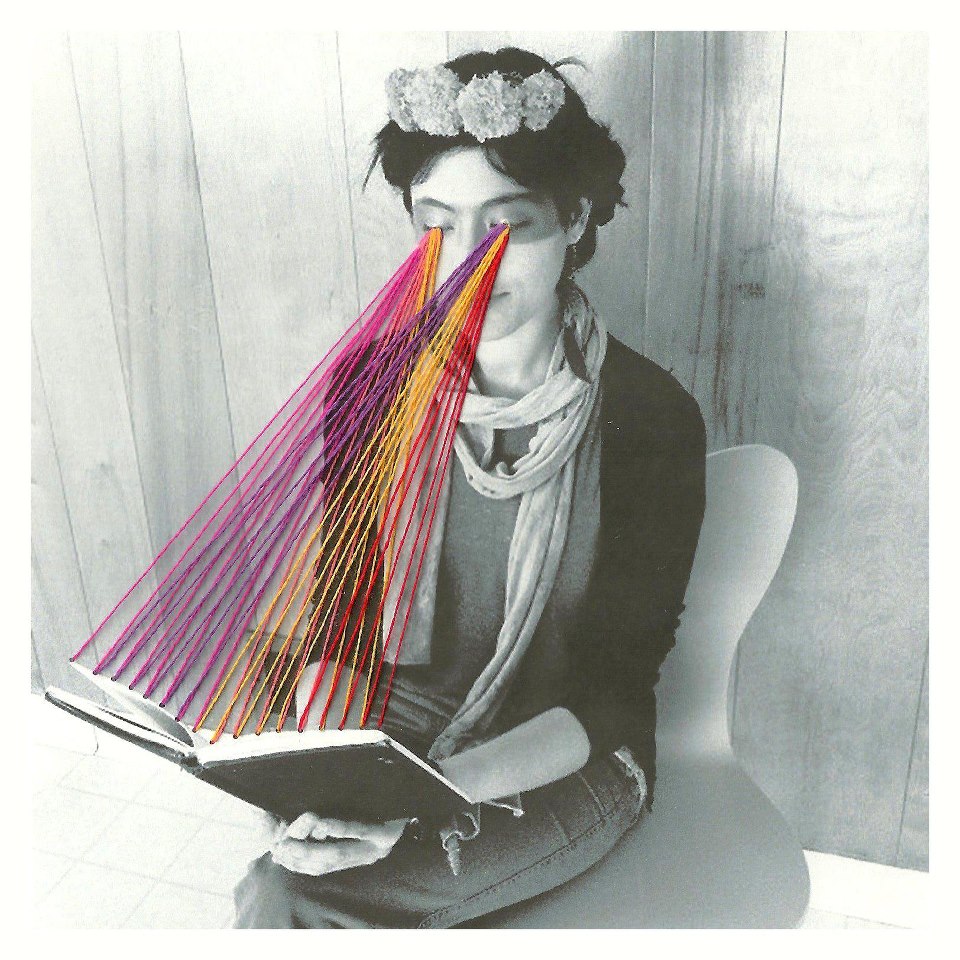
- Sew into a photograph
- Cleverly fold a photo - origami style!
- Sculpt with photographs and then photograph them
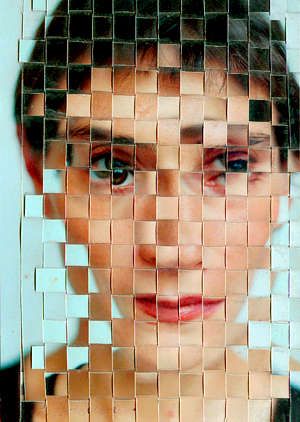
- weave a photo
The list is endless!
One of the things to consider is the type of paper you print onto - normal paper vs glossy photo paper will create different effects. Whilst experimenting, we will scan your completed images in to upload to Weebly, however if you choose to take this further, you would need to keep a sketchbook alongside your website to present these in.
- cut up and rearrange an image
- Cut up photos and piece different images together
- Draw on a photo
- Paint over a photograph
- Burn an image
- Write on an image
- Scratch into the background
- Sew into a photograph
- Cleverly fold a photo - origami style!
- Sculpt with photographs and then photograph them
- weave a photo
The list is endless!
One of the things to consider is the type of paper you print onto - normal paper vs glossy photo paper will create different effects. Whilst experimenting, we will scan your completed images in to upload to Weebly, however if you choose to take this further, you would need to keep a sketchbook alongside your website to present these in.
|
|
|

|
Find examples of as many different ways of altering a photograph when it is printed on paper... find images of all of the techniques as you can think of. Create a collage of ideas on a powerpoint - images and 'how to' descriptions.
By the end of Ms Kkama's lesson, you will need to have taken and printed off a headshot photograph of YOURSELF - 8 copies of the same photo (half a page each). Black and white or colour is fine - up to you. |
|

The brief: Distortion
Task 1: RESEARCH and PLAN!
carry out research into ideas for editing a photograph by hand to respond to the brief creatively. Plan for two hand manipulated edits.
Task 2: EXPERIMENT and LEARN!
manipulate 8 copies of the same image to demonstrate a range of the different techniques you could use.
Task 3: PLAN 2 OUTCOMES - NEW PHOTOS AND EDIT
Apply what you have learnt previously to create two A4 hand manipulated photographs in response to the brief. You may choose to edit your photos on photoshop before printing them.
Task 4: UPLOAD AND REVIEW
Upload to your Experimental Photography page, with a clear title, along with your planning and photoshoot and review:
- What are the positives of this technique? What might it be good for in the future?
- What are the negatives or limitations to the technique?
- Explain the idea behind the way you have responded to the brief. How would you move forwards from here?
