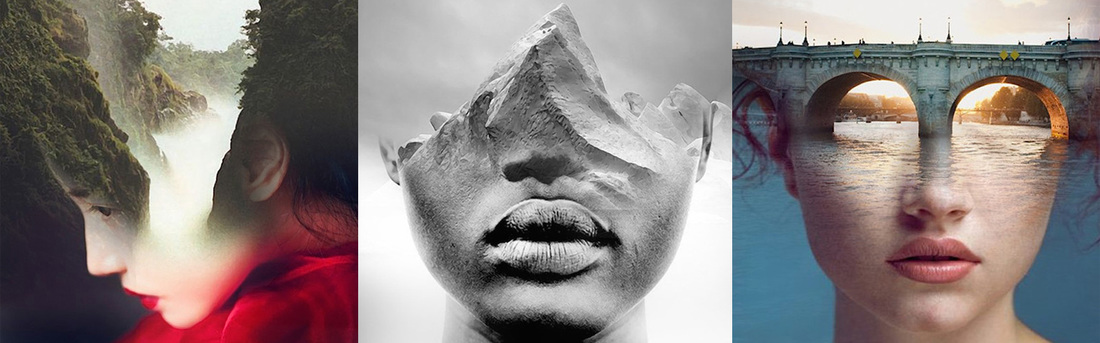
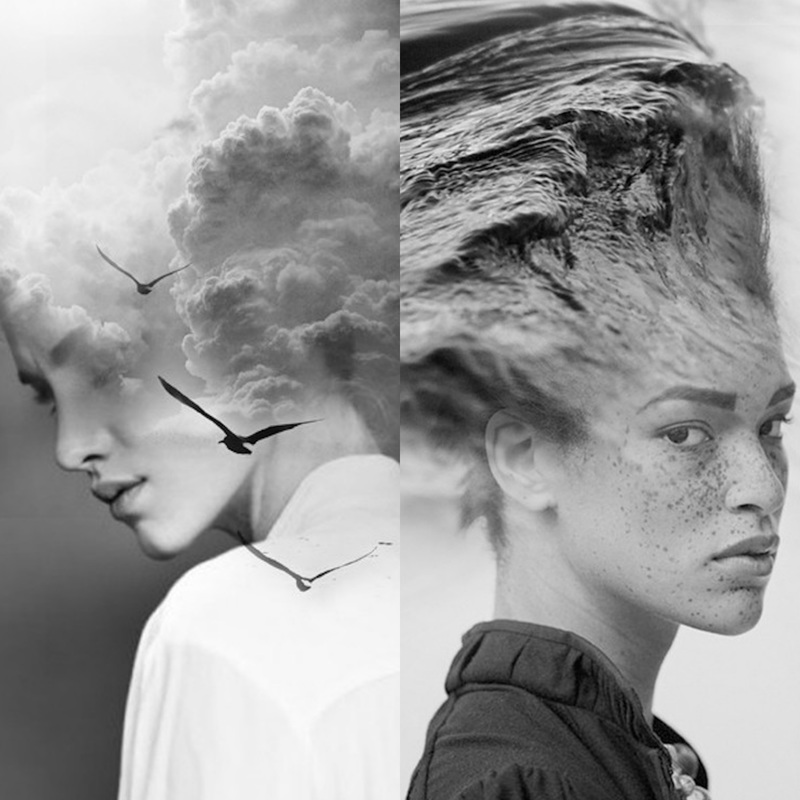
Artist ResearchIt is essential to use artists and photographers to inspire your ideas and projects. You get 25% of your marks on this, so it can make a real difference to your marks.
Always arrange your artist research with a title, text box and a selection of images. Add the artist's name as your title Save some examples of your photographer's work then upload them to your image boxes. Then write a paragraph about their work, how they create it, what inspires you about it, what ideas you can take from it etc. |
|
Contact Sheet

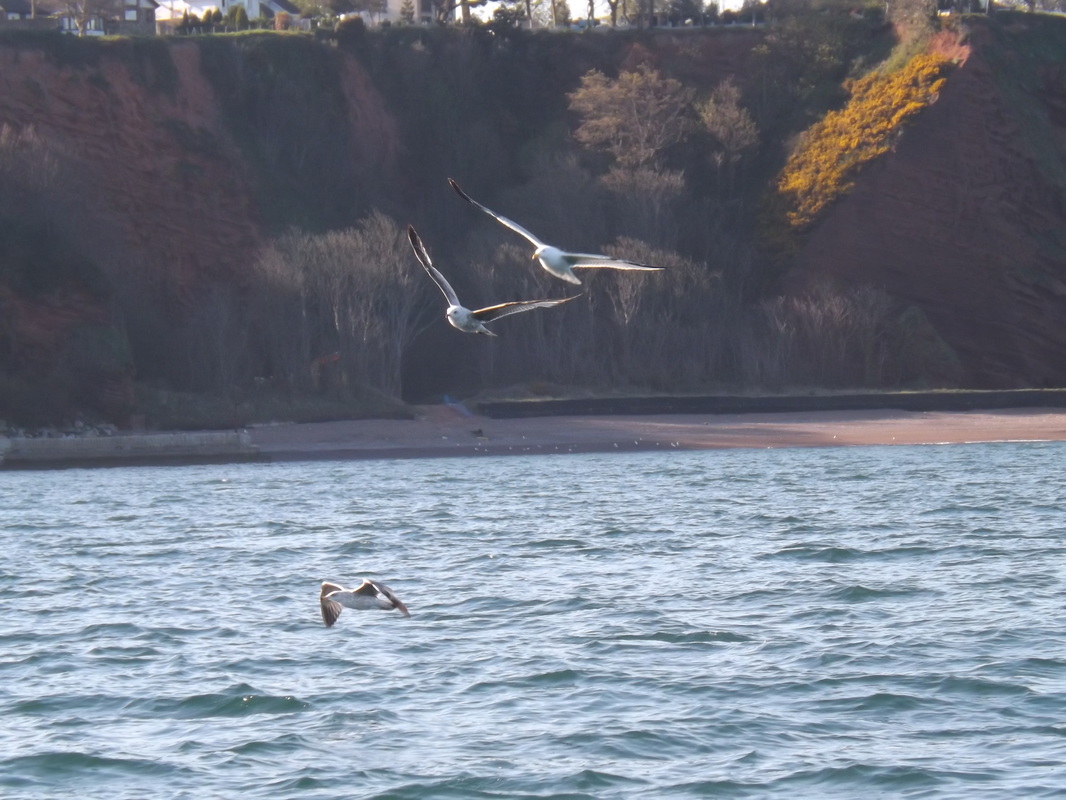
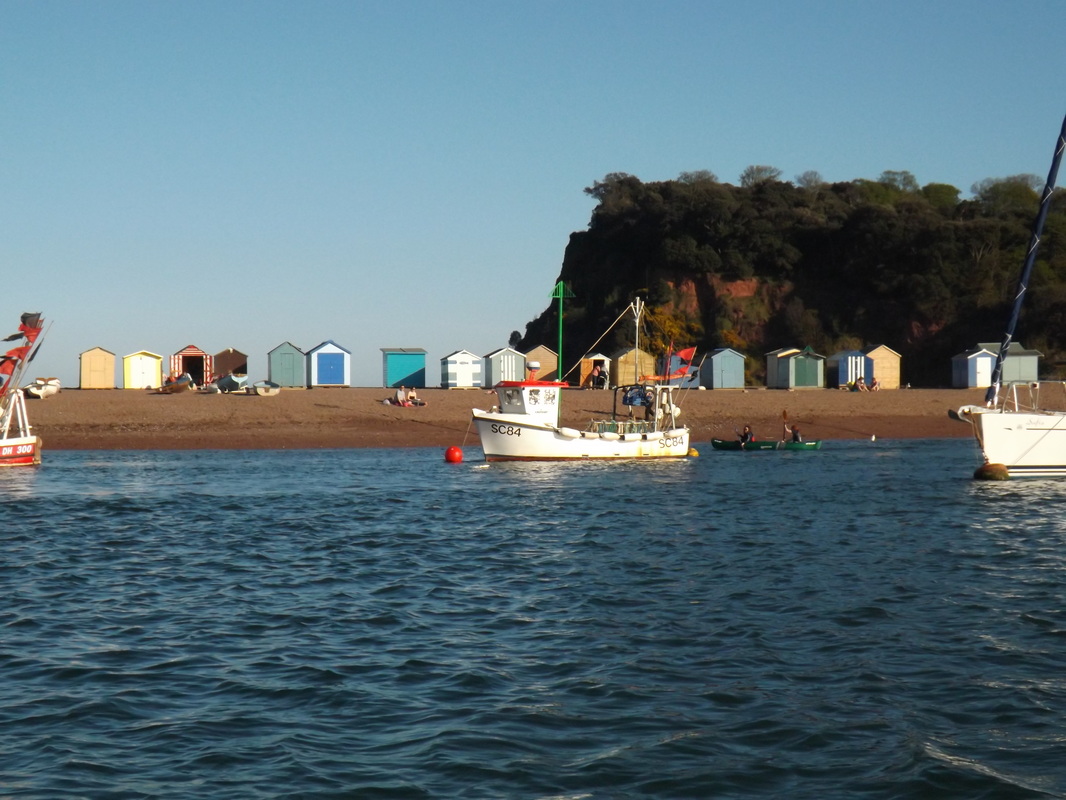
The purpose of a contact sheet is to show all of your photographs from a photo shoot - even the ones that didn't work very well - in order to show that you have been selective when choosing the photos that you work with. It also shows the variety of photos that you have taken, locations you have been to etc.
Start by adding a title of 'Contact Sheet'. Then, to create a contact sheet insert a gallery from the 'Build' section at the top of the page.
Click the edge of the gallery box and change the settings to 6 columns if you have lots of photos, or less if you don't have that many.
Next, click on add images, and select all of the photos that you want to include in your contact sheet. Your gallery will then look like the images below!
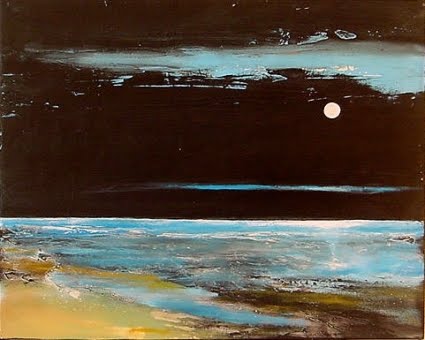


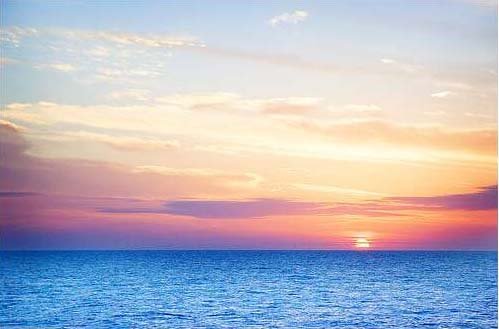
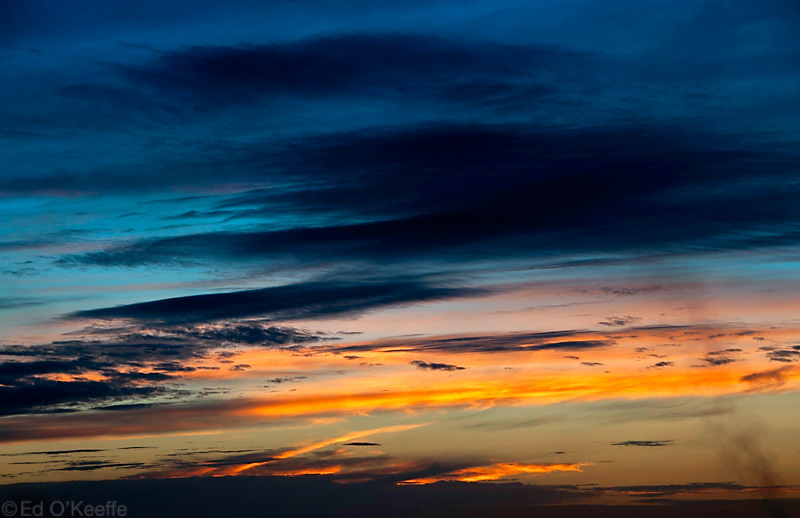
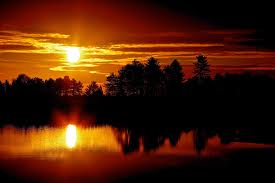
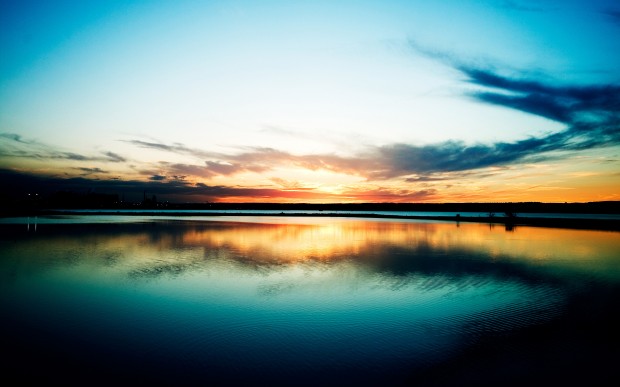
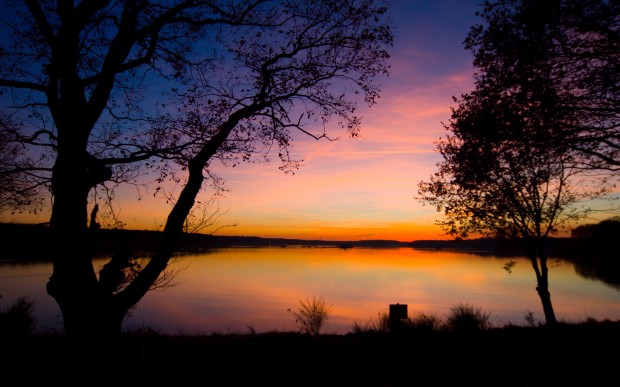
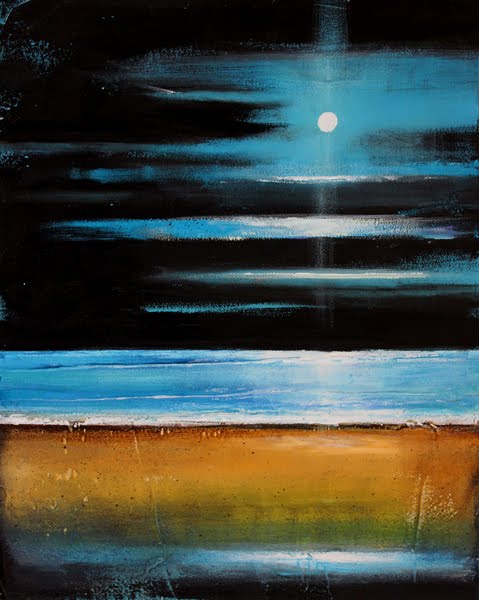
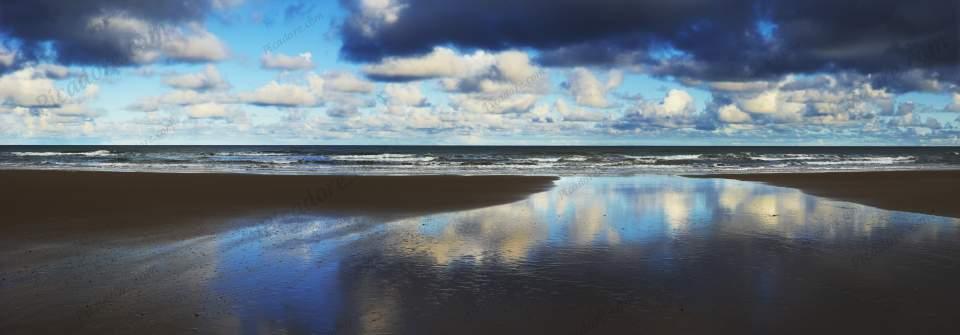
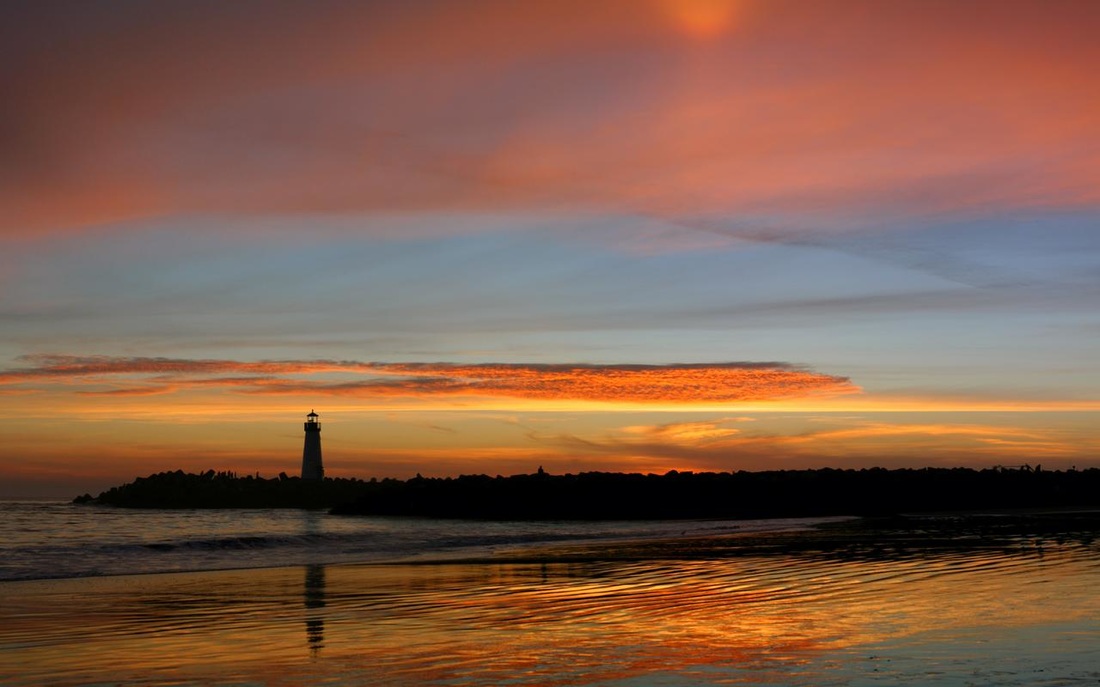

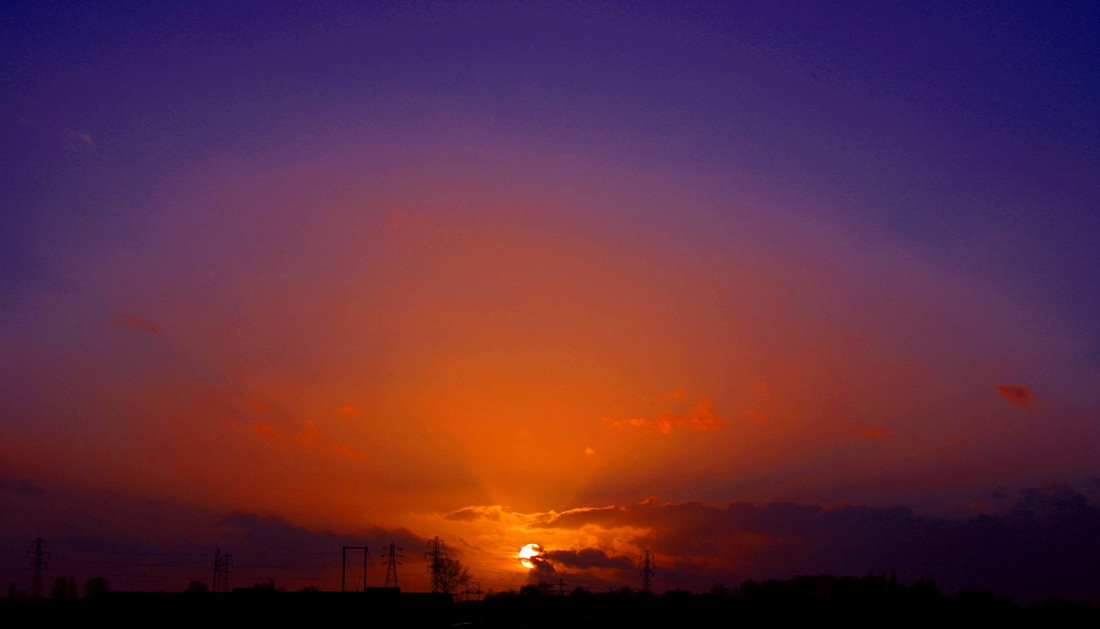
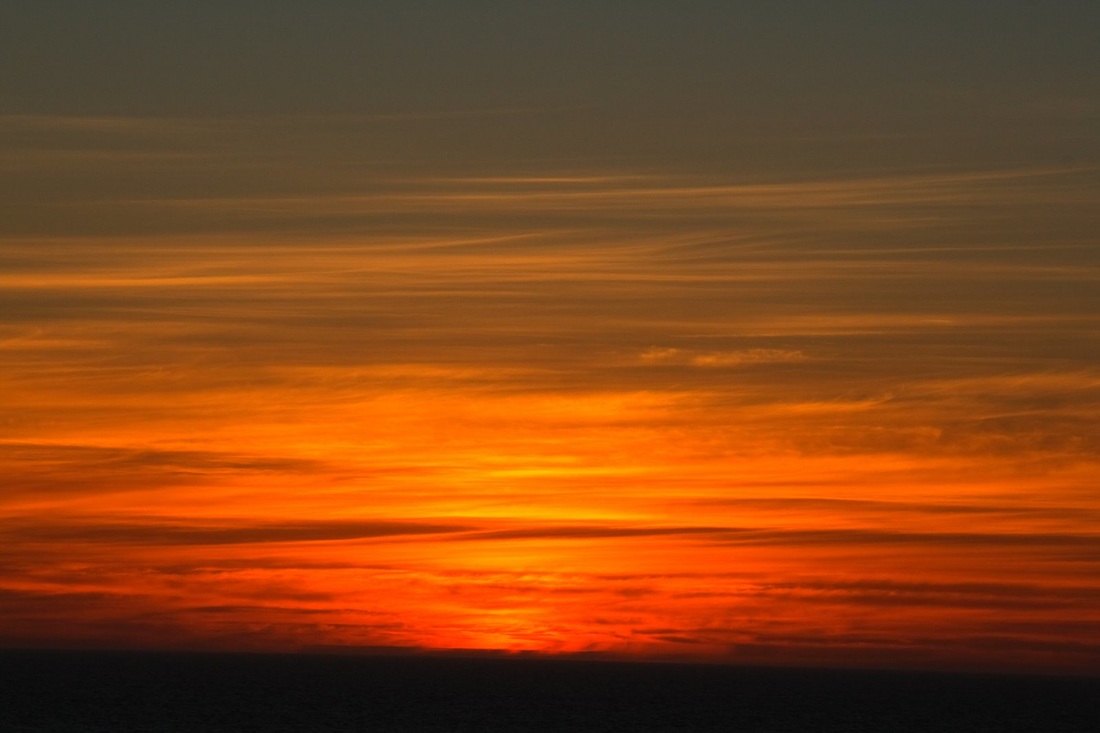
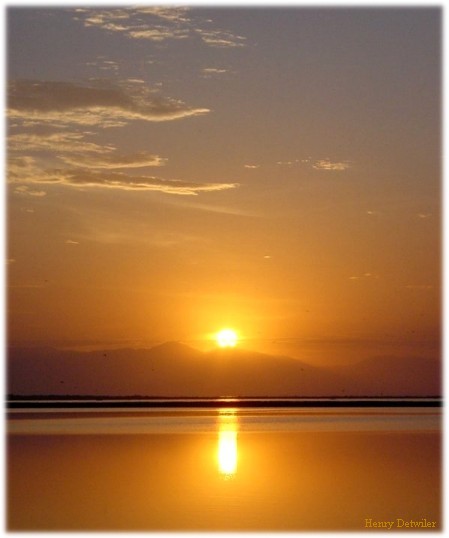
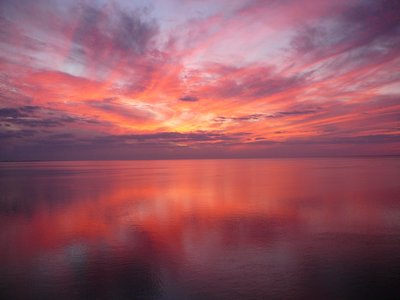
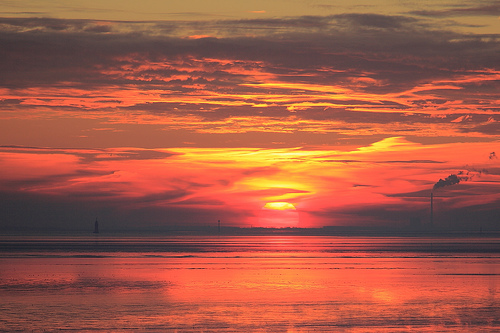
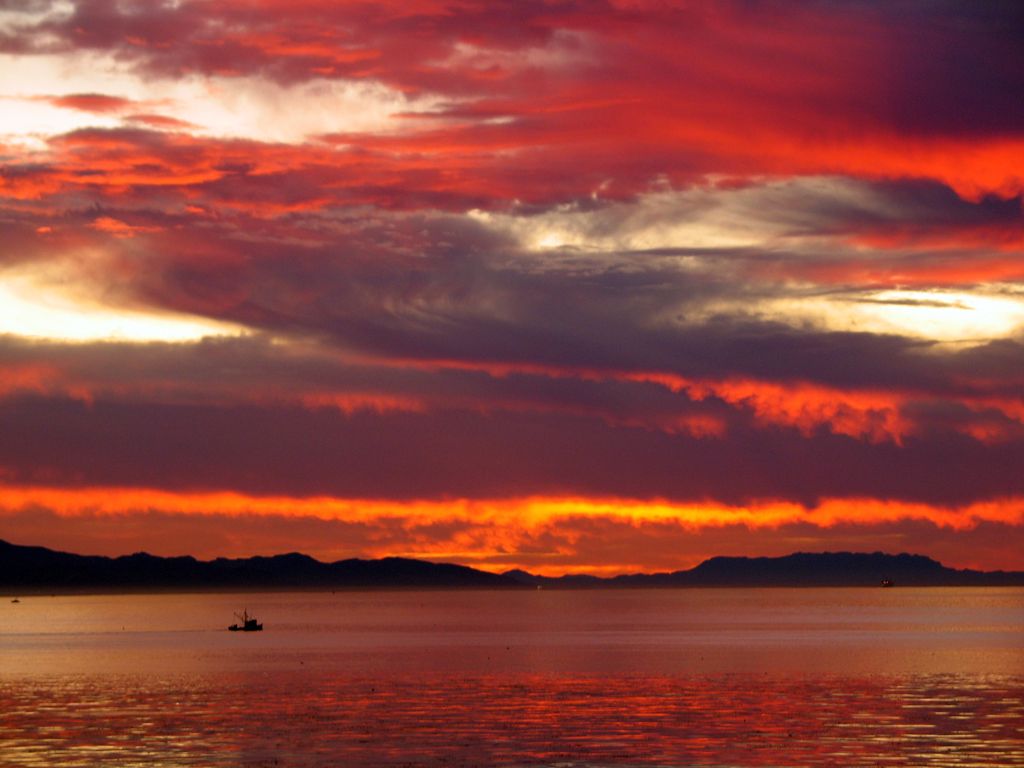

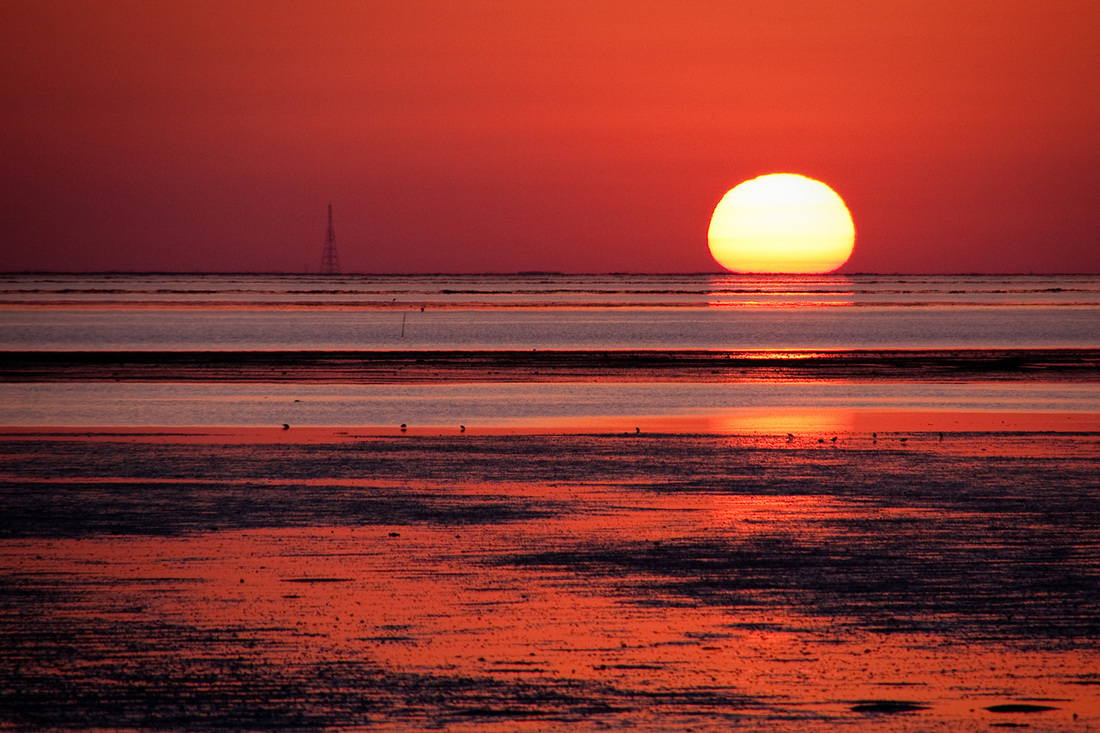
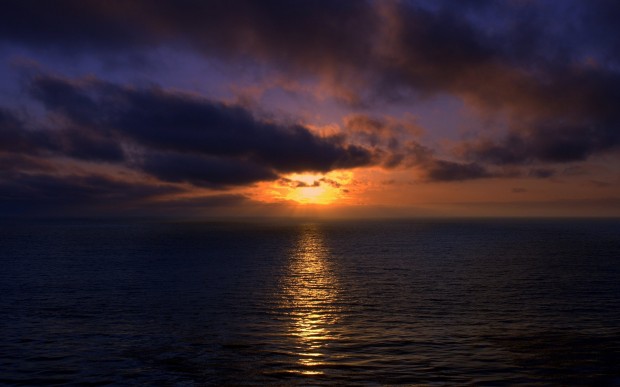
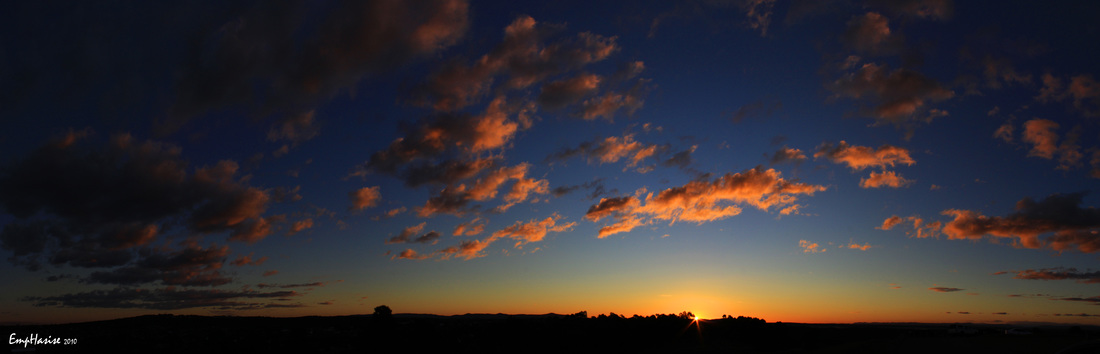
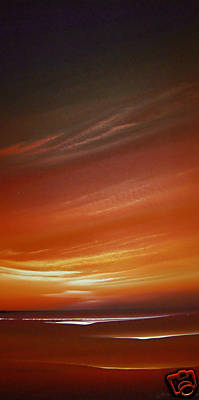
Photo Editing
When you are editing your photographs, it is a good idea to take a screenshot every now and then to show the progress of your work and the way your image changes. Just press 'PrtSc' which is at the top of your keyboard, then paste it on a paint document. Save it then upload them in order.
Add a text box under each screen shot and write a short explanation of what you did at each stage. See the examples and use the support with annotations page to help you.
Add a text box under each screen shot and write a short explanation of what you did at each stage. See the examples and use the support with annotations page to help you.
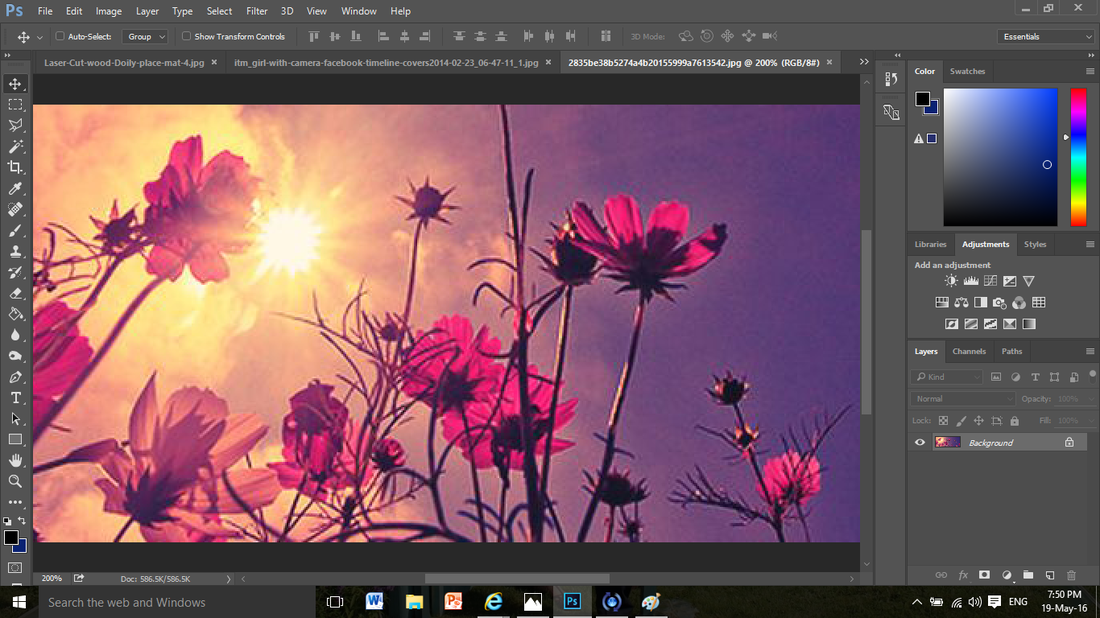
Explanation: This is my original photograph with the brightness and contrast adjusted to make it more bold.

|
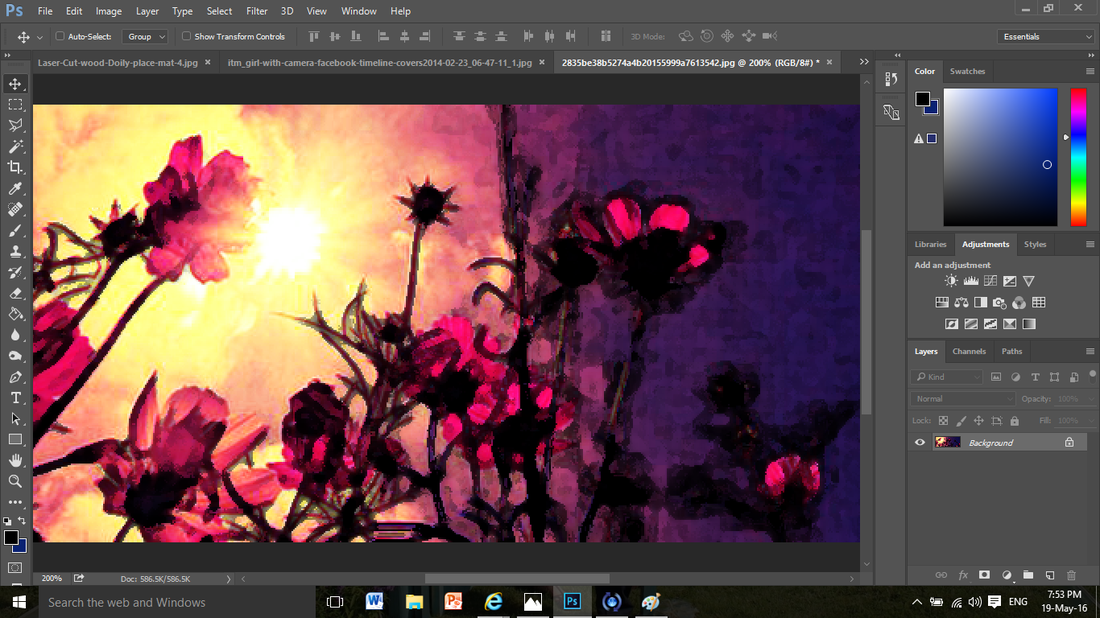
In this photograph I have altered the colours by changing the hue and saturation. This makes the image seem more surreal.
|
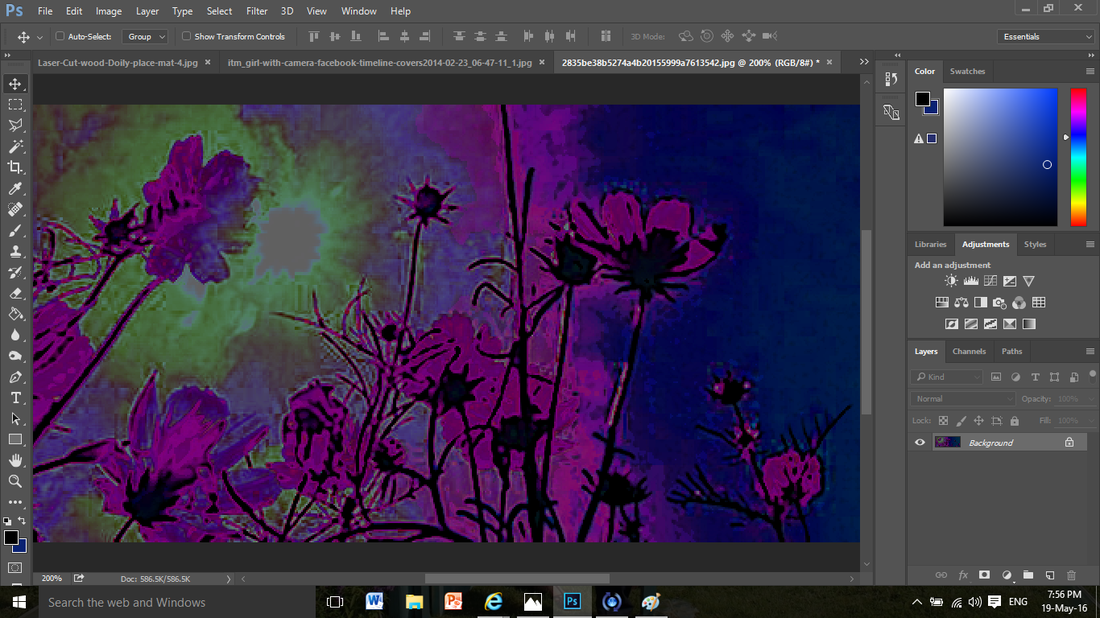
Next I experimented with different filters to see what effect I could get. I like the bold contrasting colours of the experiment on the left, but felt that the one on the right was less effective as it is a bit dull.
If you are starting something new on the same page, you can use a divider and/or spacer which is in the structure section of build, and you will get a line or space to separate your work so it is clear.
Presenting your finished photos
You should make it really clear which are your final photographs so that they aren't missed by the examiner when they are marking your work. You have 2 options here:
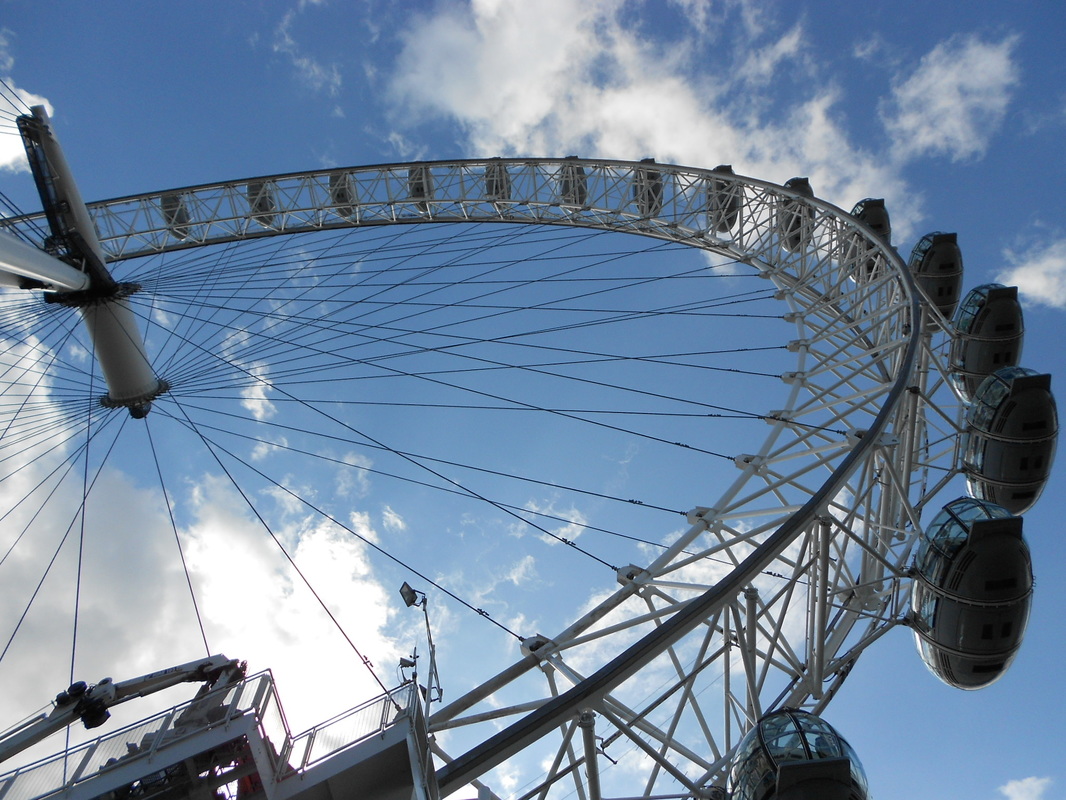
- if you just have one final photograph, just put a single image under a title of 'final image' and keep it large like below.
- if you have more than one final image you can either use a gallery of 2/3/4 images or a slideshow. See the examples below
- if you just have one final photograph, just put a single image under a title of 'final image' and keep it large like below.
- if you have more than one final image you can either use a gallery of 2/3/4 images or a slideshow. See the examples below
Single final image