 Read through the paragraphs below. These are 'Statements of Intent'. What do you think the purpose behind them is? 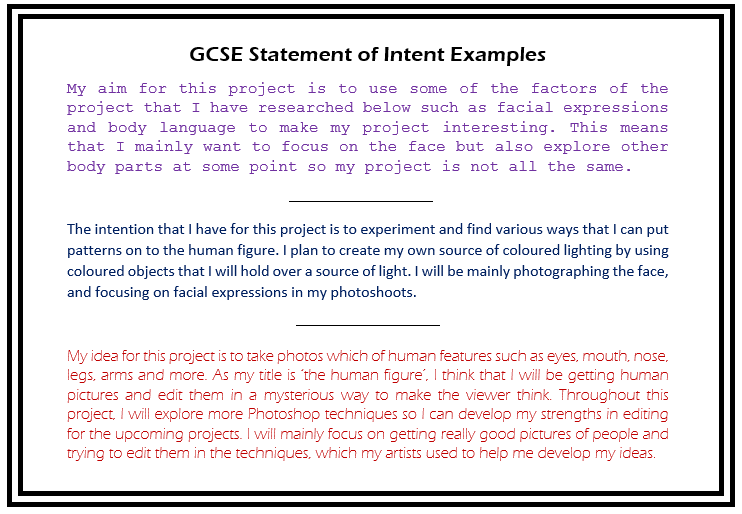  You are learning how to write a statement of intent and why it is important for the examiner to see it first! Why is it important? One of the sentences in the marking criteria is about the student 'meeting their intentions'. Did you do what you set out to do at the start of the project? By making it really clear what they were at the start, we can help the examiner to say yes you did!   To be successful, you will:
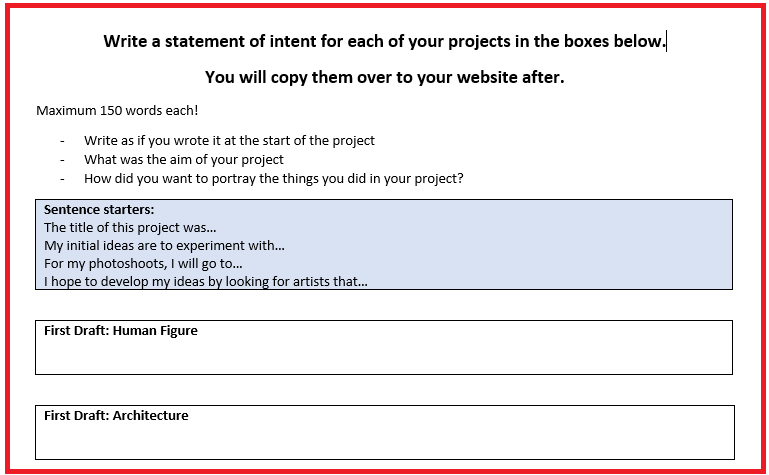
 Download the file below. You will work on a word document this lesson then copy and paste your paragraphs to your website at the end of the lesson.
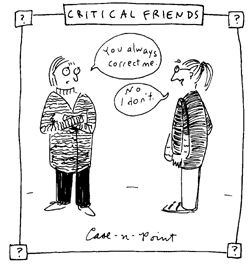
  Swap places with someone - give them feedback by reading their statements, then highlighting appropriate medals and missions. You then have the rest of the lesson to respond to your missions in purple. 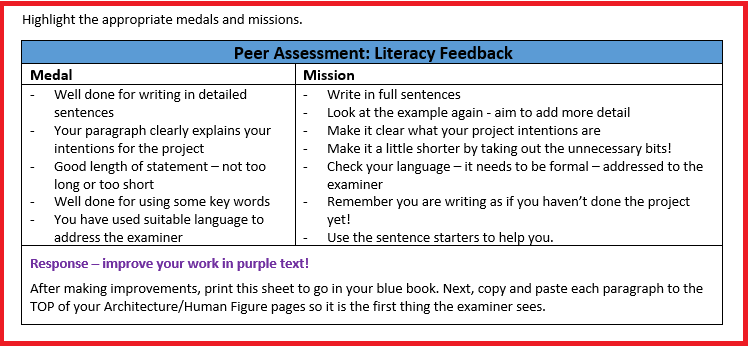  Finish off your statements if you didn't get to finish them in the lesson: Due next lesson.
0 Comments

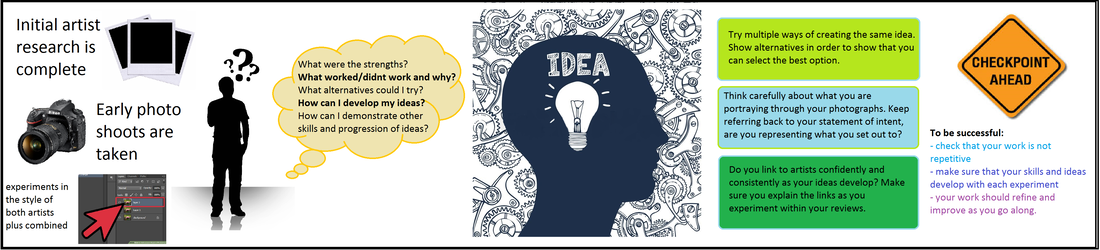
 You are learning how to refine your ideas further in response to feedback. Experiment independently with alternative ideas and techniques, working through your checklists.   
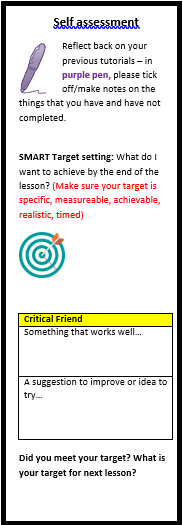
At the end of the lesson, reflect on whether you met your target, and set yourself a target for next lesson. Going for gold: What could you do for homework or in your study periods??   Read your feedback on your most recent experiments. You are going to produce 3 final images as the end to this project. Look at your website - what images will you use? How will you improve on your previous experiments, thinking about your feedback?  This lesson you are learning how to bring your ideas together in a series of outcomes.  What does a good series of outcomes look like? To be successful you will: - produce 3 final images - demonstrate the best of your editing skills so far - combine at least 2 photographers styles (3 if you are going for gold) - edit your images so they link visually - similar editing techniques, colours, compositions etc.  Work independently to produce your series of 3 outcomes, taking on board your feedback. Remember to: - Link clearly to your photographers - Use a range of editing techniques (layering, colours, cropping composition, contrast, blur etc) - Edit 3 different photographs using the same techniques - Don't use any blurry photos! GOLD: Push yourself to combine aspects of all three photographers, but make sure you are able to explain how you have done this. Upload each photo full size to your website as you finish. 
 Finished? Well done!
When your final pieces are finished and uploaded, you need to write an evaluation for the project at the bottom of the page. To evaluate, use these questions to help you: What was the title of your project and how have you developed your project inspired by it? What approach have you taken? Which artists have inspired your project and how? What have you experimented with to help you develop your ideas for the project? What is the idea behind your final series of images and how does it bring together the best parts of your project? How did you create your final series of images? What are the overall strengths of your project and why? What are your areas for development - what do you need to work on in future projects? If you need sentence starters, use these (copy and paste!), but add plenty to them. No one word answers! Explain yourself fully and expand on your answers as much as you can. The title of my project was... I have developed my own individual approach to this title by... The artists that have inspired my work most are... and... . Artist 1 has inspired my use of... Artist 2 has inspired the way I... In order to develop my ideas for this project I experimented with... After experimenting, I have brought together the best parts of my project to create my final series of images by... To create my final series of images I... I chose to work like this because... Overall, I think the strengths of the project are... because... The areas that I will need to work on in future projects are... because...  You will have your feedback on the mock next week. For now, you need to continue to work on your projects, getting them finished, annotated, making sure there are no gaps, and reflecting on anything that could be improved. If you are doing the gold project and feel you have finished everything else, you can continue to develop your work in the style of your artists through editing.

  Check: are the following tasks finished and uploaded?1. Colour theory edits 2. Colour theory powerpoint 3. Layers editing task 4. Annotations - explanations of each task (this was homework due today!)  If you are all finished and up to date, continue with editing in the style of TWO of your photographers, trying to use a range of alternative techniques in each edit. Make sure you work with different photographs so your work isn't repetitive. GOLD: Remember to vary the following, inspired by one or the other artist and be able to justify them: - Colour - Composition - Content - Lighting/shadows - Background  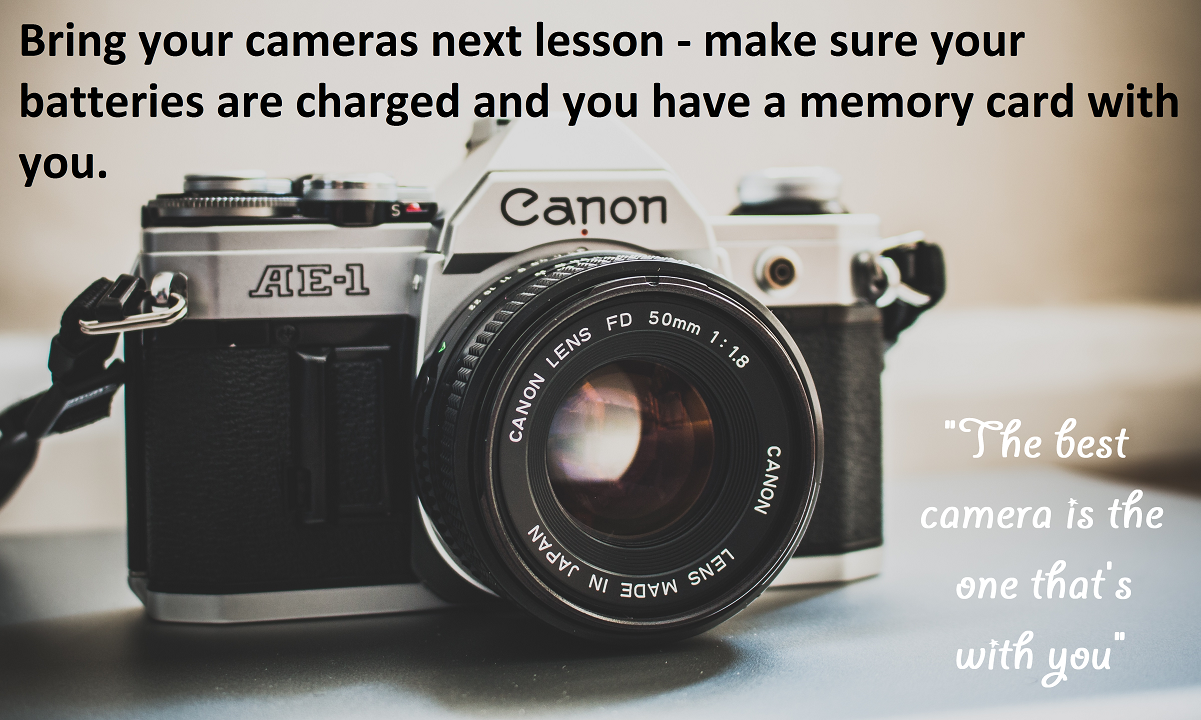  You have the first part of the lesson to complete the two artist paragraphs from yesterday. Go back to task 2 for details. Don't forget to try the going for gold extension if you want to push for higher marks!   Next you need to prepare for the photoshoot next lesson. Planning is a big part of ensuring a successful photoshoot, and contributes towards AO3 which is another 25% of your grade. Within this section of the marking criteria, you will have to record ideas in different ways, including taking photos, written work, drawings, notes and planning documents.  This is homework... unless you can finish it in the lesson! Complete the printed worksheet by hand to plan for the photoshoot next lesson. See examples below! Don't forget your camera next lesson - make sure you have charged it up and bring spare batteries if you can!
Composition planning examples: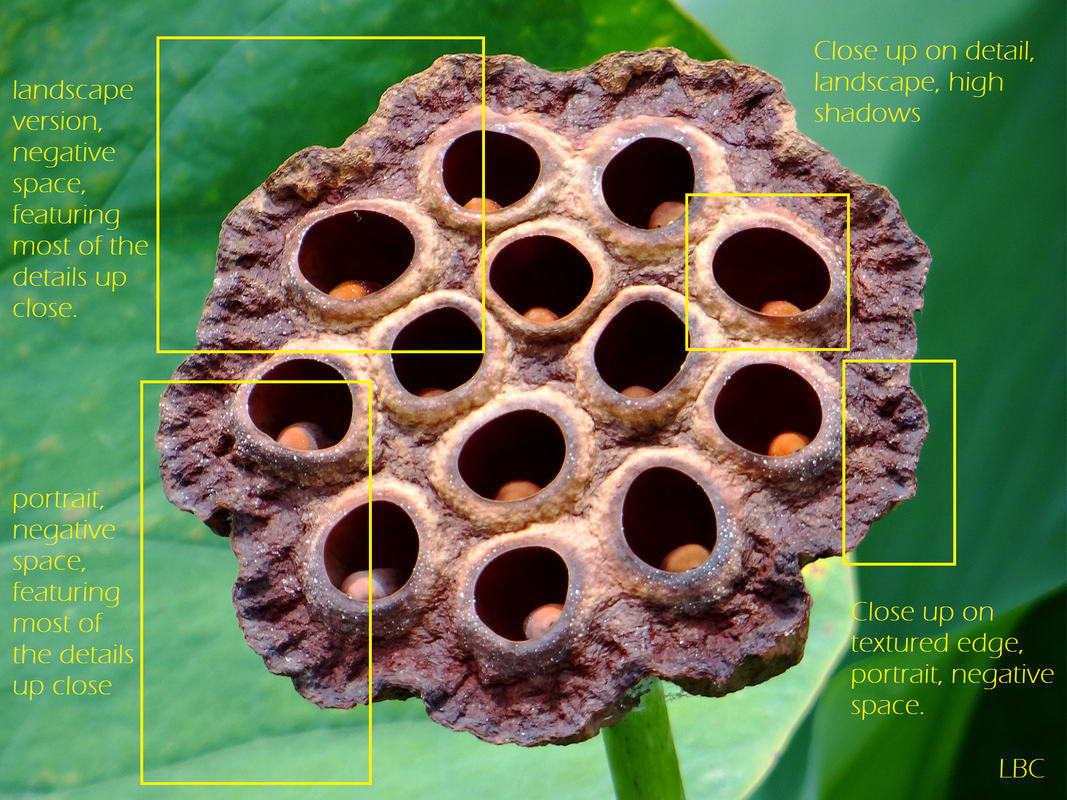 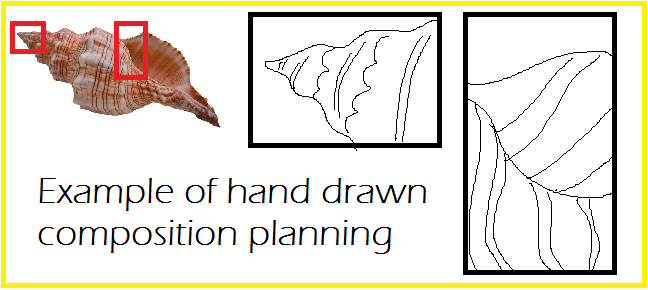  To start the lesson, you are going to review and demonstrate what you have learnt so far in this course. Complete the questions below in FULL SENTENCES AND PARAGRAPHS. Go into as much detail as possible as you will be assessed on this to show how much you have learnt. Read the questions properly!  You now have the rest of your lesson to go back over this page so far, and ensure that everything is finished and uploaded. Go through the lessons on the previous page if you think you have missed anything. 
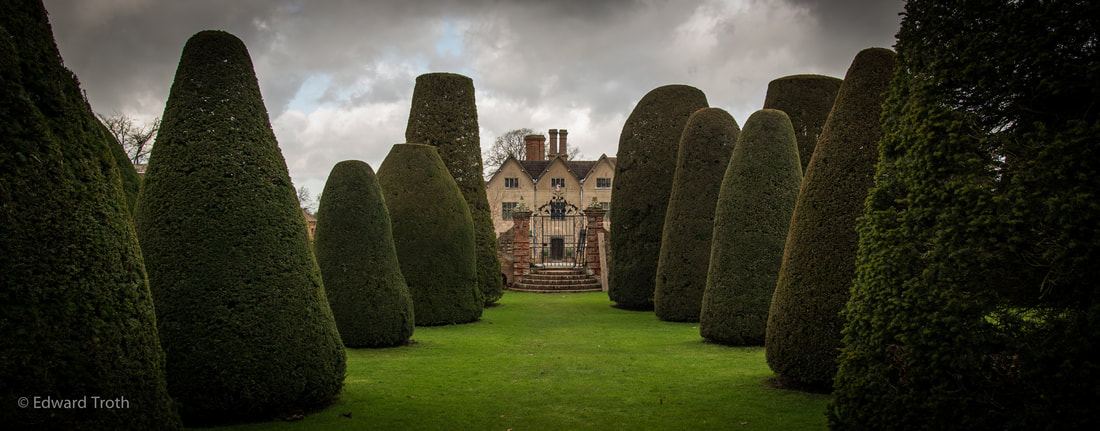
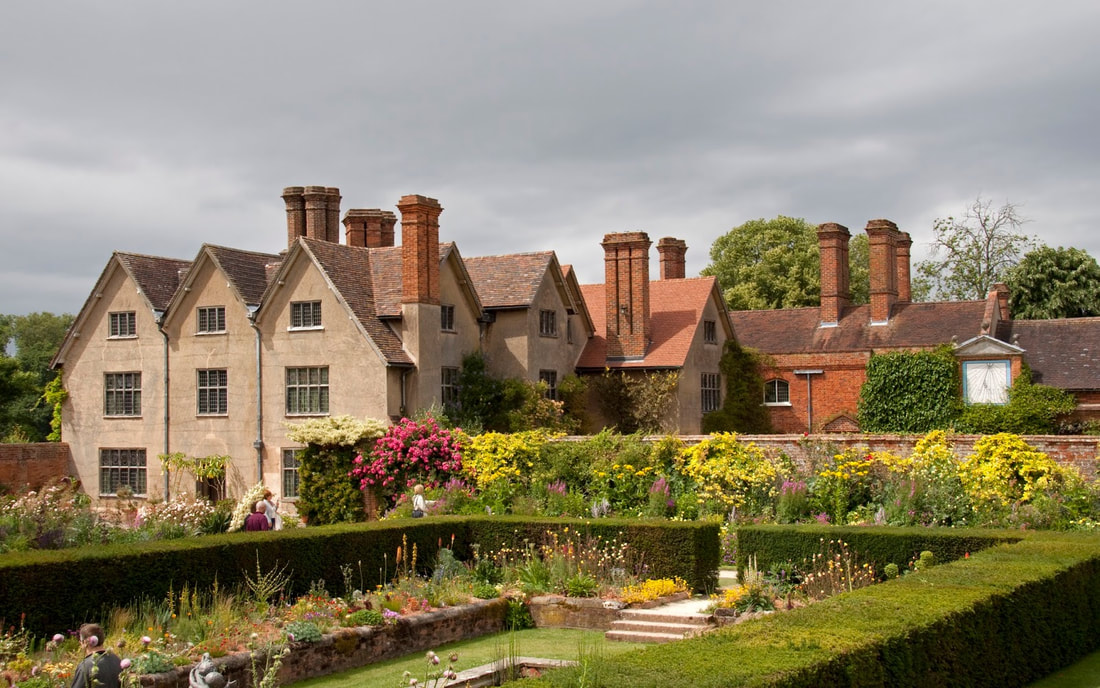
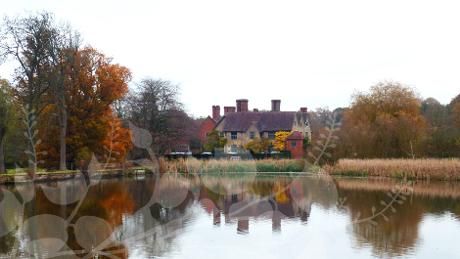
 We are ONLY working on Human Figure for the next 2 weeks. Refer back to your artists for Human Figure. How will you edit your new photos from Packwood House in their style?  Using your new photos, you are going to continue to develop your ideas for Human Figure, experimenting with how to combine your artists styles, and how to demonstrate a wide range of photography techniques and editing skills. 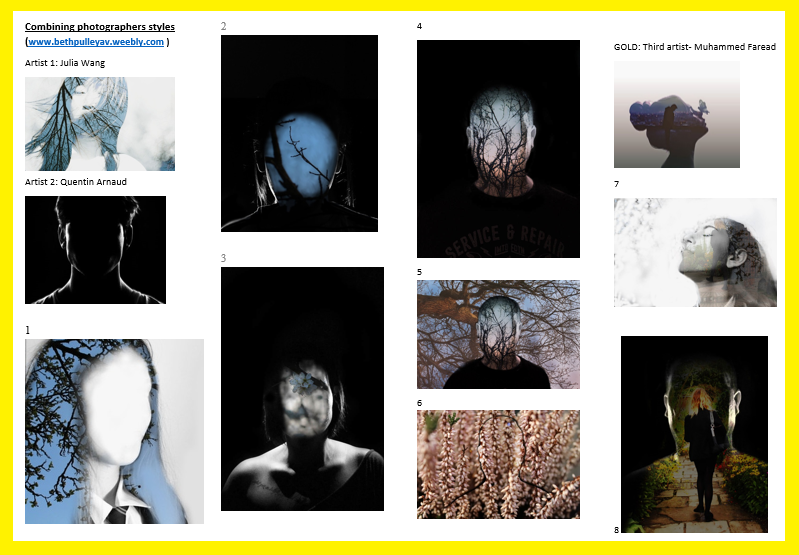  1. Edit one photograph in the style of your first photographer. Save then upload. 2. Edit the same photo further, adding in the style of your second photographer. Save then upload. 3. Repeat above with a different image. upload both pictures then review using the sentence starters below (for the gold option, use technical terms and go into detail about why you did things rather than just describing. Write this in gold text) : I have edited these photos by... They are edited in the style of... because... Something that works well about these edits is... Something i need to develop further is...

 Further help with getting top marks for AO1 and AO2 (artists and experiments) 
 Load up your website and collect your blue books. Remind yourself - what do you need to do to improve your Human Figure page?  Work through your action plans, focusing on trying to improve your Human Figure page. If you get stuck, ask yourself: - is everything uploaded? - are there any gaps? If so, fill them! - is everything explained? If not, review your work - links to artists, strengths and areas for development - have I edited enough photos from each photoshoot? - could I try a different method for one of my edits to get more marks? - are my ideas getting repetitive? If they are, do you need one more photographer for ideas? If so, find one, analyse them then do a photoshoot and edit in their style. - Do I need to plan my next photoshoot? - what will my final series of photos be linking to these photographers? 
 To be successful in your mini outcomes you must: - produce a series of two or more edits that link visually and conceptually - make clear links to your photographers, combining their styles creatively - bring together your ideas so far, combining the best elements of your experiments - demonstrate a high level of skill and a good variety of camera and editing techniques  You have until the end of the day on Wednesday to complete your two or more edits.
Upload when completed (full size) under the title 'Mini Outcomes'. Evaluate your outcomes, explaining how they have been informed by your artist research and your experiments, and reflecting on the strengths and areas for development. |
AuthorThese lessons have been written by Miss Wilson. Archives
December 2018
Categories
All
|
||||||||||||||||||||||||||


 RSS Feed
