 How do you crop a photograph? Why might it be useful in photography?  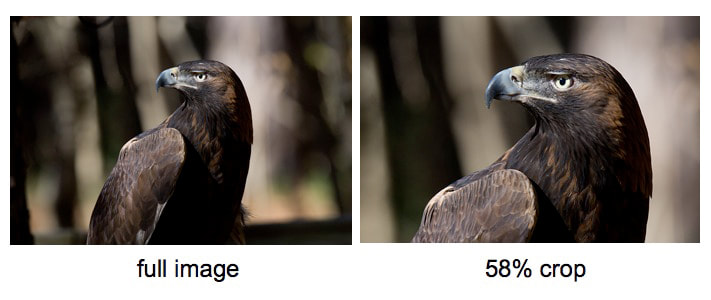 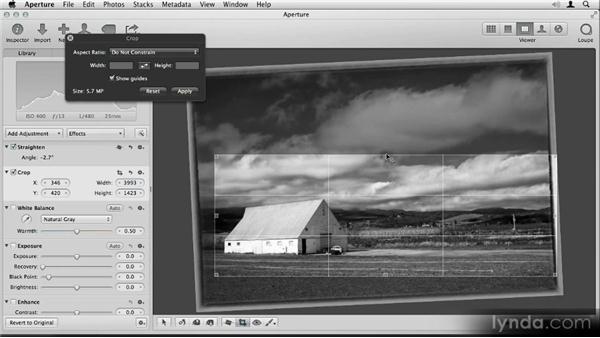  Select 2 of your edited photos from the Keetman photoshoot. Put 3 image blocks in a row (sorry I think you've set this up differently!) Upload the edited picture in the first block. Next, open this photo in photoshop and crop it in an interesting way! Save as a different file name, and upload in the next block. Next - UNDO to go back to the original edit, and crop in a different way, then upload this too. Do this again for the second image! (3 more image blocks under the first set).  Apply the same idea to an edit from earlier in the project. Put the title 'going for gold' above this set of images to show off that you are going above and beyond!  Under your cropped photos, finish these sentences... By cropping my photographs I have changed... This is a good way of experimenting because... I could use this in future experiments by...  DUE TUESDAY:
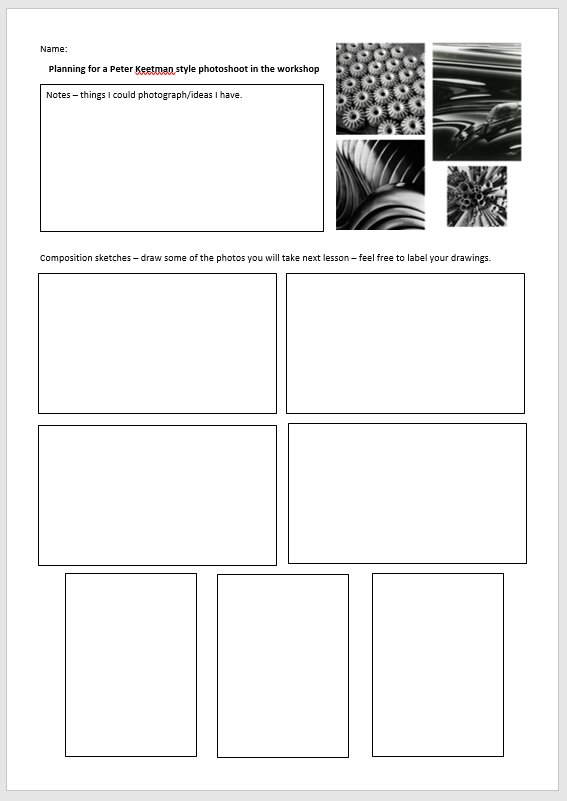
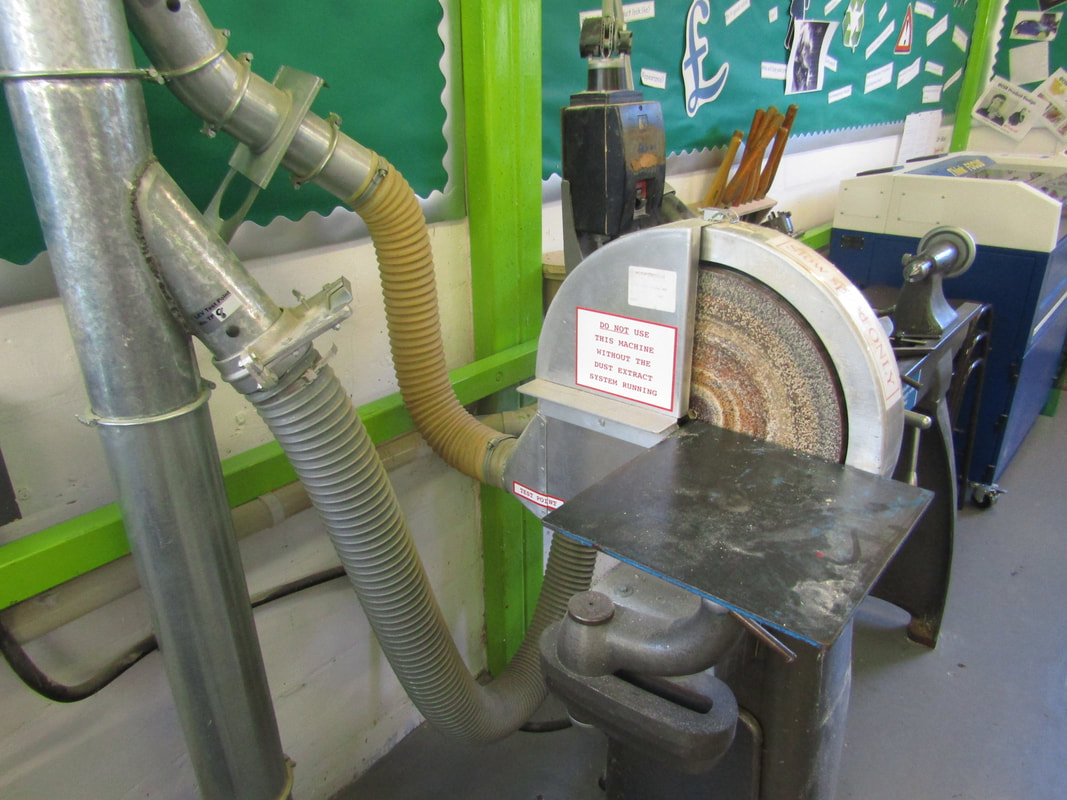
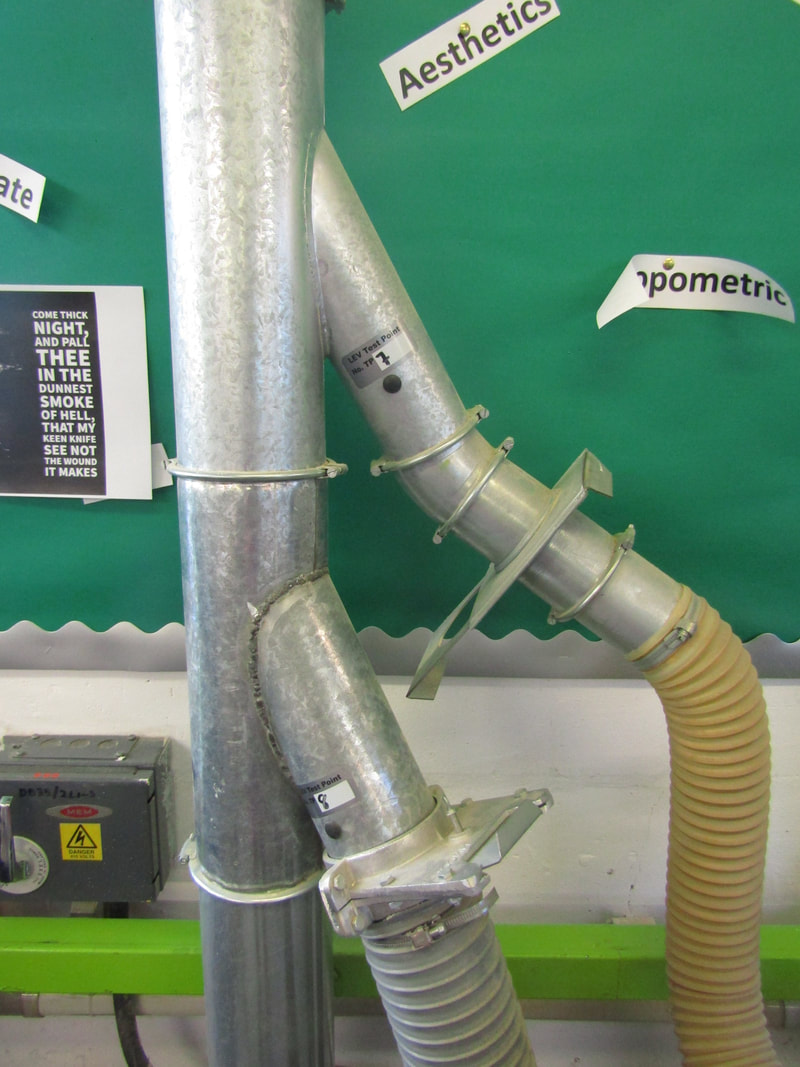
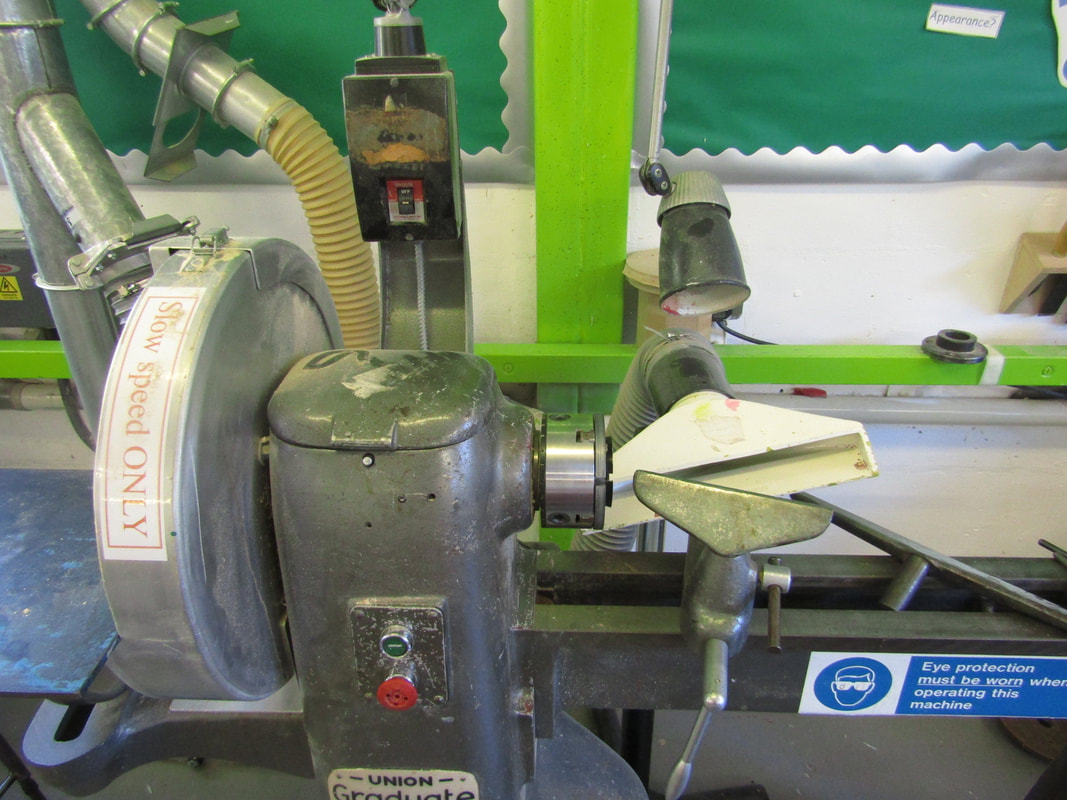
Your next task will be to edit photos in the style of TWO of the above artists. Take 20 photos according to the two you would like to focus on: Niemela and Blossfeldt - 20 macro nature photos - some should be single items on a black or white piece of paper (look at Blossfeldt's his work!) Niemela and Keetman - 20 macro photos of nature AND mechanical/shiny objects Keetman and Blossfeldt - 20 macro photos of nature AND mechanical/shiny objects - some should be single items on a black or white piece of paper (look at his work!)
0 Comments
   You have 3 weeks until Christmas. Use this time to completely finish your coursework. You will each get feedback on your projects but this will not be available until the end of next week. To do: Go back to each project: - Can you add more experiments? - More photoshoots? - Finish final outcomes? - produce alternative outcomes? (You can do this as the mock was only a mock after all, not the real exam!!) - Evaluate each project separately 
 Complete the questionnaire below:  You have 3 weeks until Christmas. Use this time to develop your ideas following feedback towards a further outcome which will be created in January.
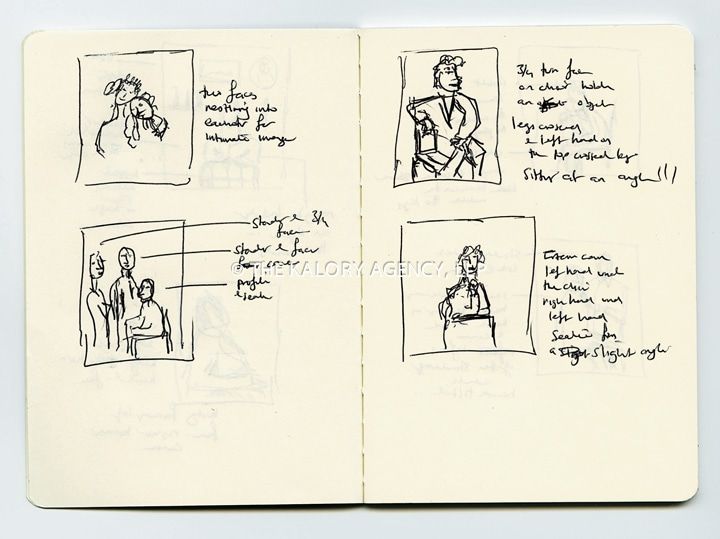
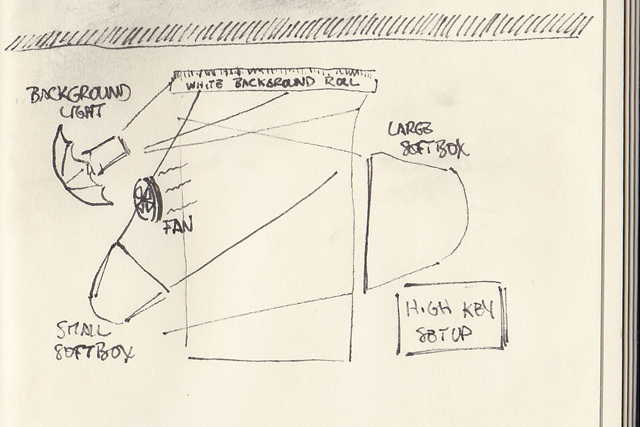
To do: 1. Evaluate your outcomes underneath them (overall not separately) 2. Print and present your pieces. Each piece should be printed A3 - check the colours and contrast after printing - do they look the way you wanted them to? If not, you'll need to adjust your editing until you are happy with the print. Use double borders (black then white or white then black depending on which has better contrast with your image), and ensure everything is straight! 3. Plan your next move.... how will you develop? How can you show a different range of skills or a higher conceptual understanding? How can you bring a deeper meaning to your work? How could you enhance the viewing experience?... Feel free to think outside the box - outside the computer screen even! 4. Further experiments based on the above - aiming to complete these by Christmas, ready to start final shoots/outcomes in January. Also, if you need another artist, now is the time to add one.  If you didn't finish the work from yesterday, you have 10 minutes to finish off. Click the button below for yesterday's lesson with the sentence starters etc.  As part of AO3 you MUST include drawing. We will mainly do this through planning photo shoots. Do the best you can - you aren't marked on quality of drawing, but quality of ideas.

 Your challenge is to add as much purple text to your close up page as possible...
What can you add? How could you go into more detail? Can you give your opinion? Have you reflected on the strengths and weaknesses of your photos? Can you use key words? Anything you add - write in purple!  During the mock Photography exam you will spend: Hours 1-2 Produce 3 outcomes for your Architecture project. Hours 3-4 Produce 3 outcomes for your Human Figure project. Hour 5 In any remaining time, either complete the above outcomes, OR aim to work through the following if you are finished: Write an evaluation of each project (you will be given questions to help you) When you have completely finished both projects, check if there is anything else that you could add in for extra marks eg. Annotations, further edits, planning pages.  You are learning how to prepare for an exam over the next week. You need to review the project, work out where to go next and carry out final experiments in preparation to plan for your final series of image which will be completed in the exam.  Click the button below to see exactly how your mock exam will be structured:  So what do you actually need to do before the exam? 1. work out what your final series of images will be NOW so that your final experiments are purposeful and allow you to practice for the mock. 2. Carry out final experiments, combining your artists more effectively, practicing for the mock - try out different techniques, different colours, different images etc. - upload and review each one as you go along. 3. Take more photos. You should each be working with NEW photos in the exam. These will probably need to be extra homework, or you may have taken them already over half term. 4. Plan for the mock exam - what will you do for 5 hours? (see above!) 5. Ask questions and do research NOW - The exam will be exam conditions for the full day. I will work round you all to give you additional advice on improving your project overall, but you should be prepared to work independently.  1. complete a new photoshoot for the human figure. 30+ photos linked to your artists and your project - exam quality. 2. continue to work on your websites at home - get everything reviewed, uploaded, planned etc.  |
AuthorThese lessons have been written by Miss Wilson. Archives
December 2018
Categories
All
|


 RSS Feed
