Final Skills Tasks
These tasks have been written to give you a final opportunity to pull up your marks. They will allow you to show off your editing skills to pull up marks for AO2 and link to artists to get marks for AO1.
Create a new page called 'Editing Skills'. All of these tasks will need to be presented on here.
Add a title then two single image blocks underneath, followed by a spacer below.
Create a new page called 'Editing Skills'. All of these tasks will need to be presented on here.
Add a title then two single image blocks underneath, followed by a spacer below.
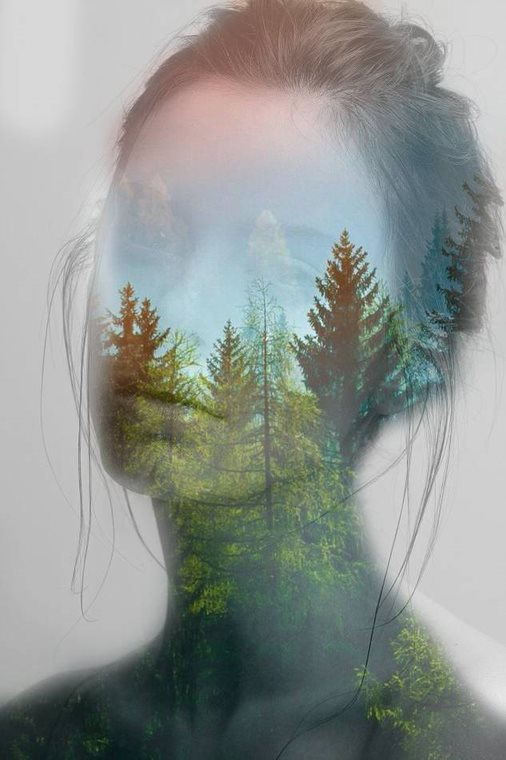
Editing in the style of Manny Robertson
|
Copy the title to your page.
Copy the artist's example into the first image block. Follow the tutorial below to create your own version of his work and to learn how to replicate his technique. Use your own photos if possible, or found photos from the internet if you don't have any good portrait photographs. Open the video split screen with photoshop so you can watch it, pause then have a go at a section etc. Upload your completed edit in the second image block when you are finished. |
STUDENT EXAMPLES:
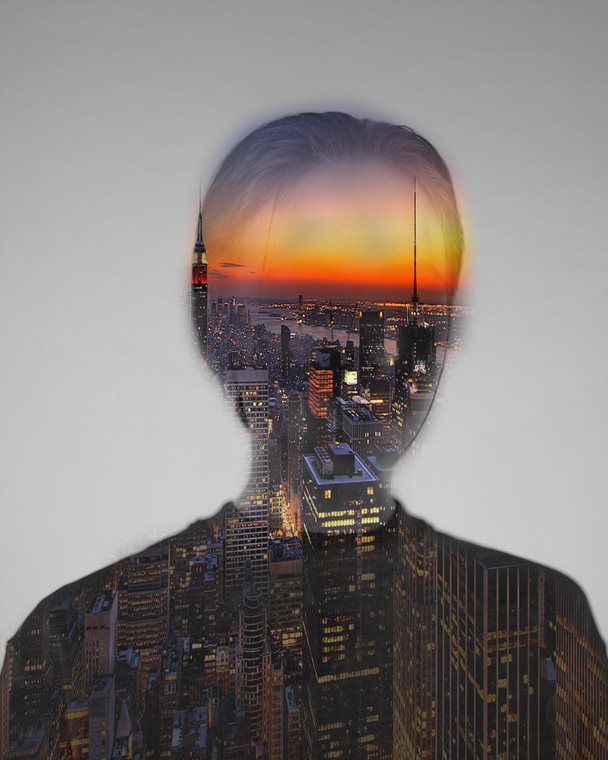
Editing in the style of Luke Gram
In this task you will learn how to use the opacity tool with the eraser to softly rub out and reveal areas of an image on another layer.
STUDENT EXAMPLES:
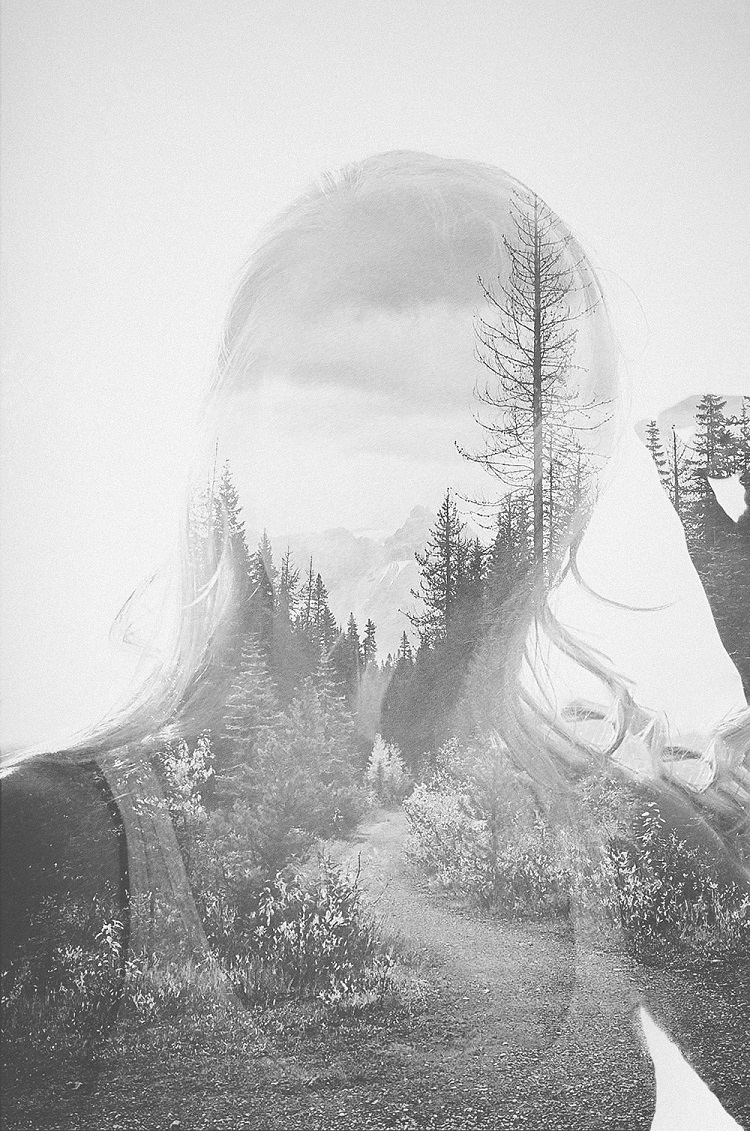
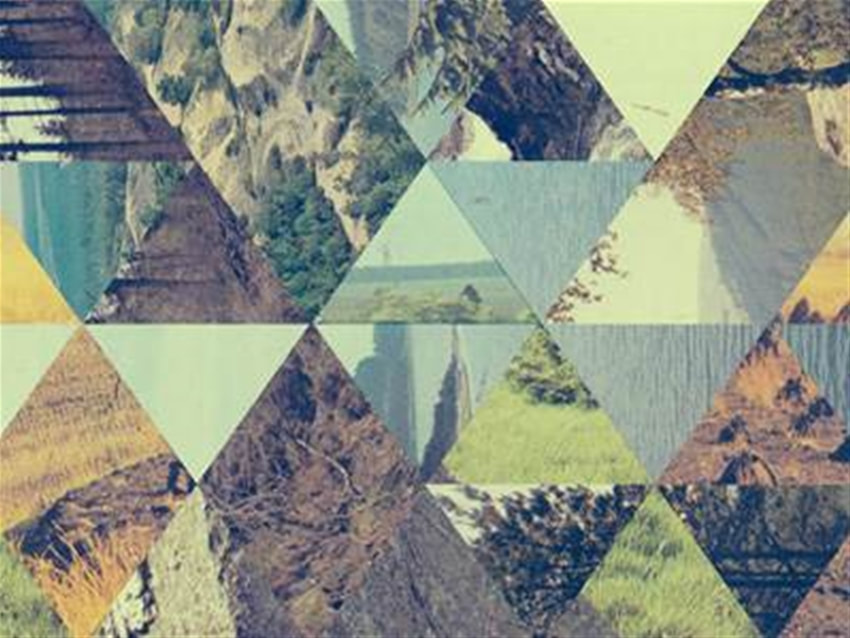
Editing in the style of Jelle Martens
In this task you will learn how to layers effectively to create a multi layered image.
STUDENT EXAMPLES:
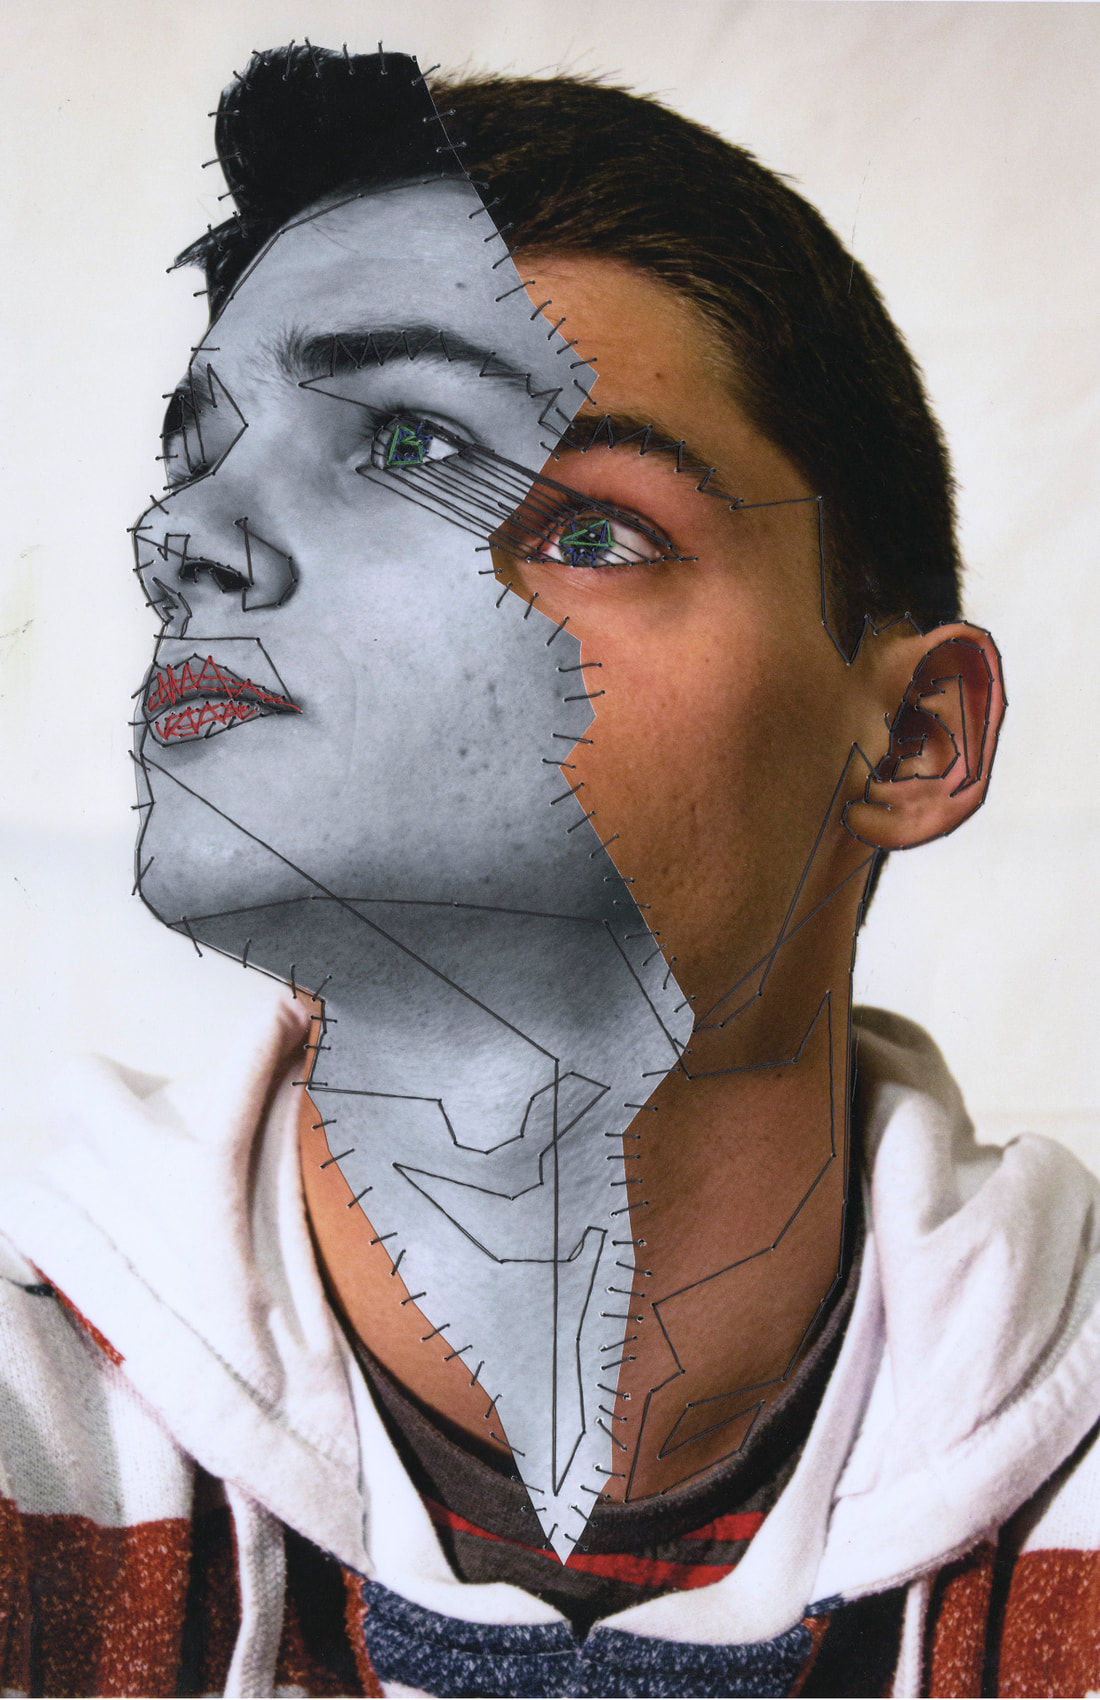
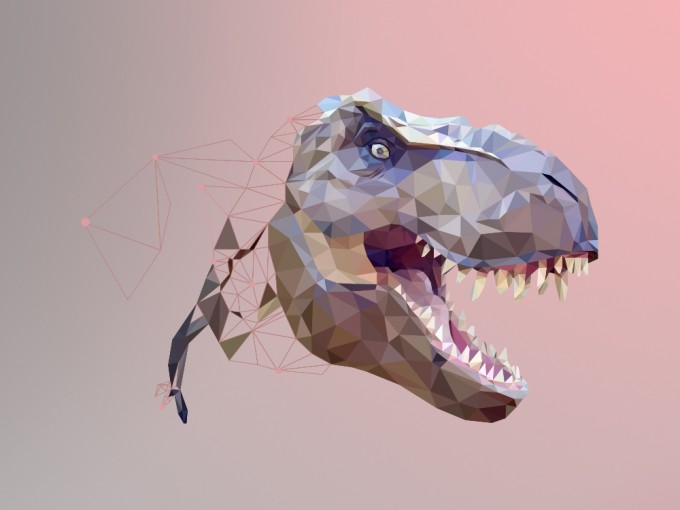
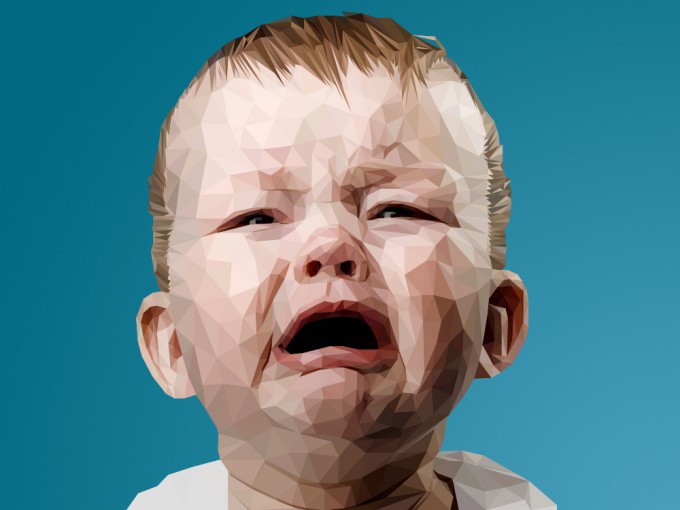
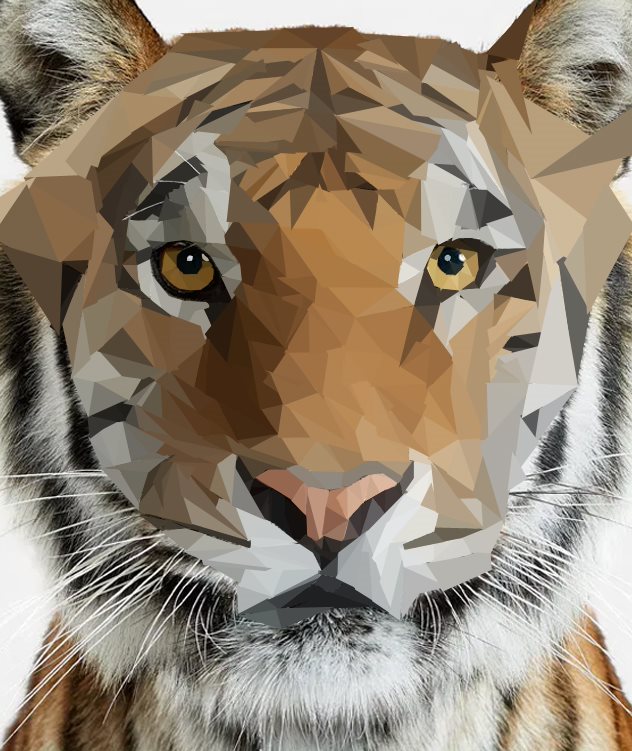
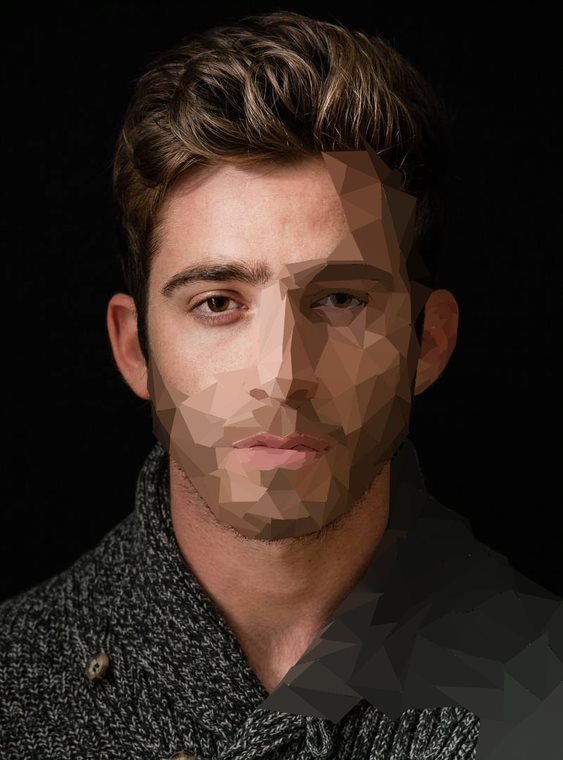
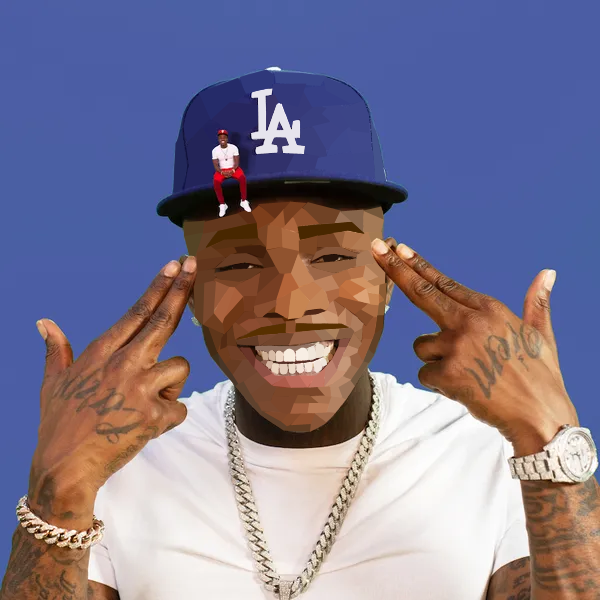
Editing in the style of Daniel Adler - creating a low poly portrait.
In this task you will learn how to use the polygonal lasso tool to make selections, and to use the average blur.
Low poly is a polygon mesh in 3D computer graphics that has a relatively small number of polygons. Low poly meshes occur in real-time applications (e.g. games) as contrast with high-poly meshes in animated movies and special effects of the same era. We can create a similar effect in photoshop!
Low poly is a polygon mesh in 3D computer graphics that has a relatively small number of polygons. Low poly meshes occur in real-time applications (e.g. games) as contrast with high-poly meshes in animated movies and special effects of the same era. We can create a similar effect in photoshop!
|
For this task you will need a photo of a person or an animal.
Save the original and upload it to your website, along with a photo of the artist's work. Upload your own version next to the original photo to show what you have done. Tip: The smaller your triangles/shapes, the more detailed your finished piece will be. |
STUDENT EXAMPLES:
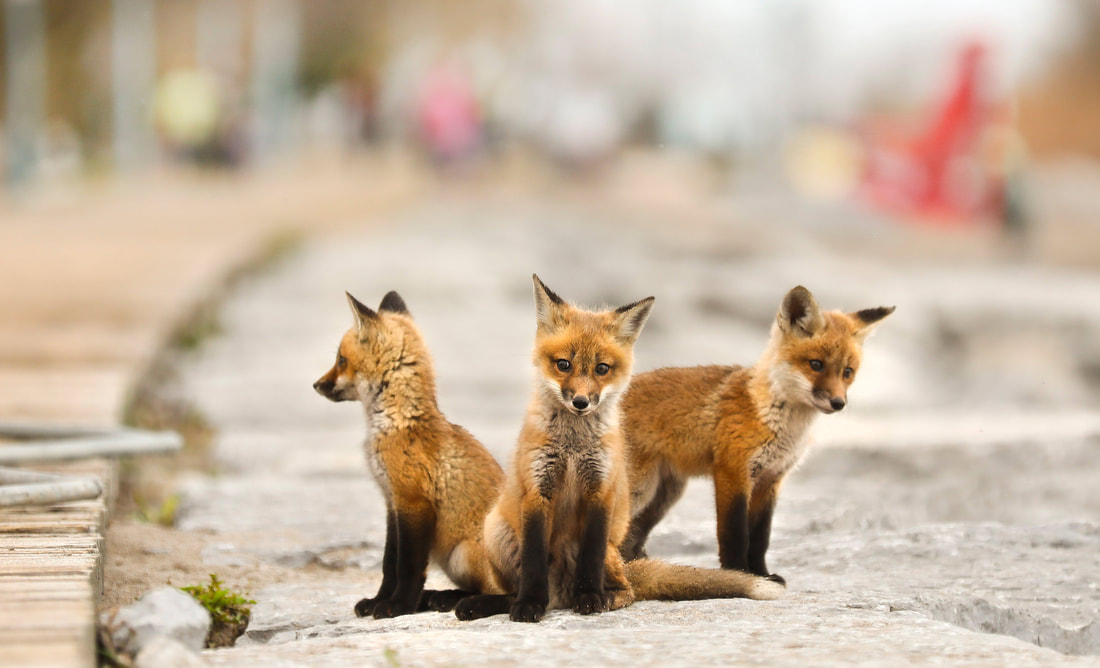
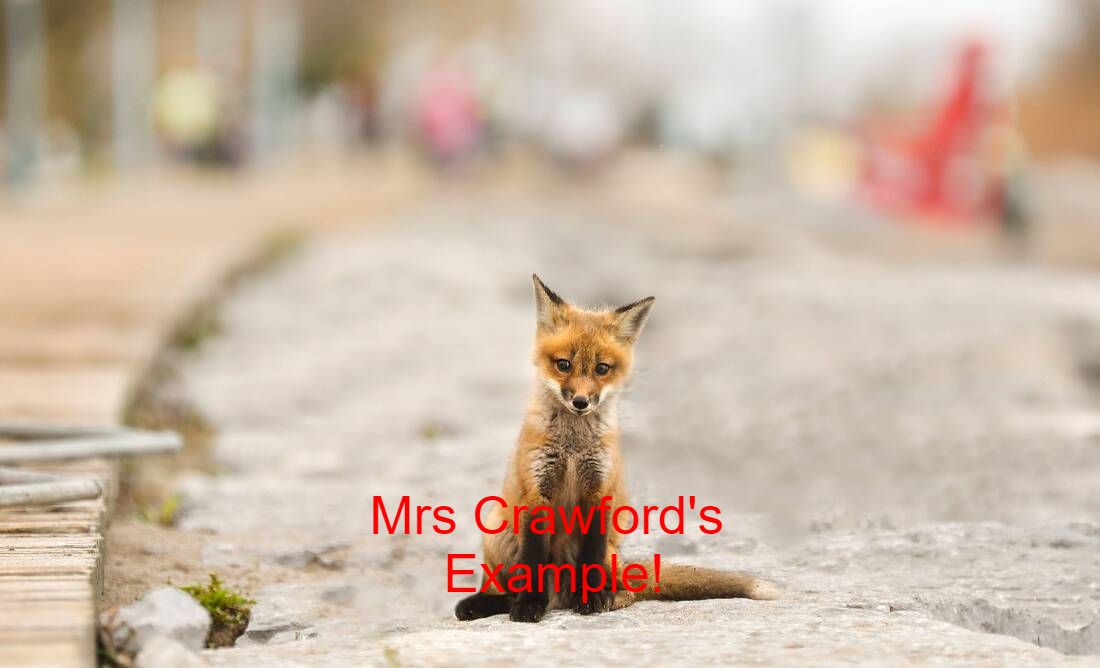
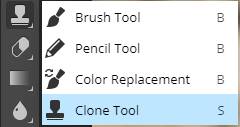
Using the clone tool to remove items from a photo
In this task you will learn how to use the clone tool to remove items from an image.
Clone tool part 2: Adding items into an image
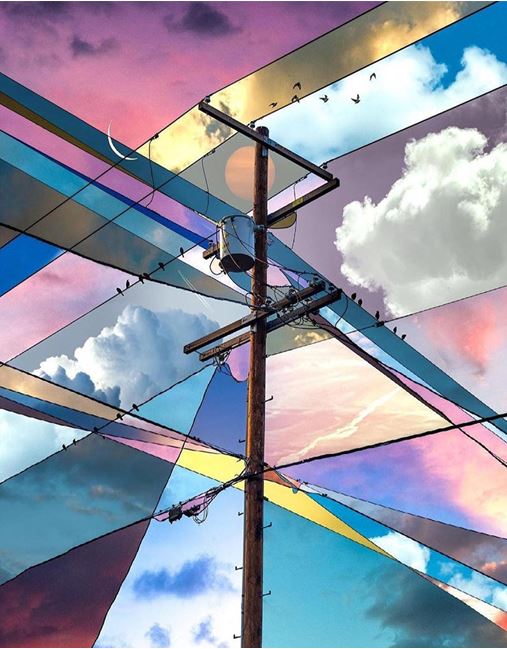
Editing in the style of Alex Hyner's Twenty Skies
|
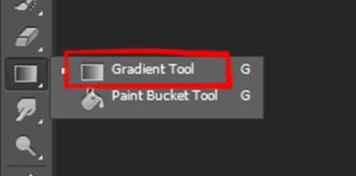
In this task you will learn how to use a gradient tool and how to blend layers.
Use the polygonal selection tool to select sections of your image, then on a new layer (whilst keeping the same selection) add a gradient of colour (draw a line) and blend it to the main image. Test out the different options as they will each look quite different. |
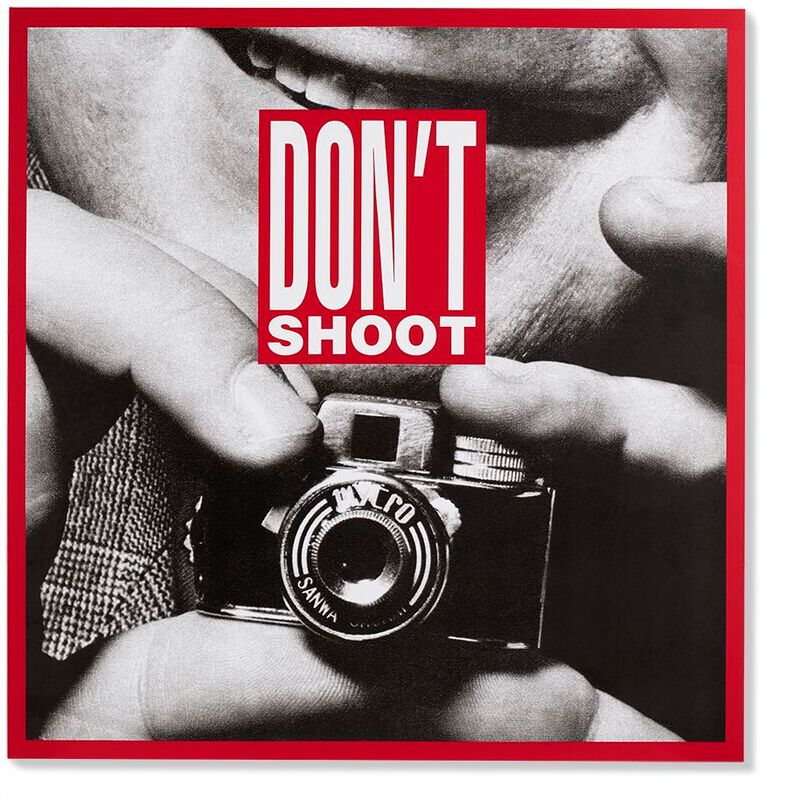
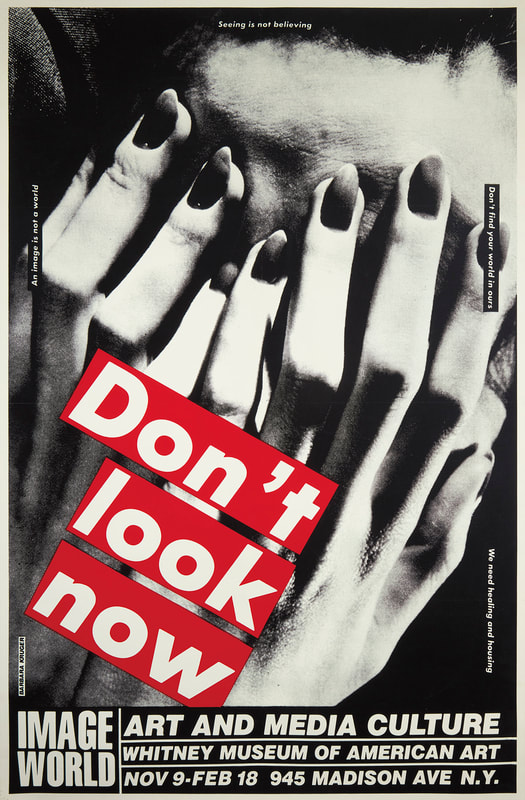
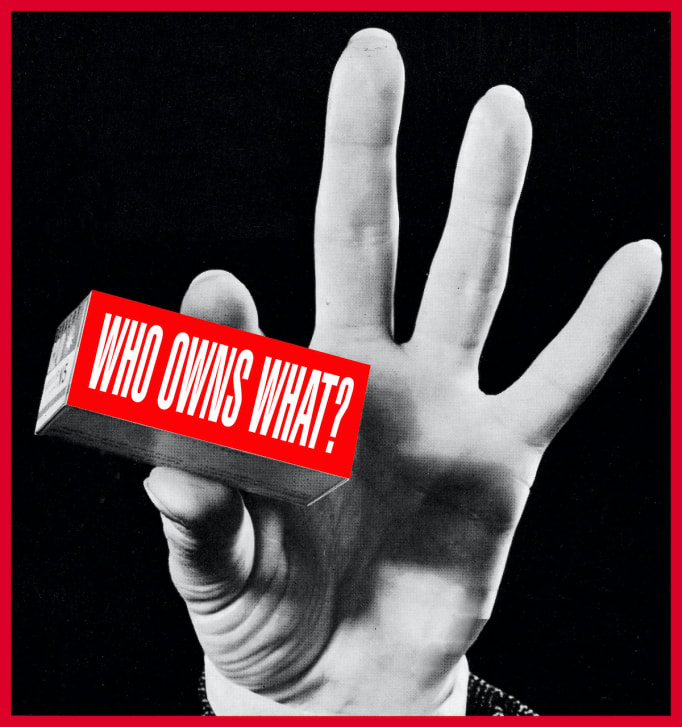
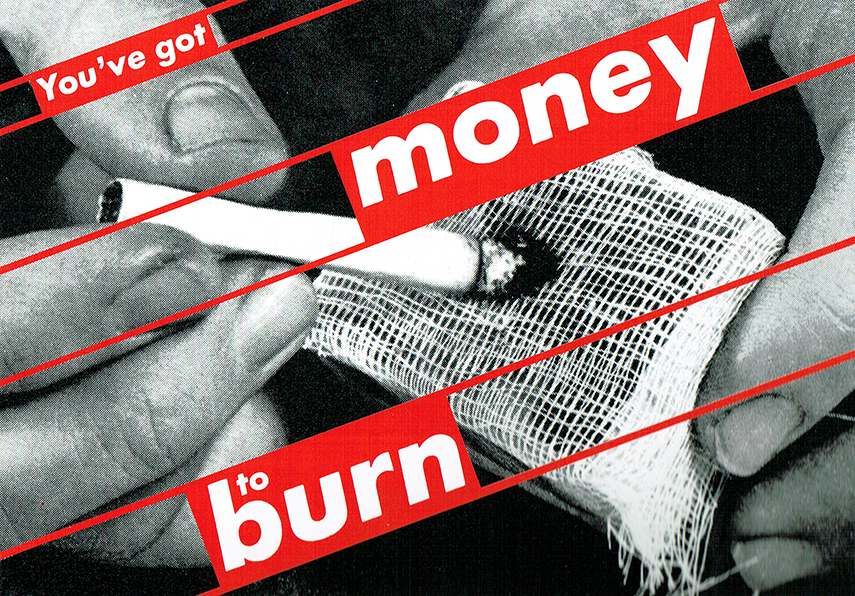
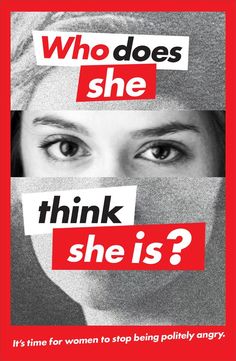
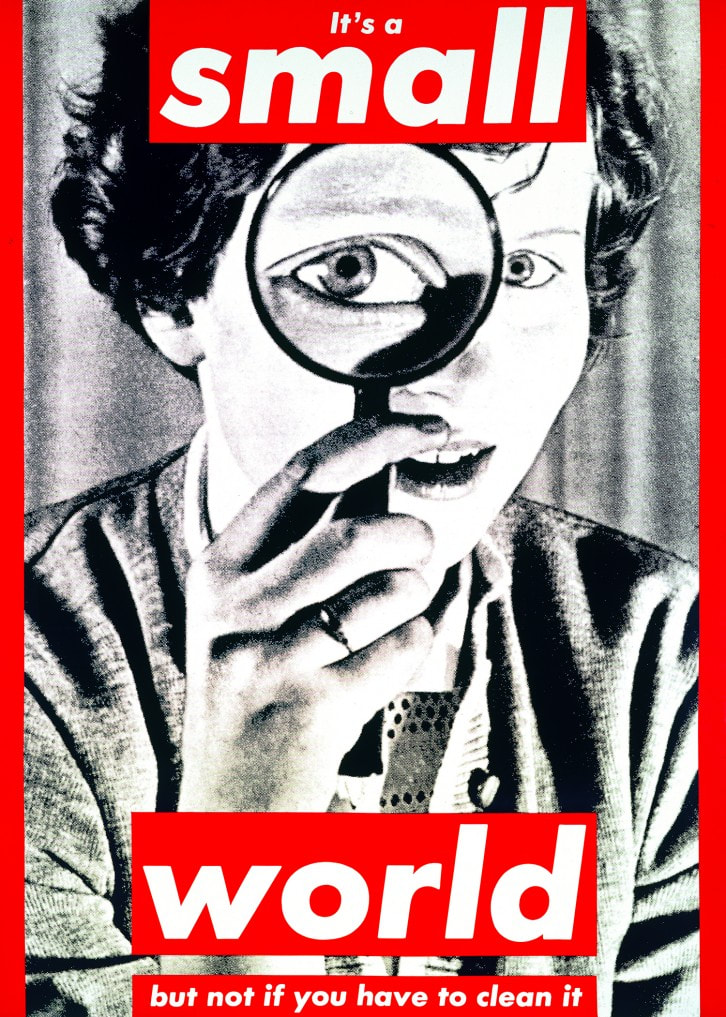
Editing in the style of Barbara Kruger
Transform an image into the style of Barbara Kruger, by de-saturating the image to make it black and white then adding red boxes with white text, and borders around your image.
Think creatively and try to choose clever combinations of images and text. If you need an idea of a saying/quote, try here: wisdomquotes.com/famous-quotes/
Consider the location and size of your text carefully. This artist puts key words in larger fonts, and sometimes she changes the colour to black to make some words stand out.
STUDENT EXAMPLES:
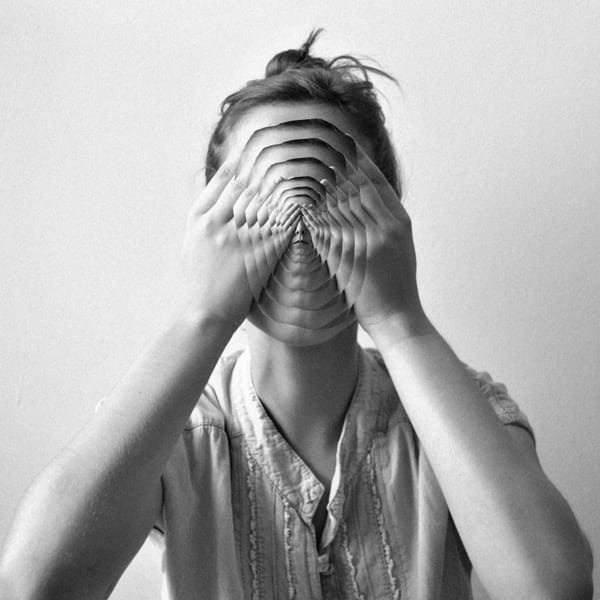
Editing in the style of Luciana Urtiga
|
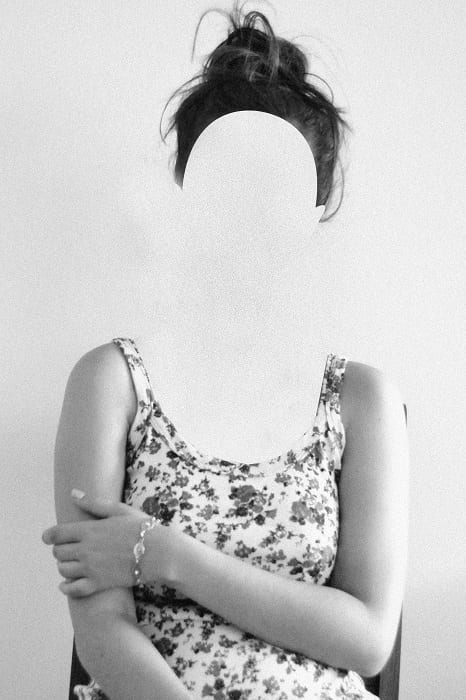
Task 2:
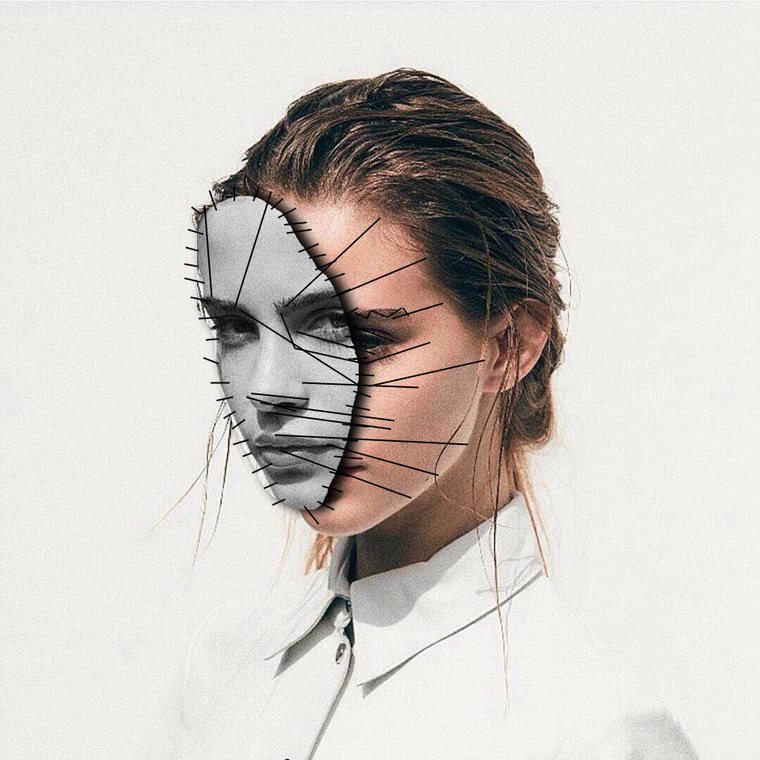
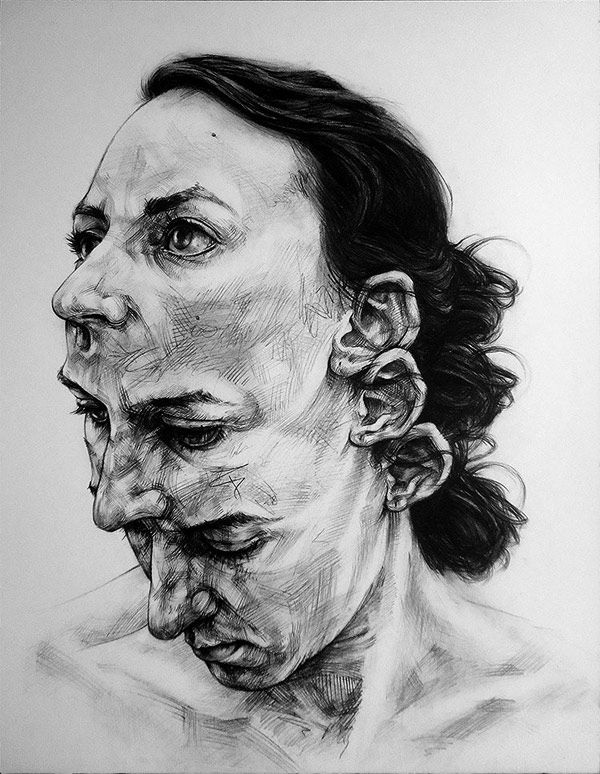
Remove the face and neck completely from a portrait of your choice. The remaining background should be flawless, with no sign of the face that was there previously. Upload all of the following photos to your website under a title of the artist's name: Artist's photo, original photo, surreal warped face, missing face. |
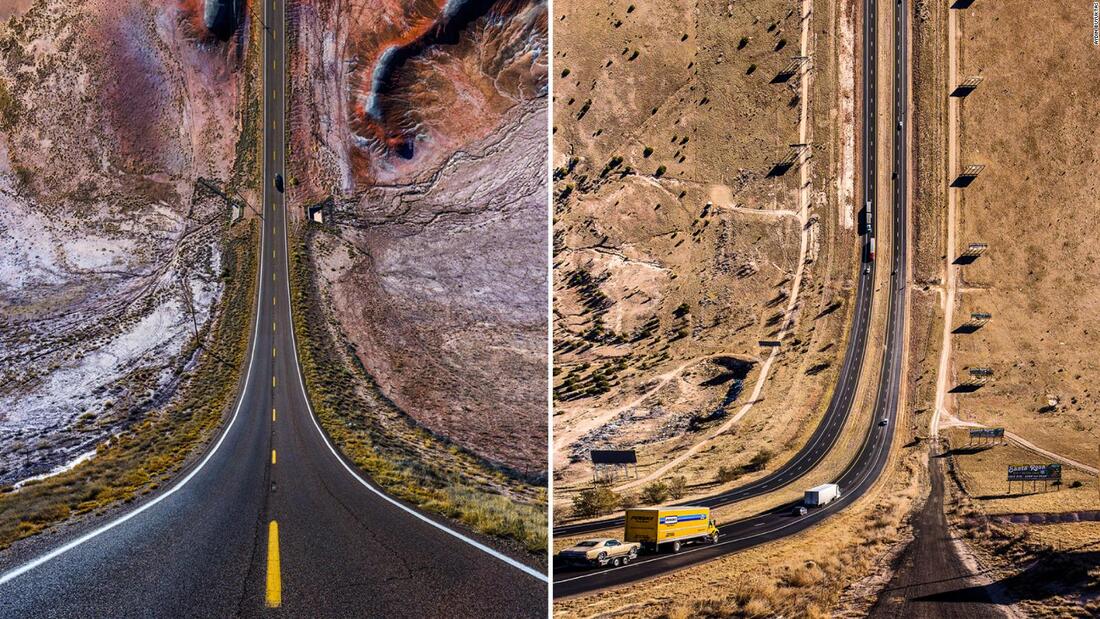
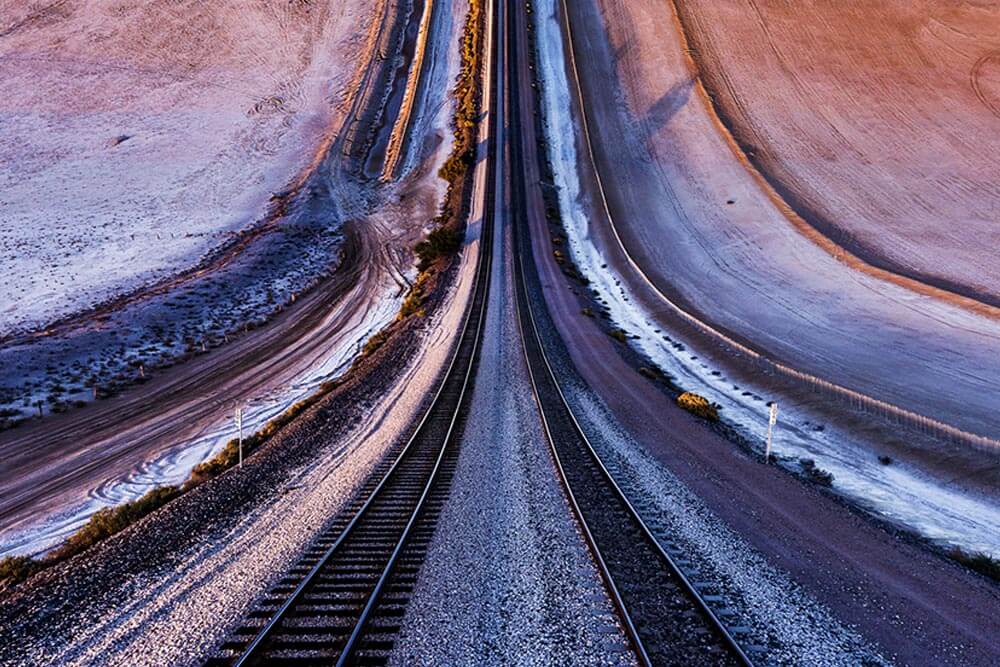
Editing in the style of Aydın Büyüktaş
|
Copy the title to your page.
Copy the artist's example into the first image block. Follow the tutorial below to create your own version of his work and to learn how to replicate his technique. Use your own photos if possible, or found photos if you don't have any good photographs. You will need an open doorway photo and a road photo (looking down the centre like in the image. Please upload the original pictures below your edit to prove that you have created it from scratch. Open the video split screen with photoshop so you can watch it, pause then have a go at a section etc. Upload your completed edit in the second image block when you are finished. |
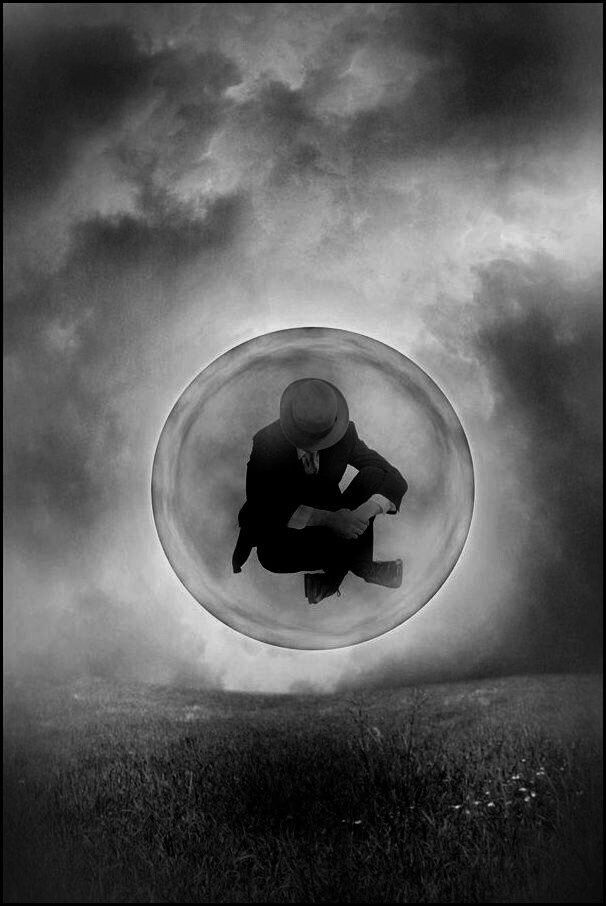
Editing in the style of Tommy Ingberg
|
Copy the title to your page.
Copy the artist's example into the first image block. Follow the tutorial below to create your own version of his work and to learn how to replicate his technique. Use your own photos if possible, or found photos if you don't have any good photographs. You will need a landscape photo, a bubble photo and a figure. Please upload the original pictures below your edit to prove that you have created it from scratch. Open the video split screen with photoshop so you can watch it, pause then have a go at a section etc. Upload your completed edit in the second image block when you are finished. |
Editing in the style of David Theron
|
Copy the title to your page.
Copy the artist's example into the first image block. Follow the tutorial below to create your own version of his work and to learn how to replicate his technique. Use your own photos if possible, feel free to take the photos quickly in the lesson against a white wall or found photos if you don't have any good portrait photographs. You will need three portrait photos of the same person from slightly different angles. Upload the originals below the edit to show the images you have edited together. Open the video split screen with photoshop so you can watch it, pause then have a go at a section etc. Upload your completed edit in the second image block when you are finished. |
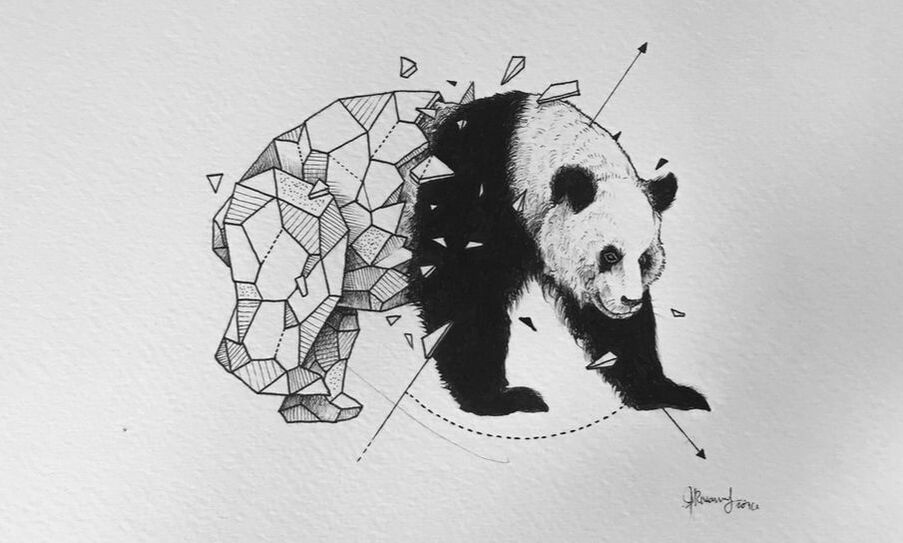
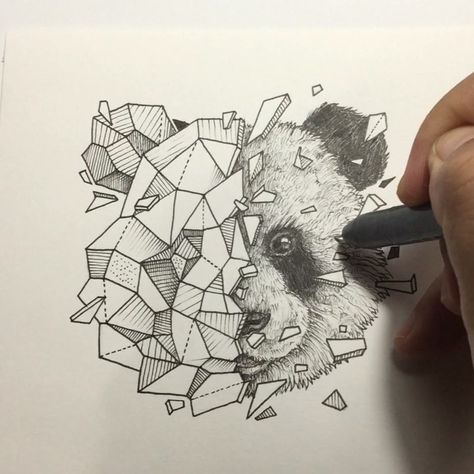
Editing in the style of Kerby Rosanes
For this edit, search for a photograph of any animal on a white background. Make sure it is nice and clear and a good size photo.
Follow the tutorial to add patterns and shapes over half of the animal in the style of the artist then upload your edit to your website when completed.
Follow the tutorial to add patterns and shapes over half of the animal in the style of the artist then upload your edit to your website when completed.
Independent Tasks
Having explored the work and techniques of many different artists, you will now have three options for the final 3 weeks of the course. All work will be marked at half term, therefore you will have no further time to add to or improve your marks.
You have 3 options:
You have 3 options:
Finish your coursework firstOption 1 - you must make sure your coursework is complete to the best of your ability. Go back over your distortion and pattern projects. Is there anything you could improve or finish off? Do both projects have final pieces? Use your new editing skills to add to your coursework - this will be the primary place that you get your main coursework marks. |
If your coursework is finishedOption 2 - check you have completed all of the final skills tasks. If you have missed any or or you haven't uploaded any, please do this next.
|
