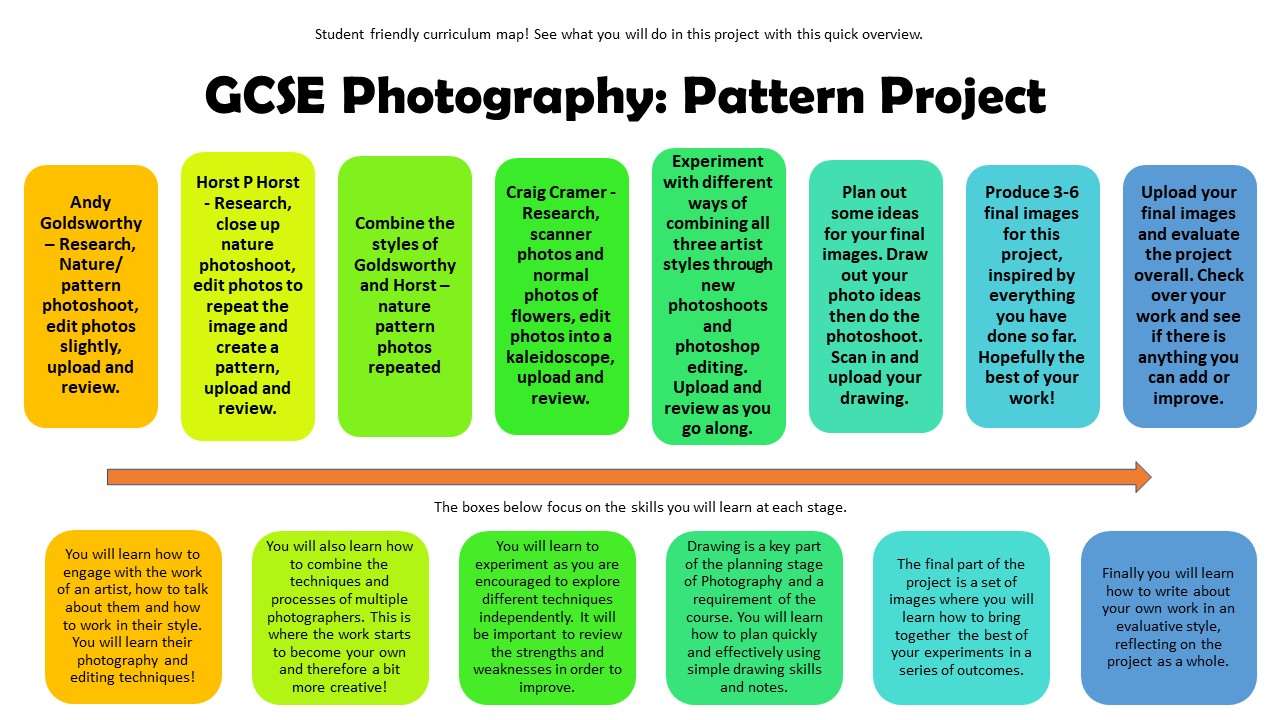
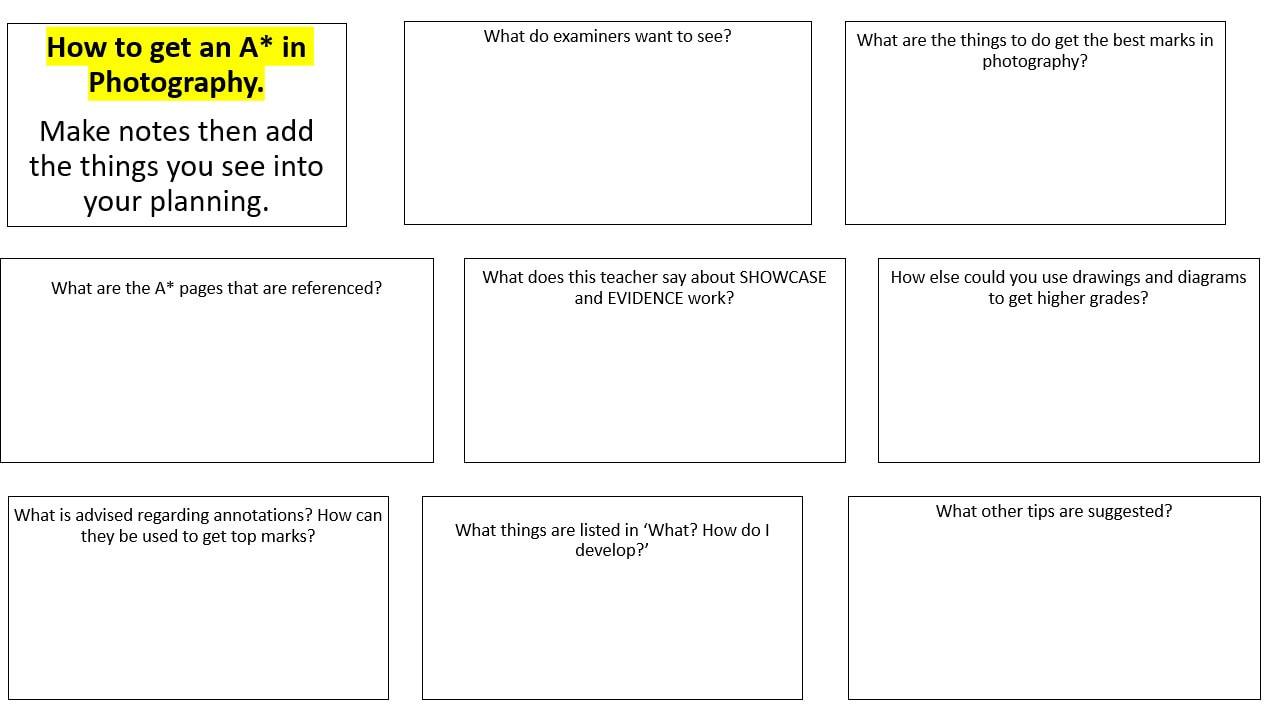
Coursework project 2: Pattern
Weebly login


|
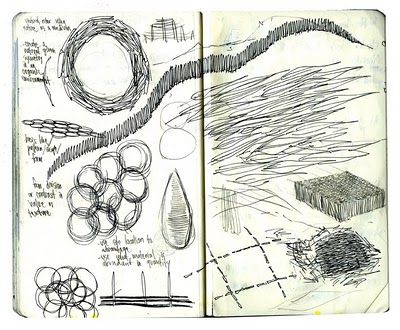
You get marks for drawing in Photography... draw out some simple designs on paper that you could create.
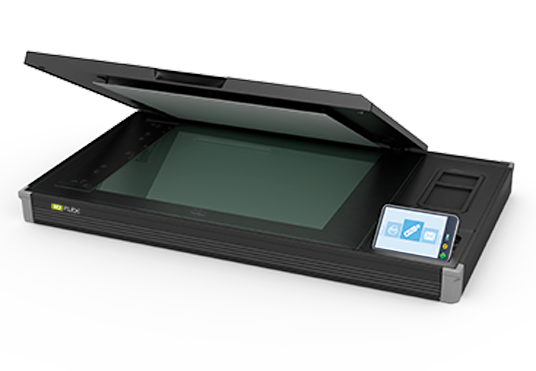
Your drawings DO NOT have to be mega skilful... just drawing rough shapes like this example is enough! Make sure your name is on your work so that it can be scanned and emailed to you to upload. Please note that this task is also homework if not completed in the lesson. 
|
|

|
|
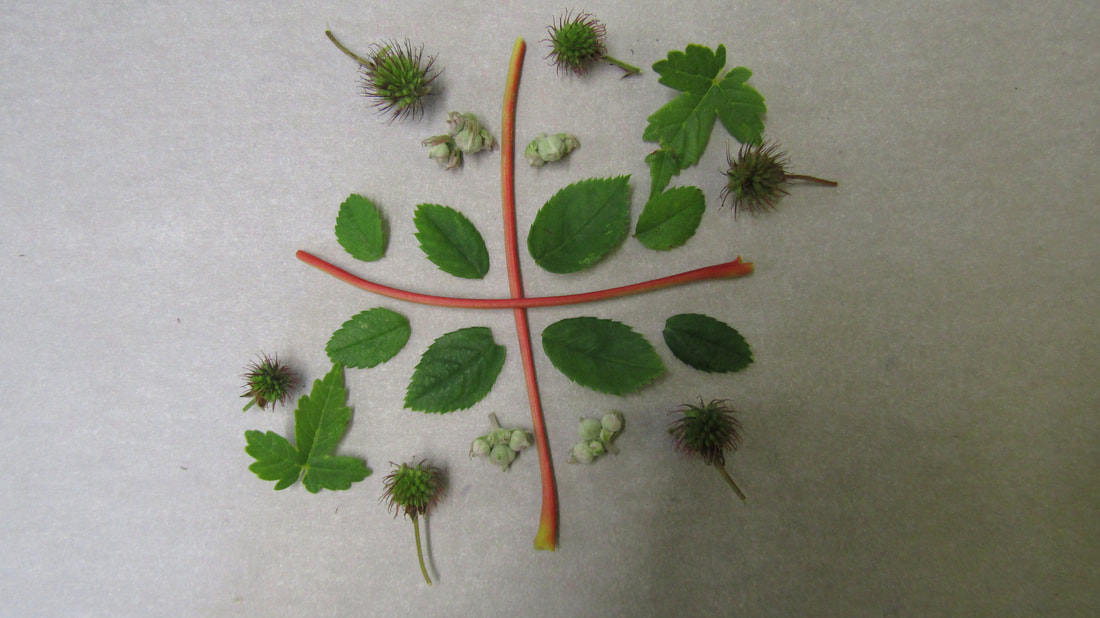
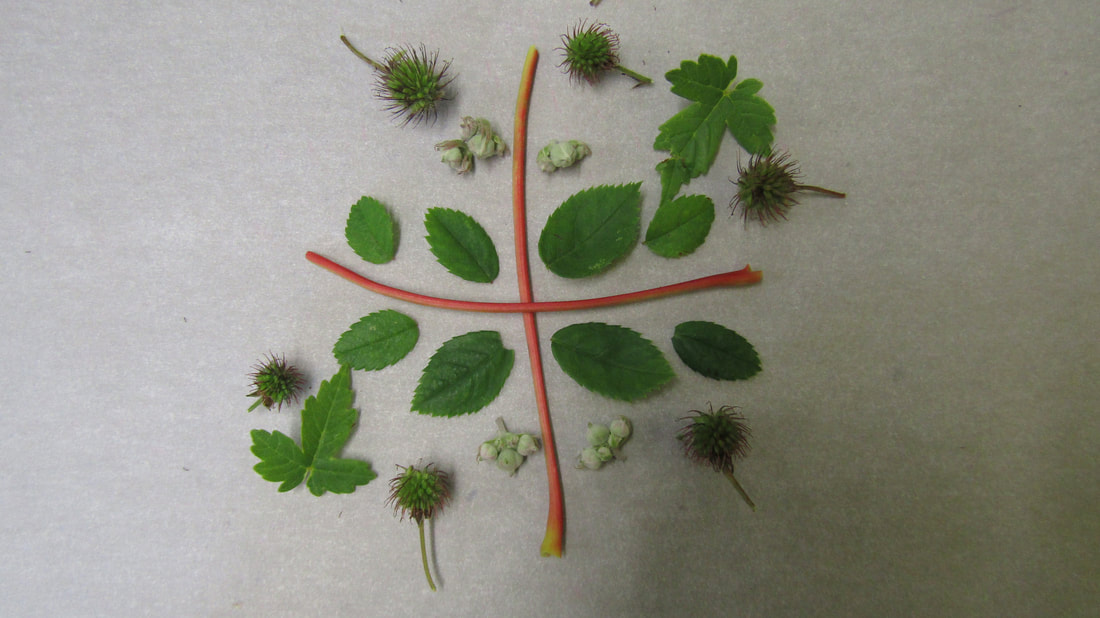
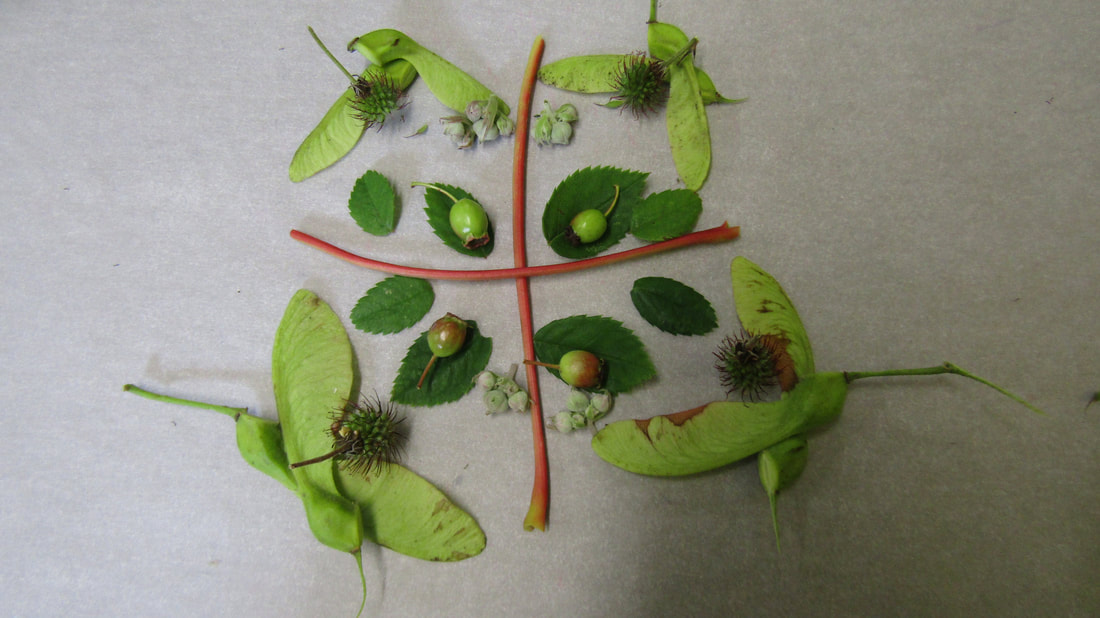
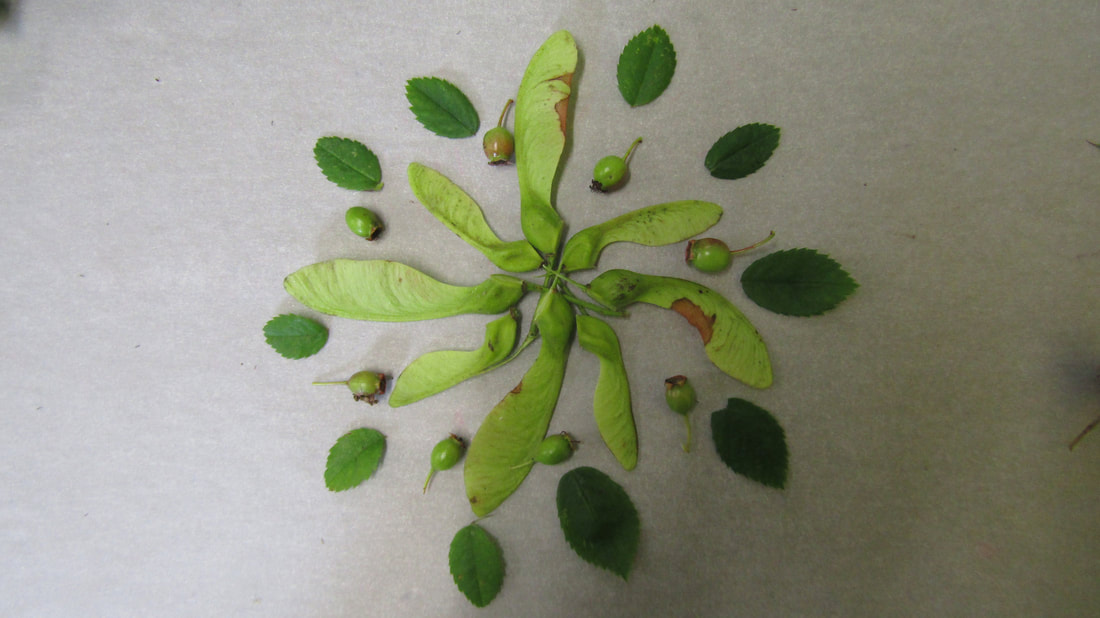
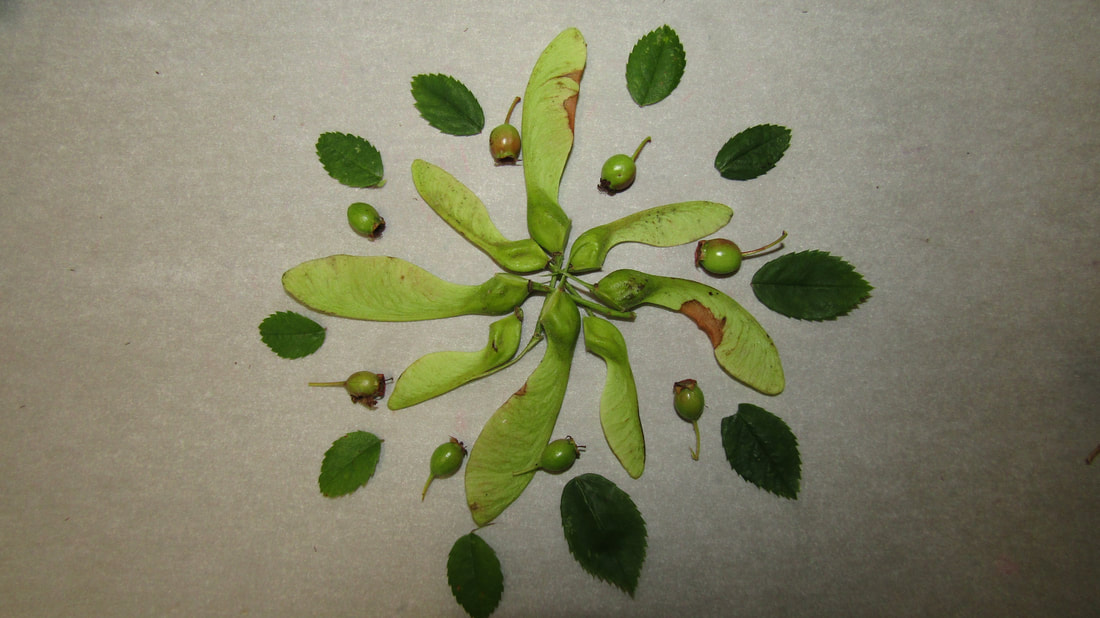
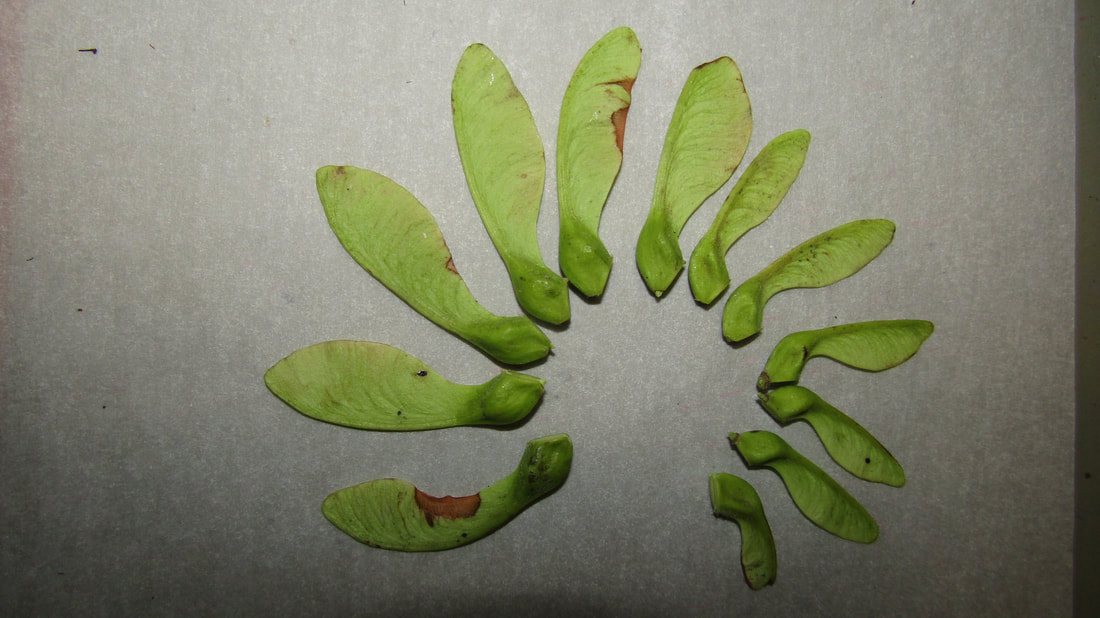
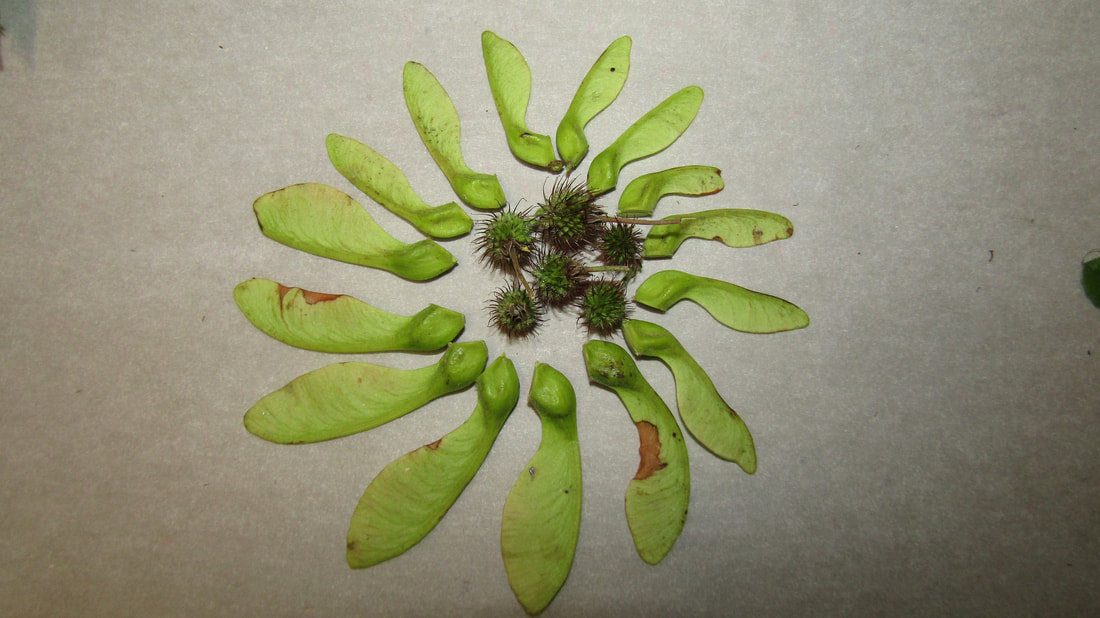
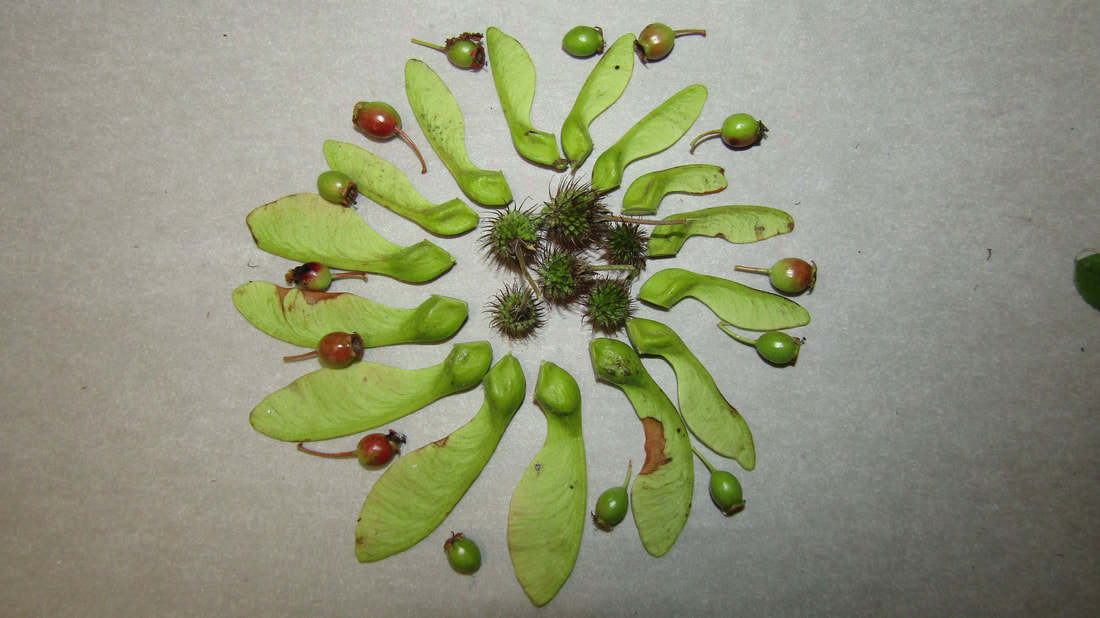
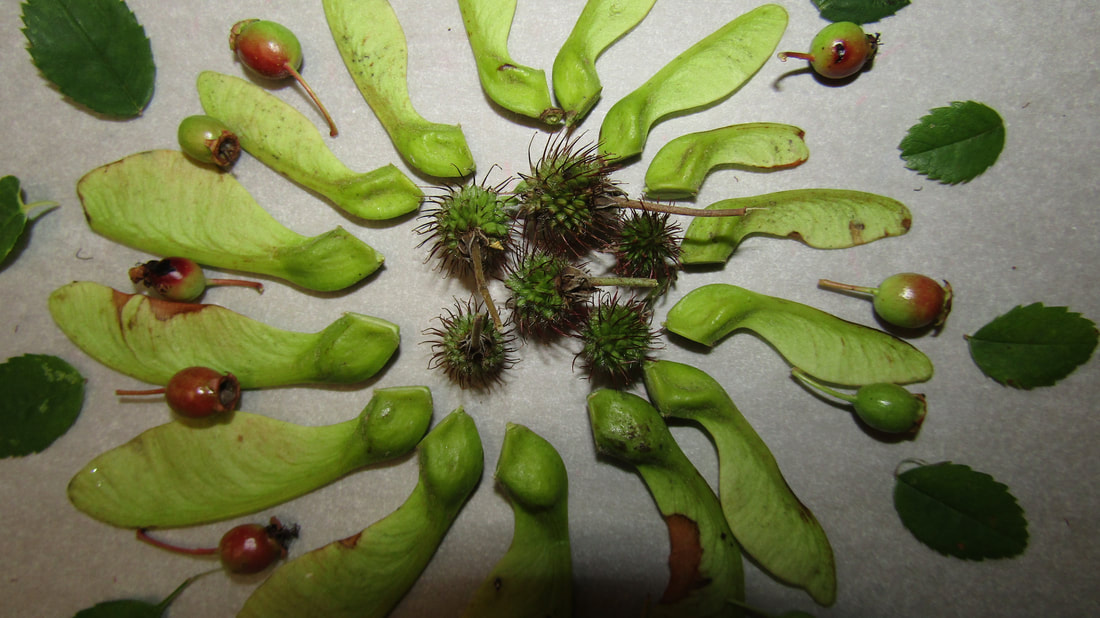
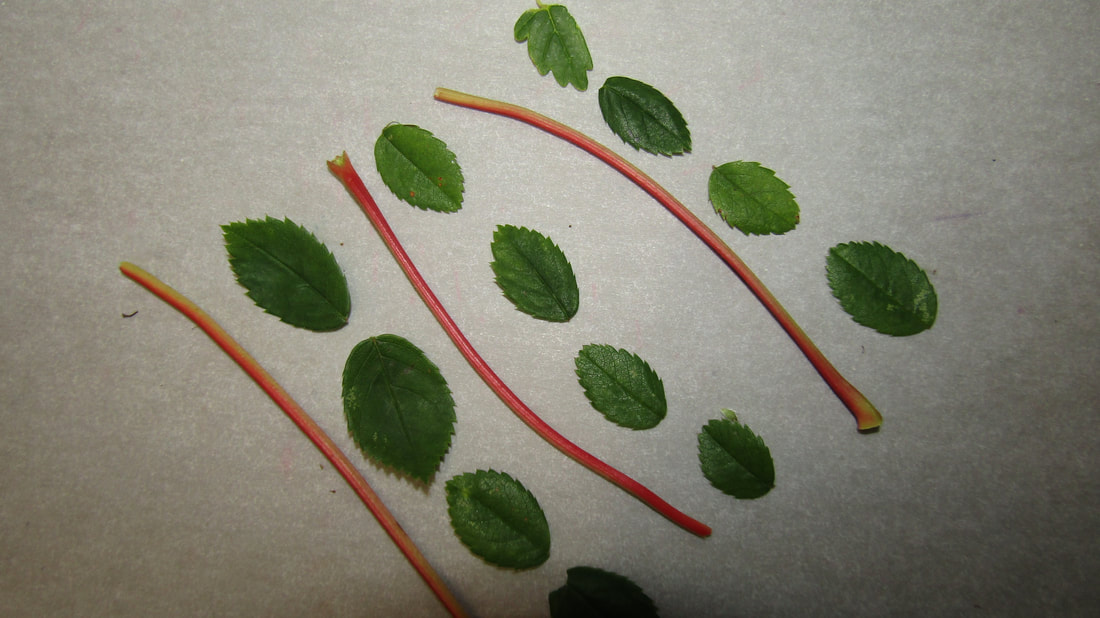
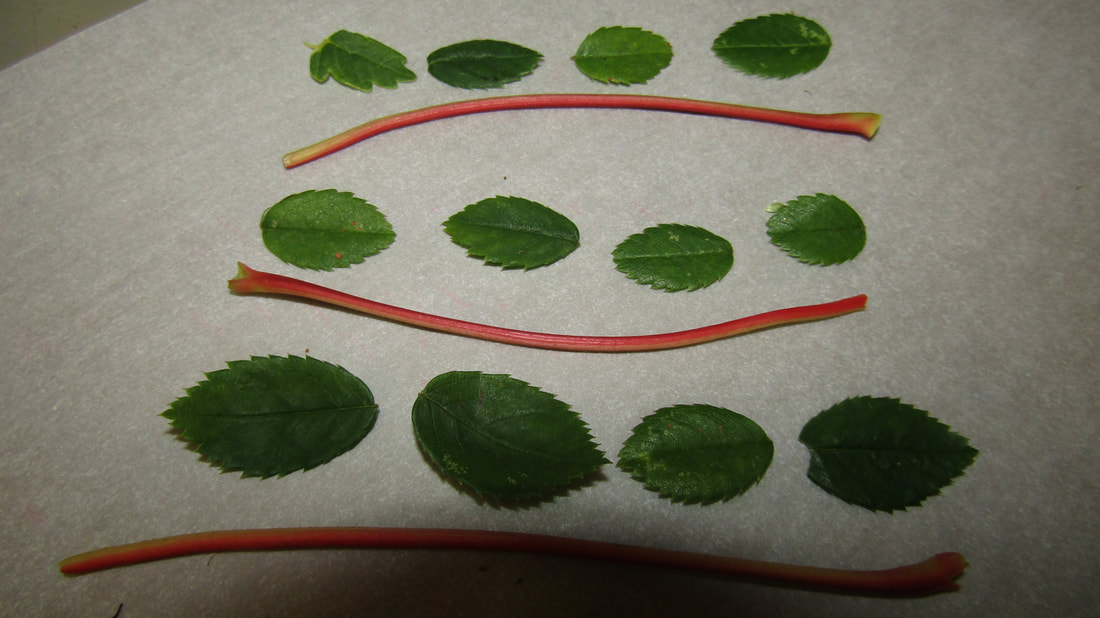
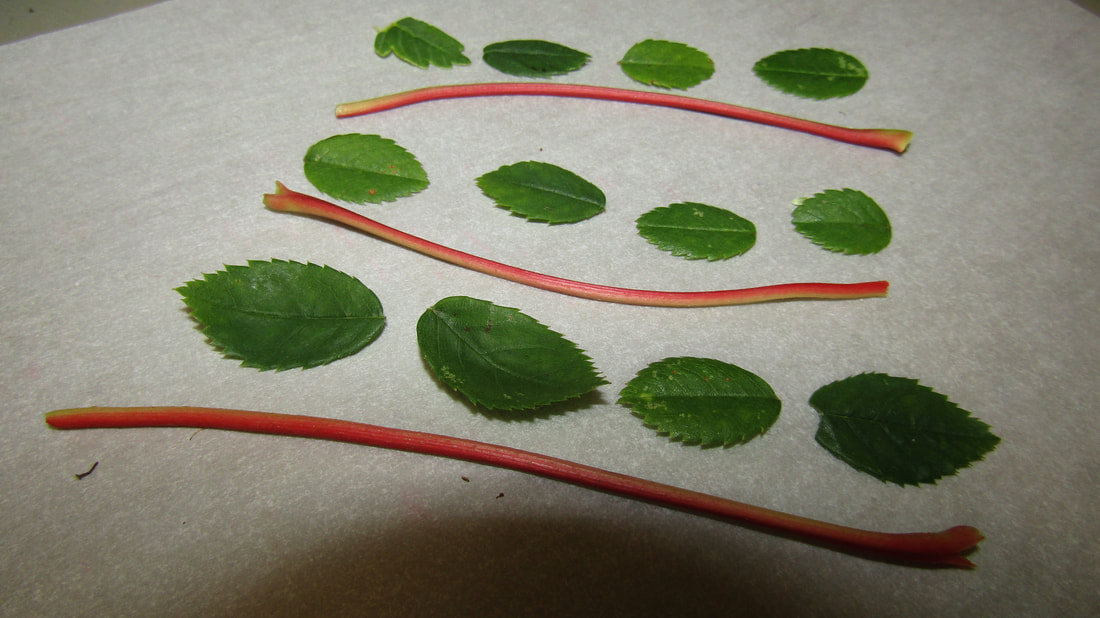
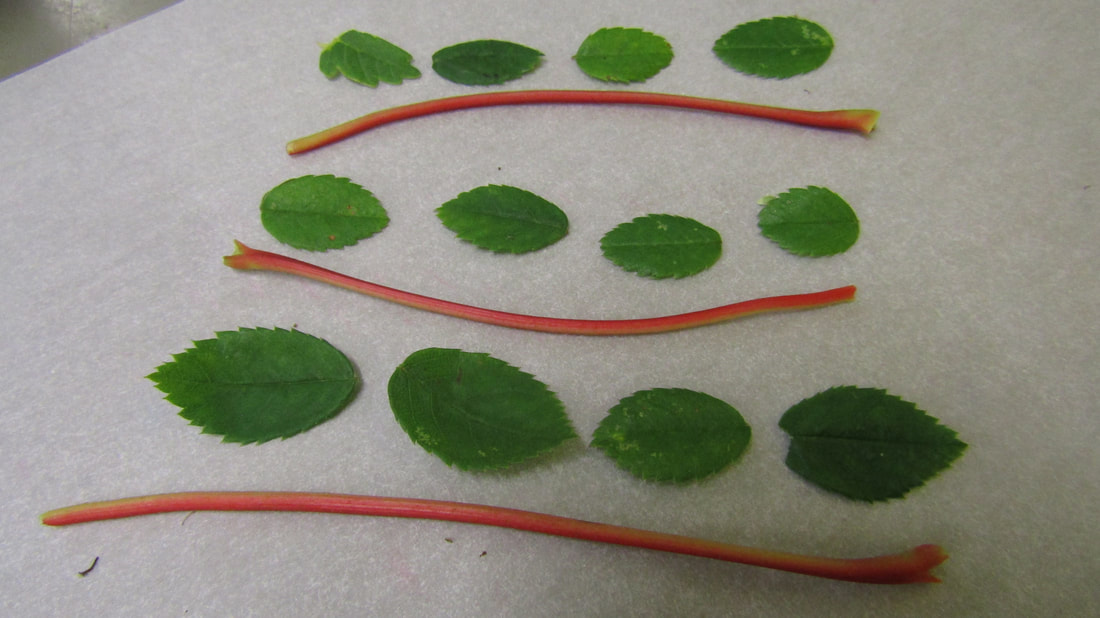
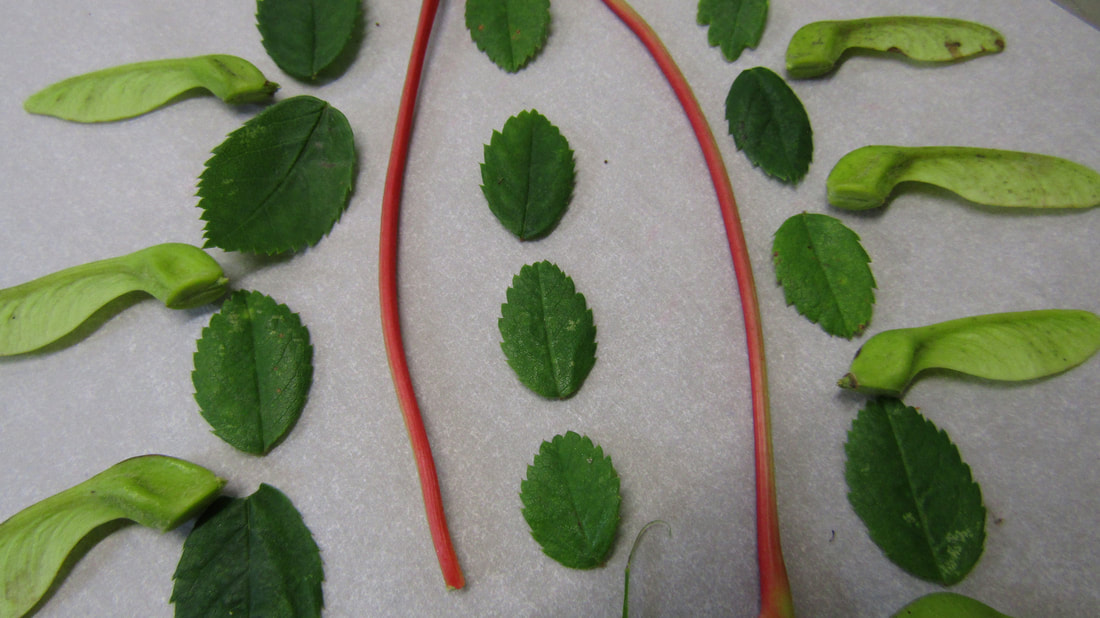
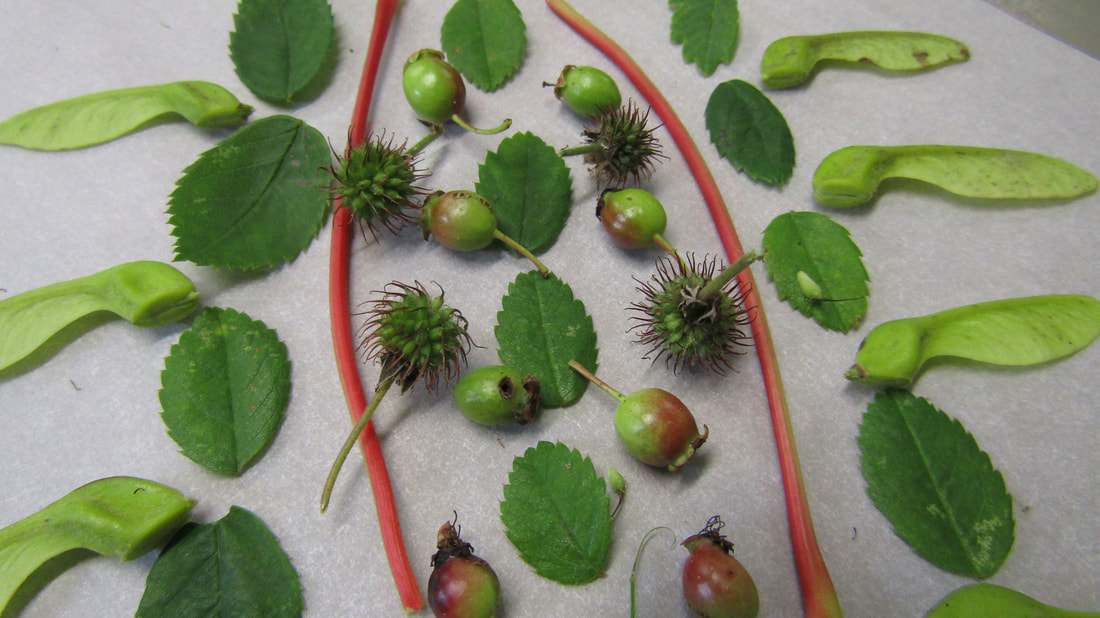
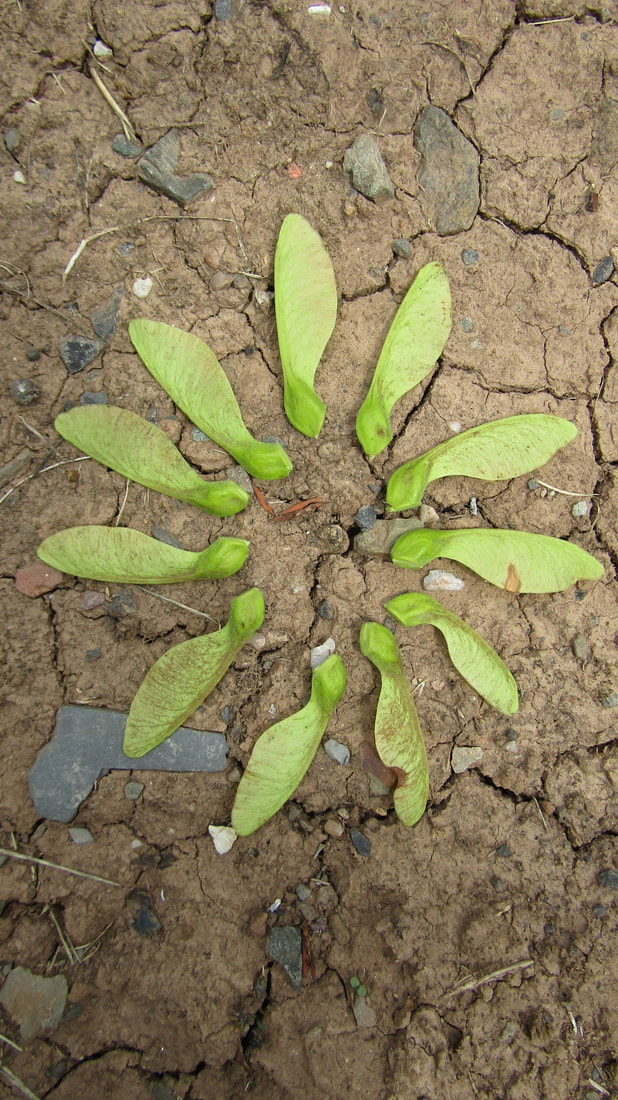
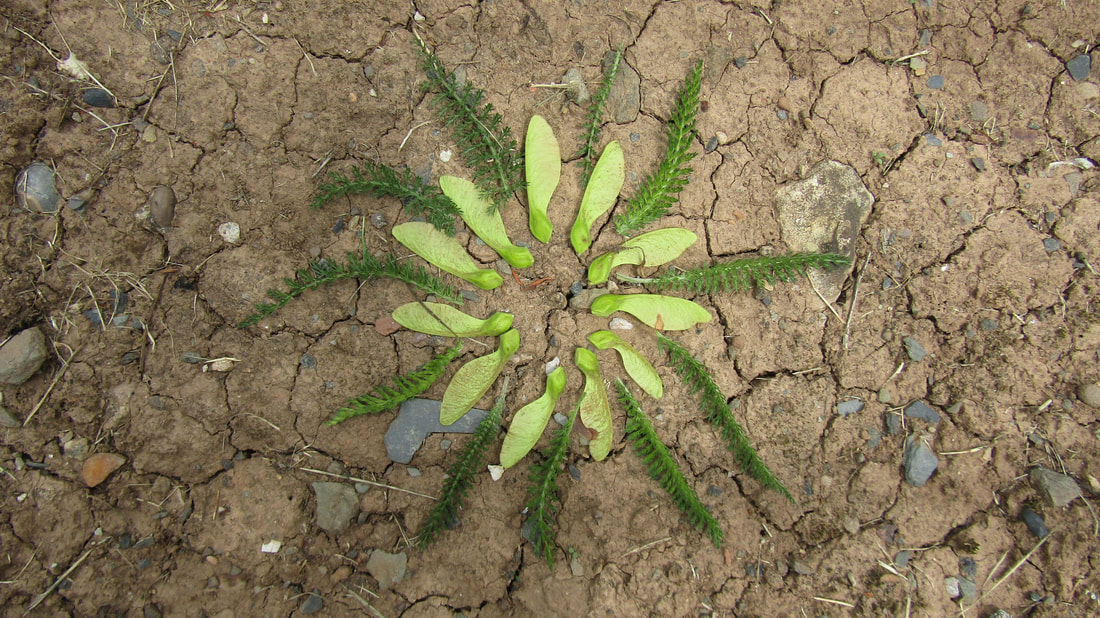
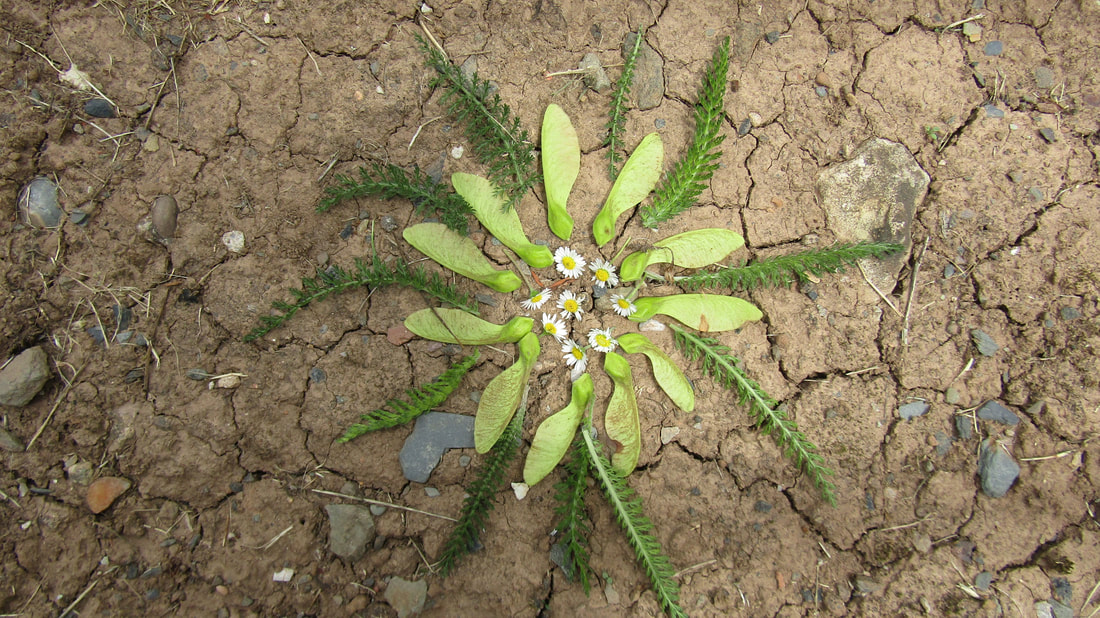
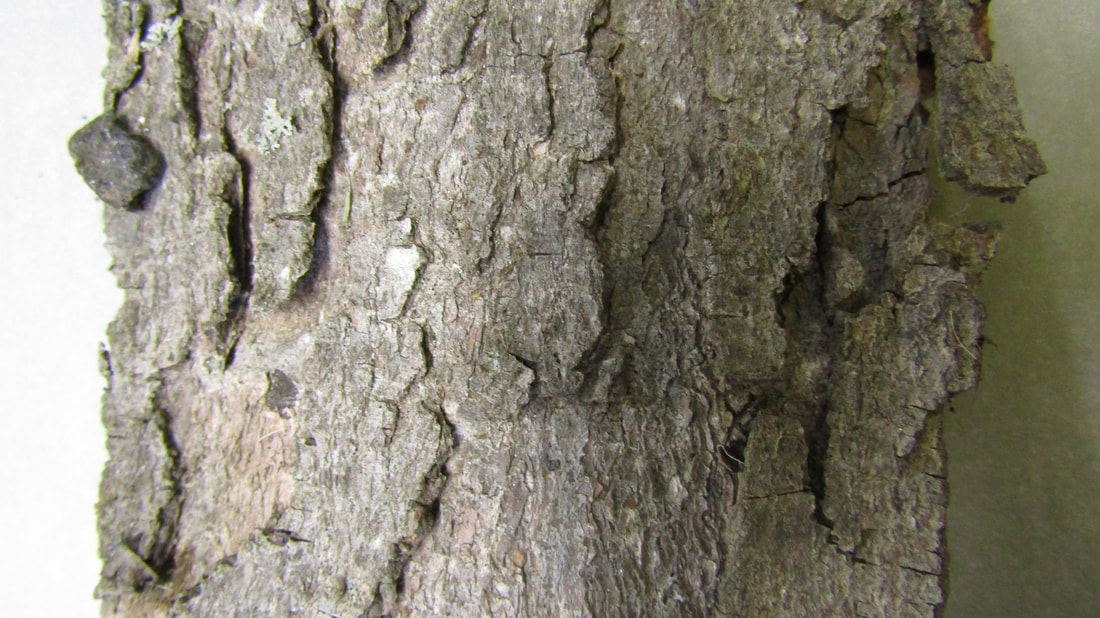
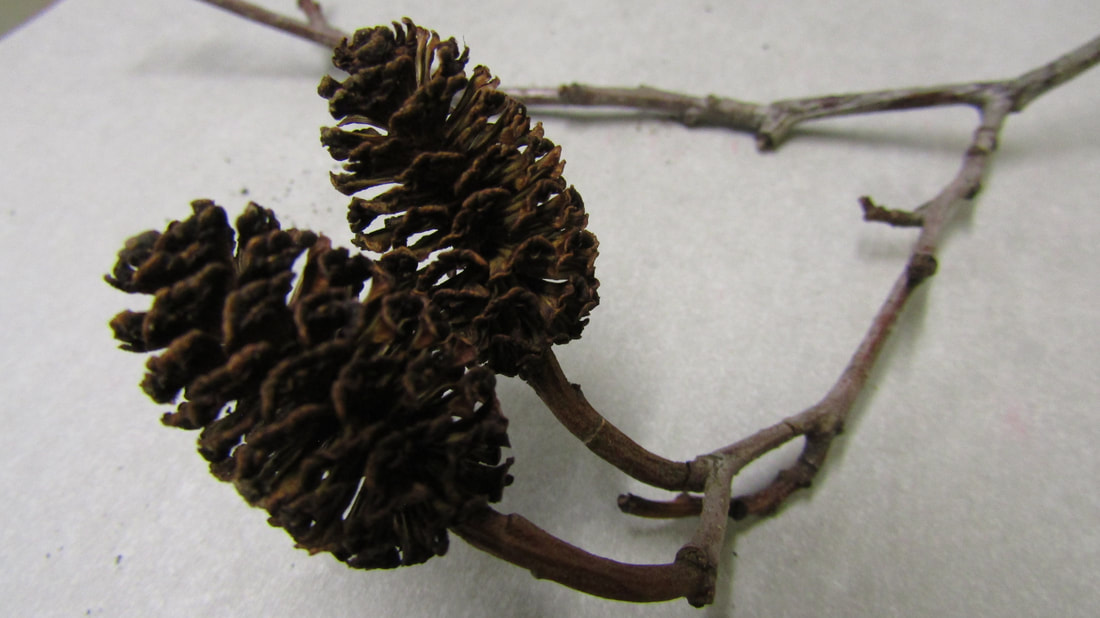
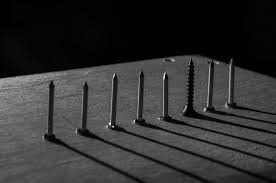
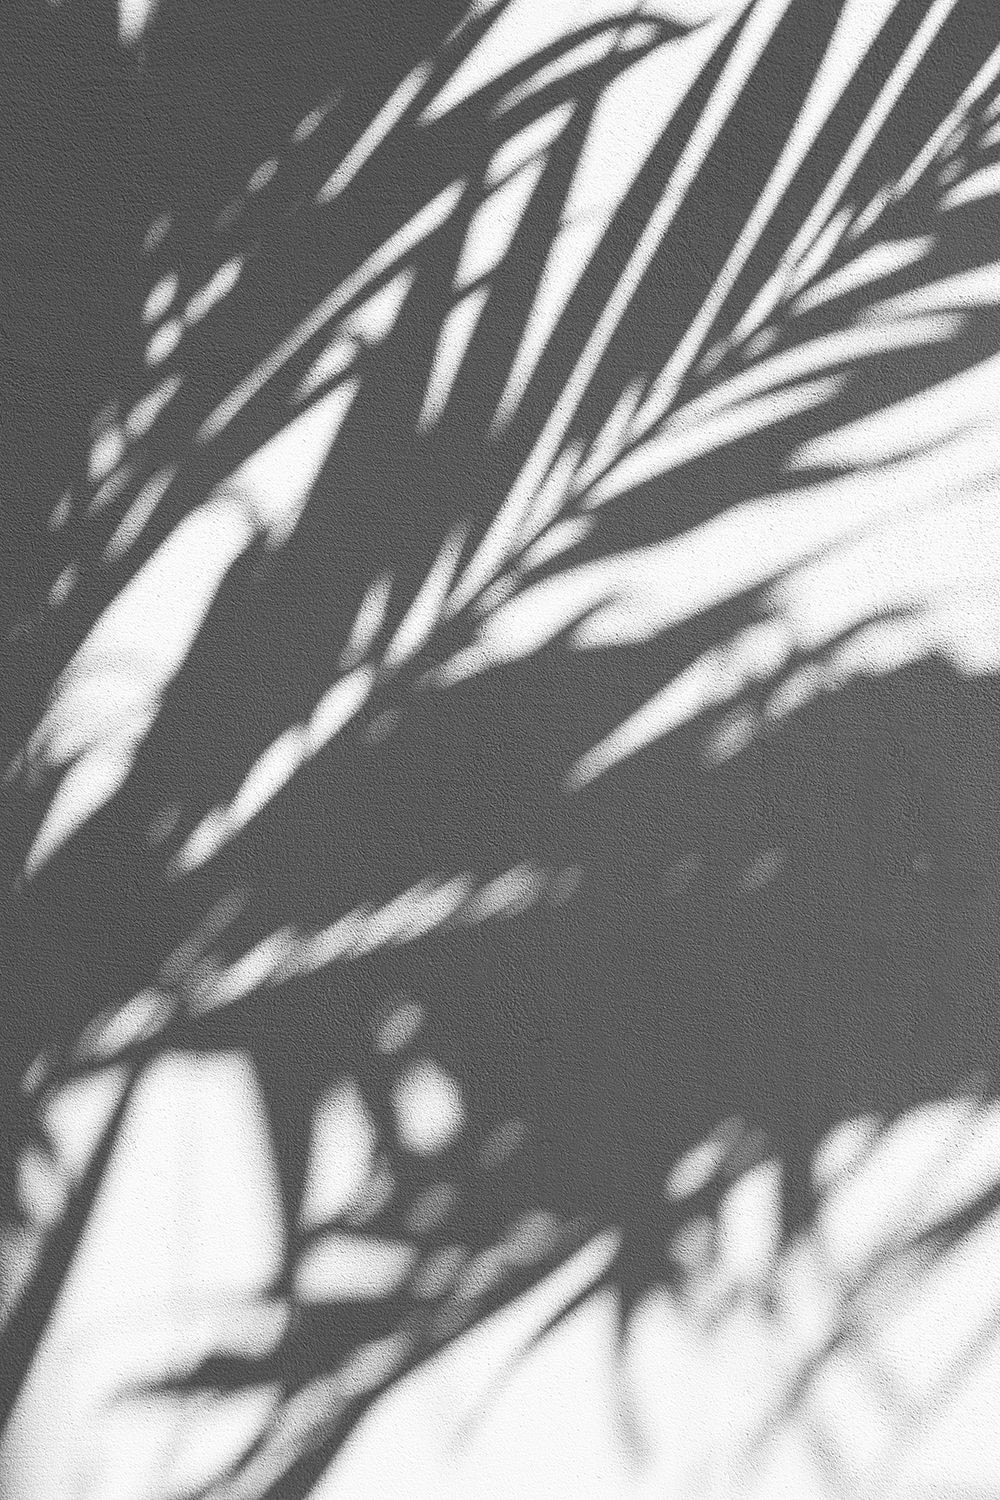
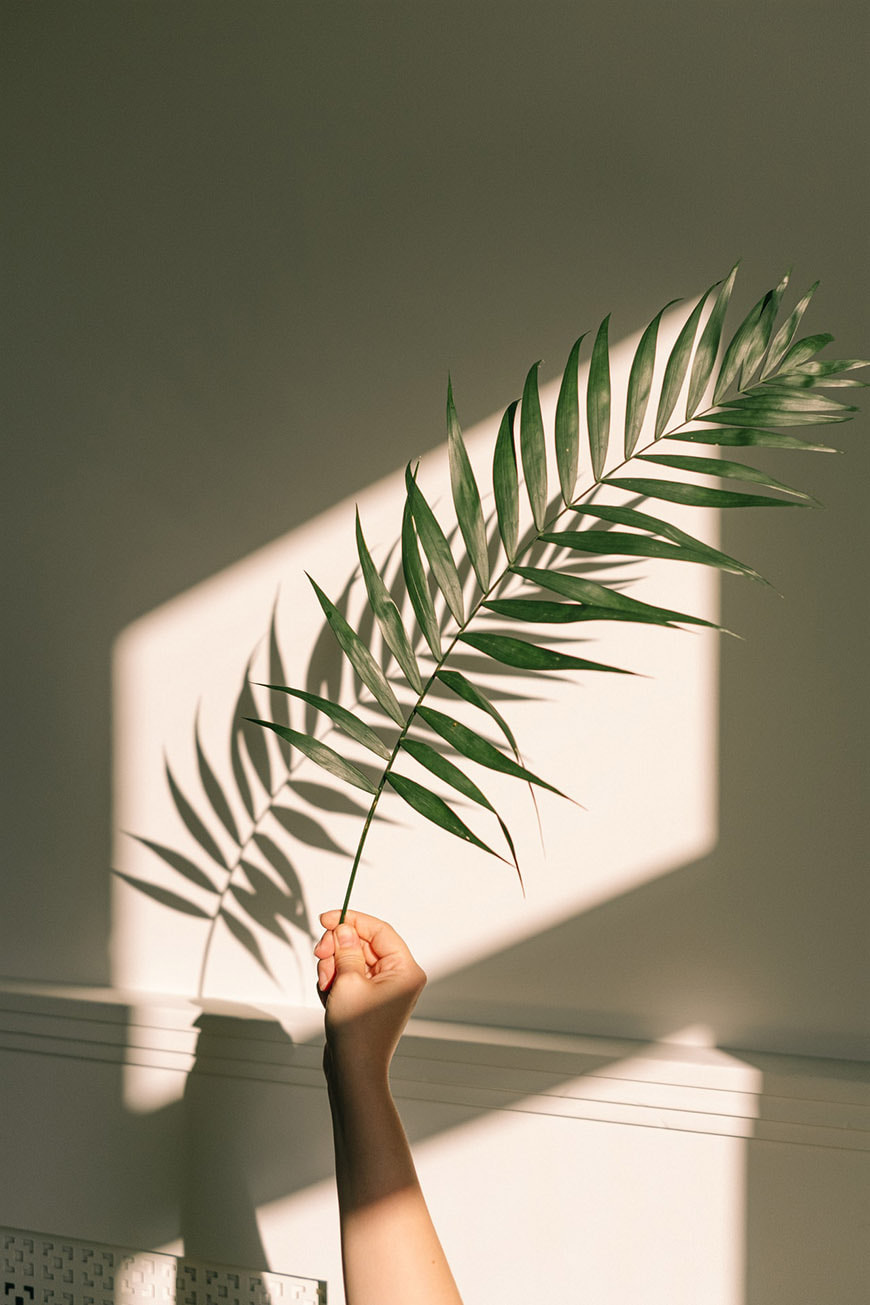
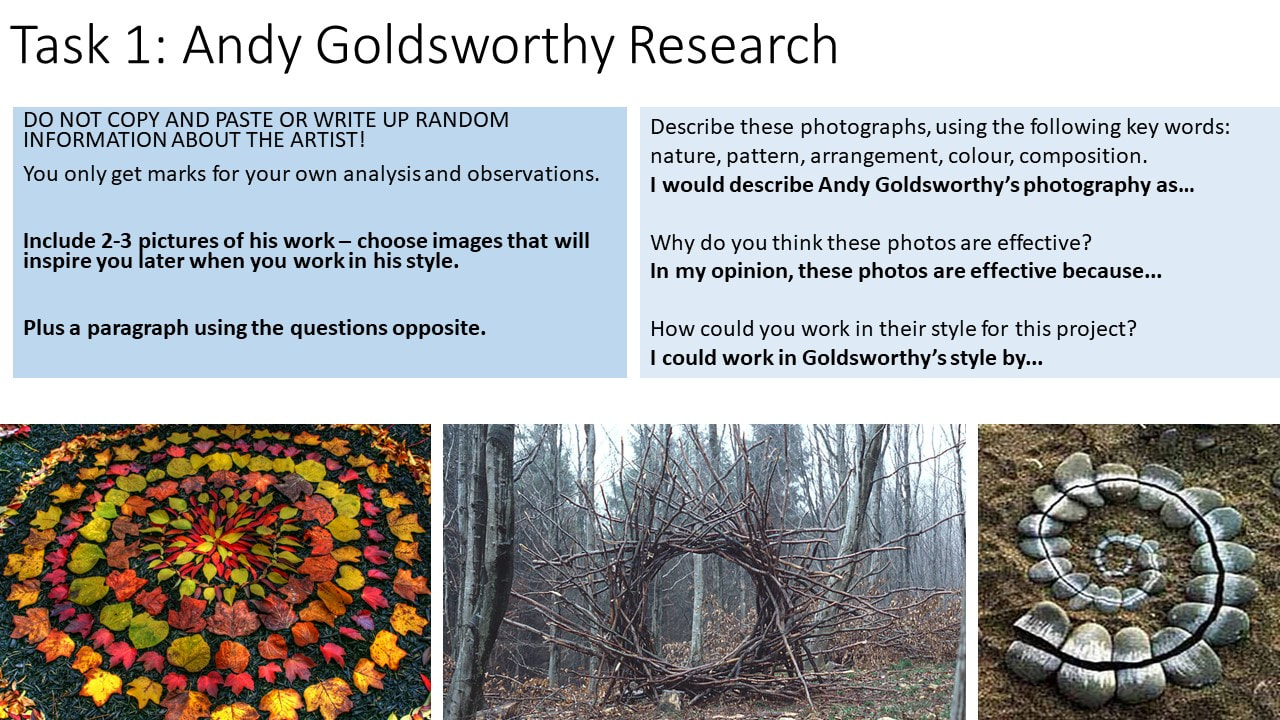
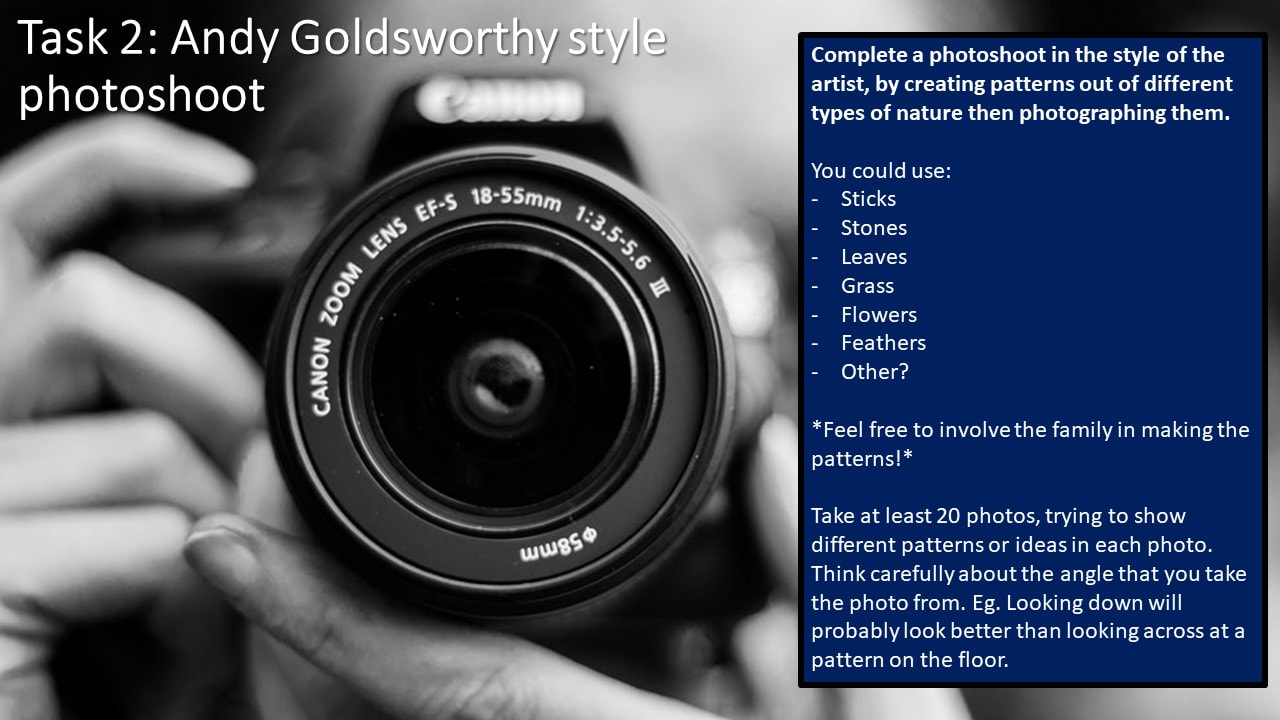
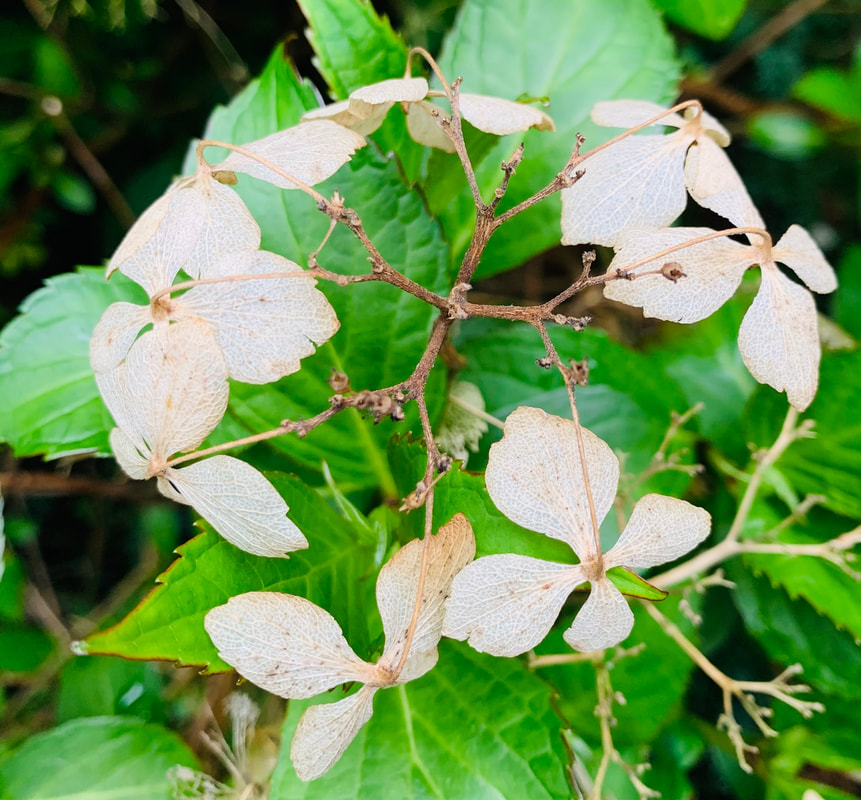
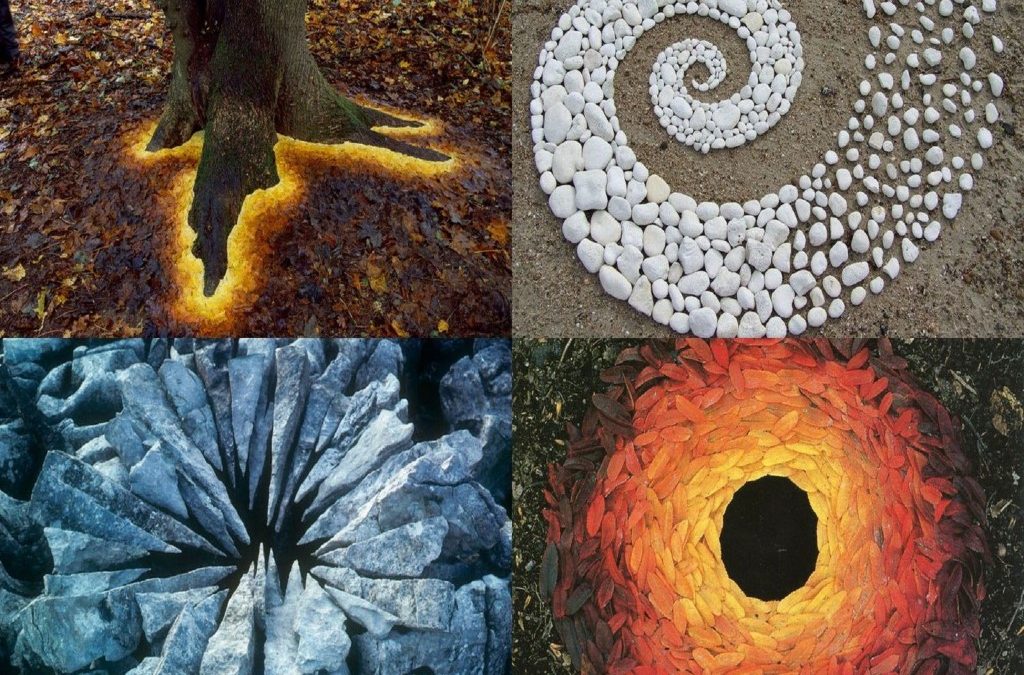
Get a head start and complete a photoshoot on Goldsworthy at home before your next lesson.
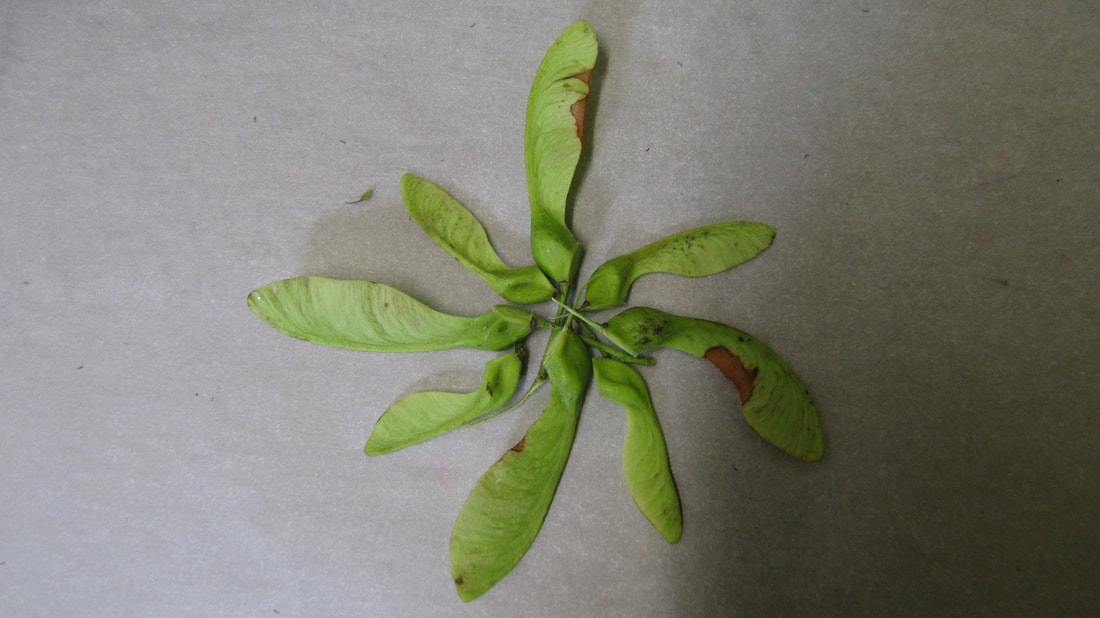
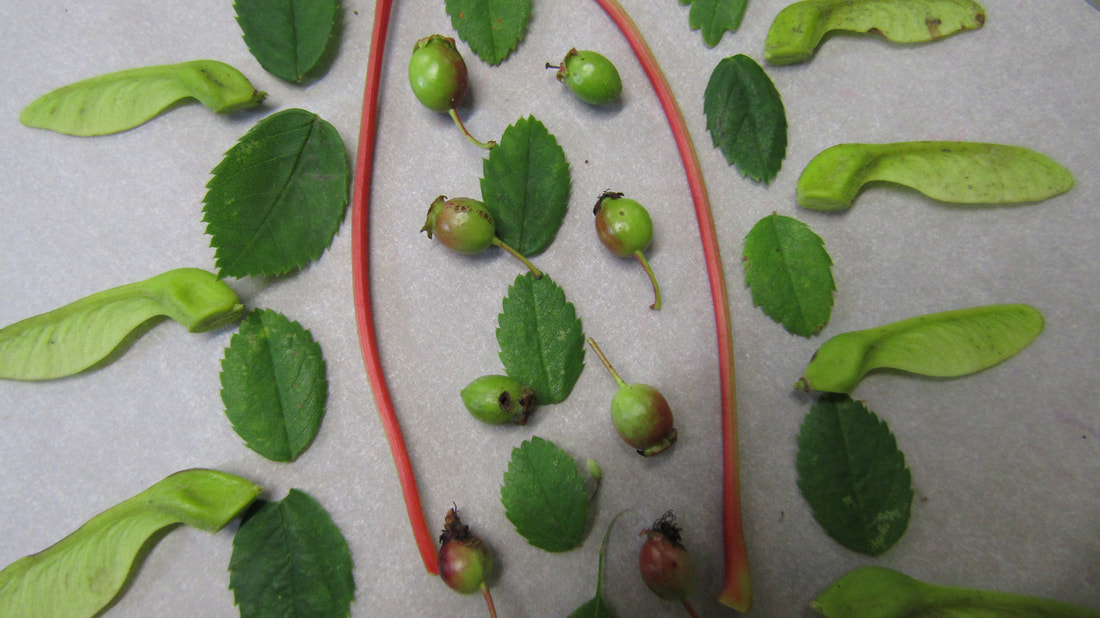
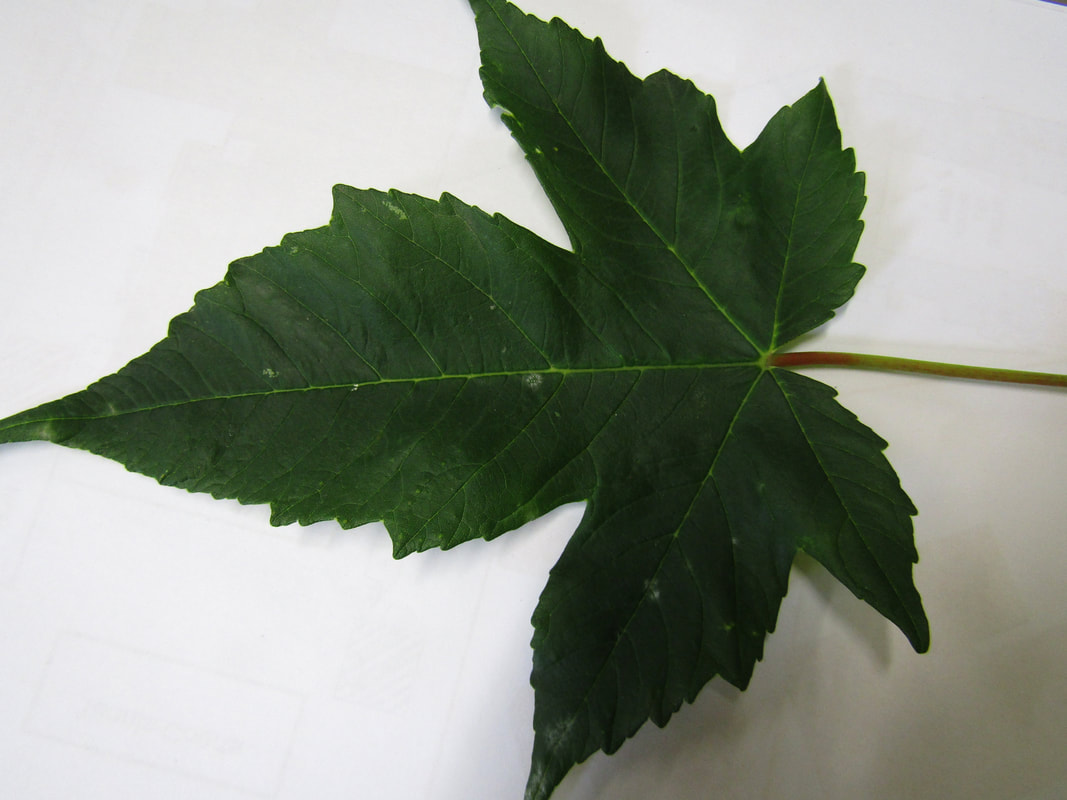
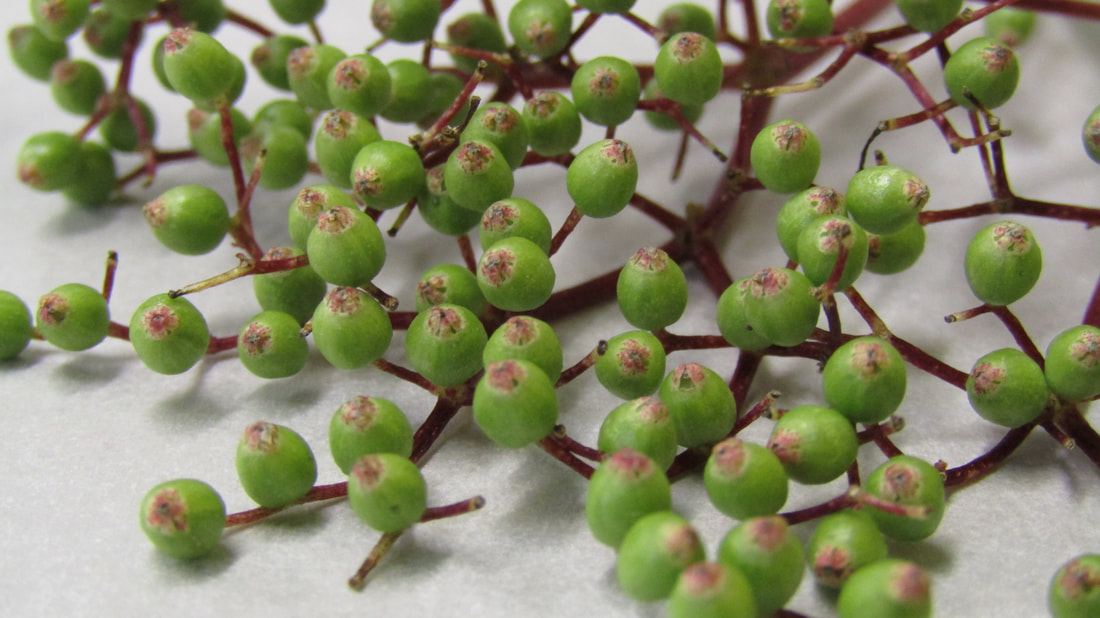
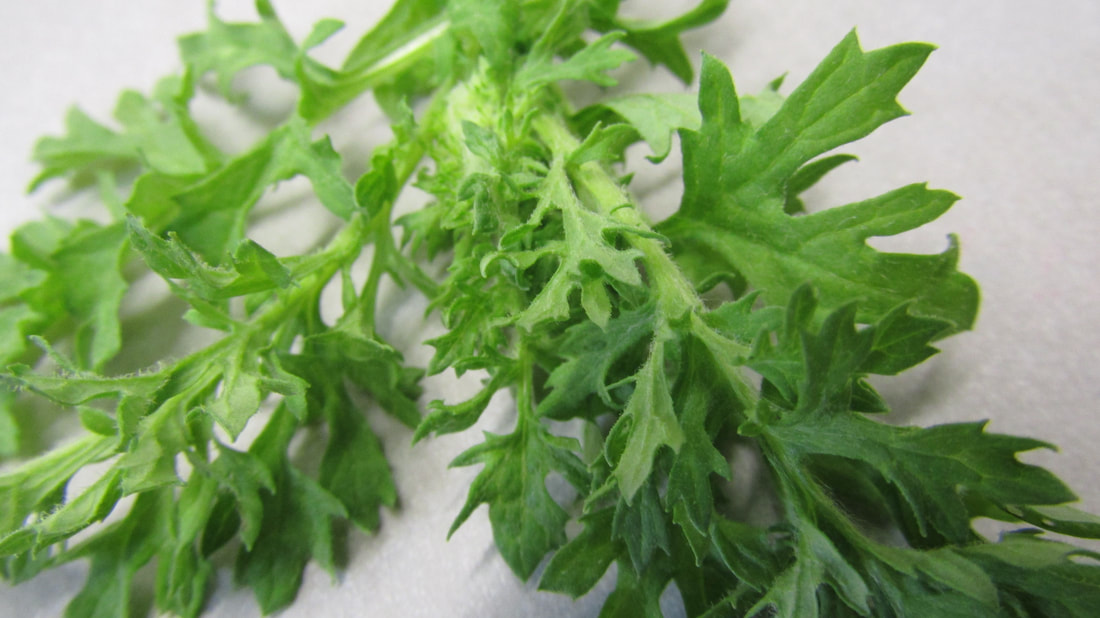
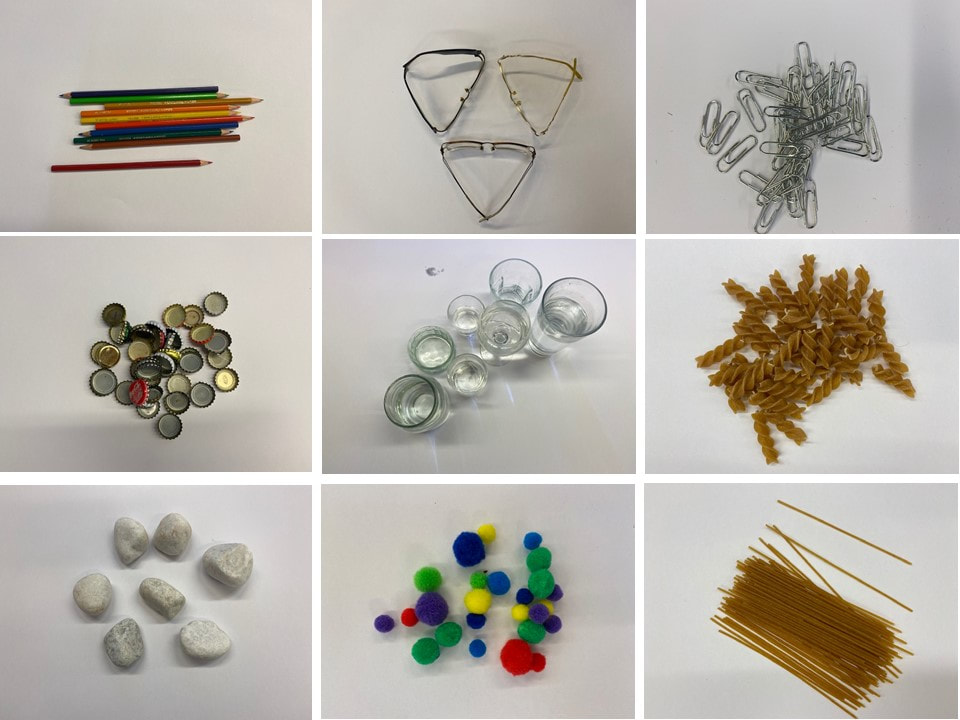
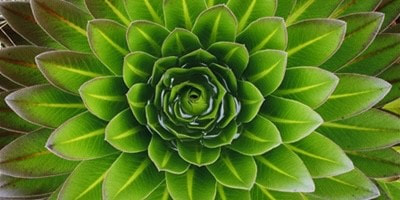
Find different types of nature, arrange patterns either on paper or in their natural environment eg. on grass or mud, then take as many photos as you can, changing something each time you take a photo! |


|
|
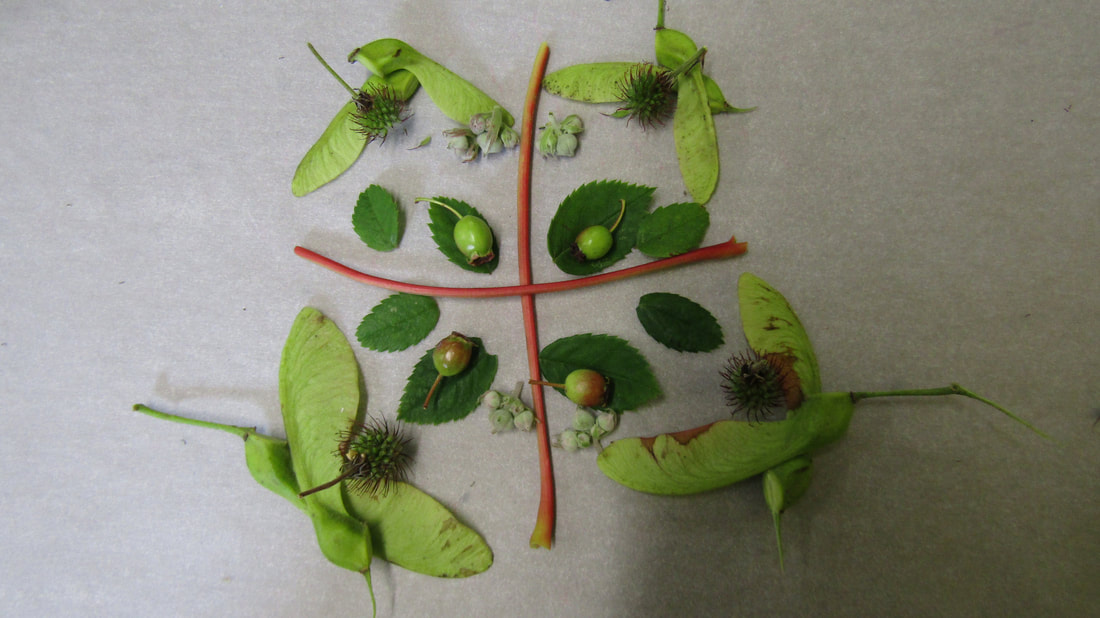
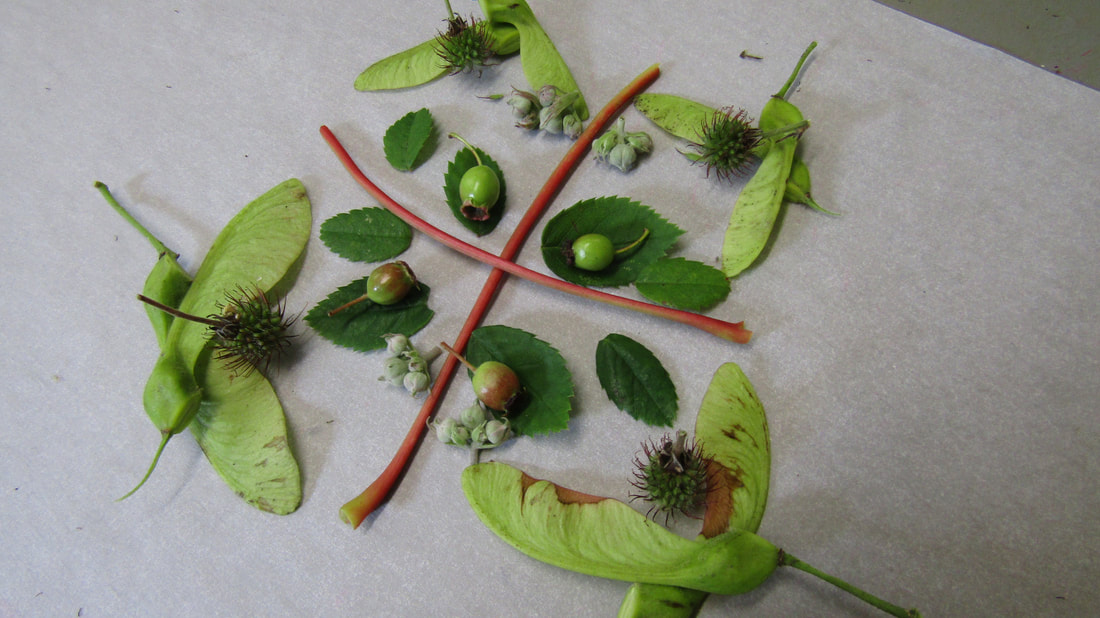
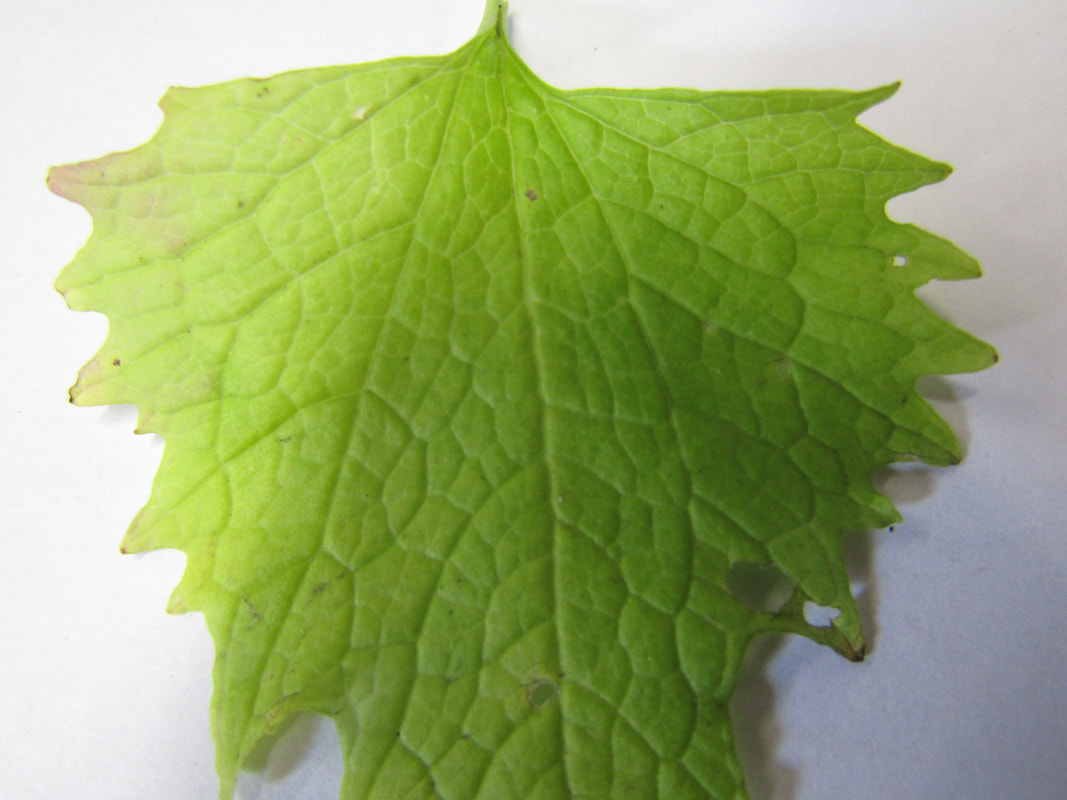
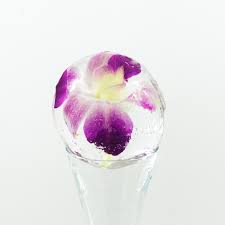
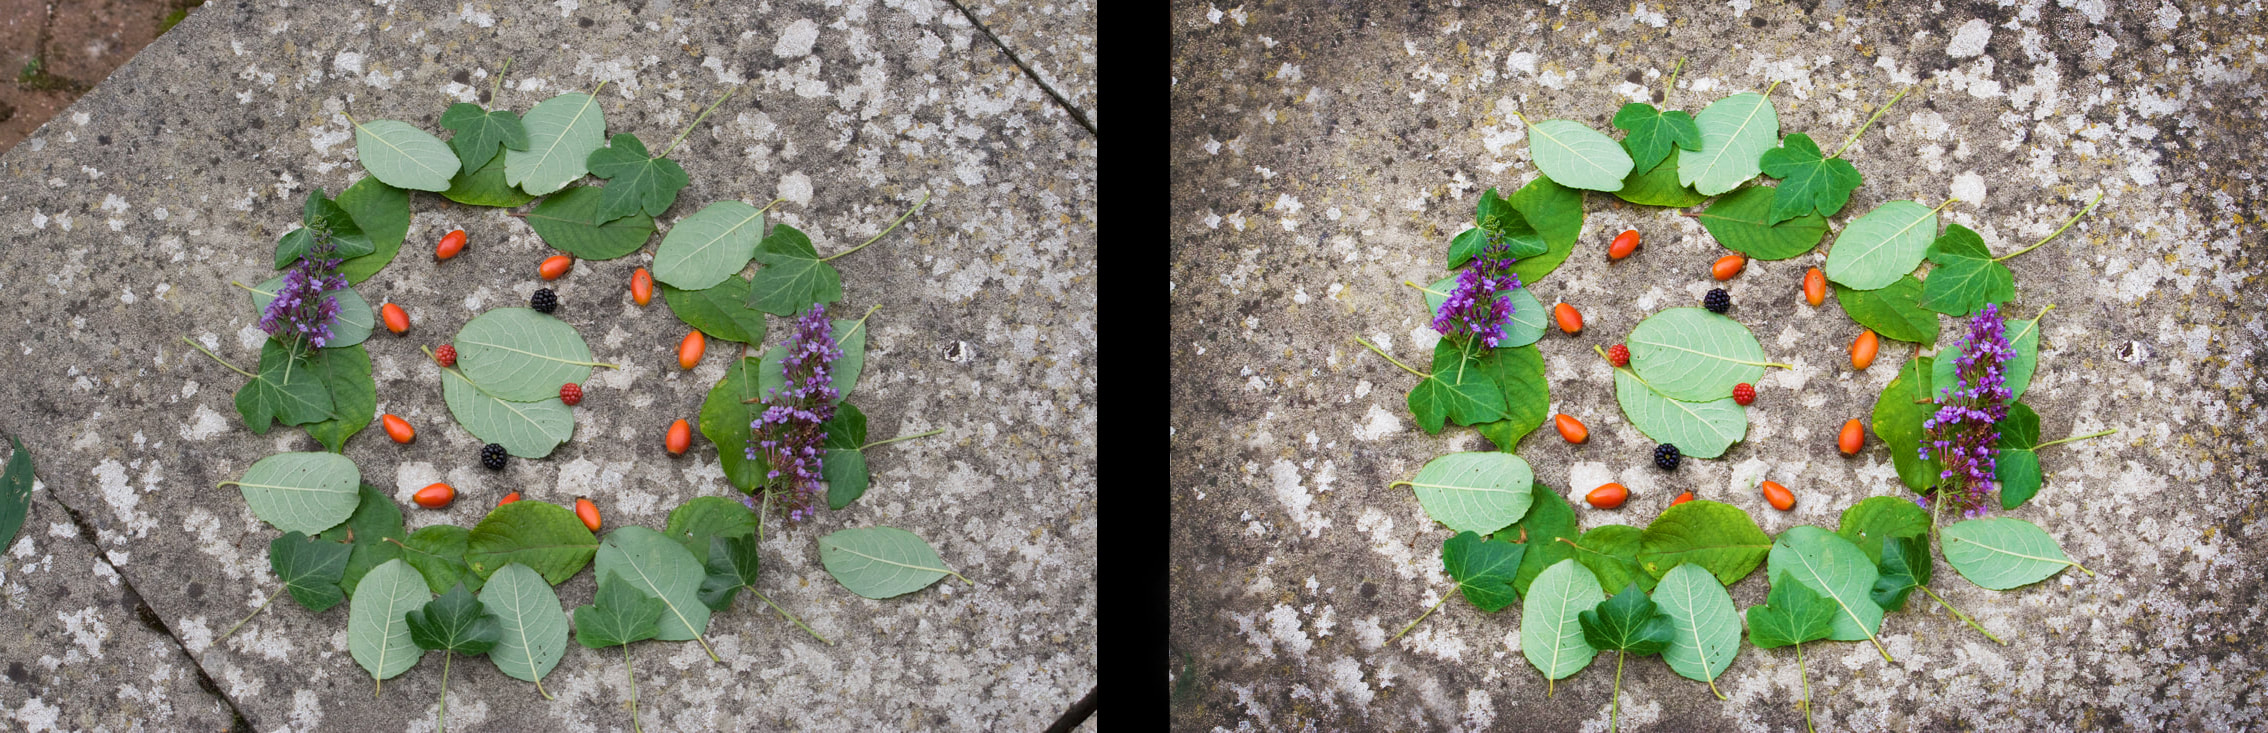
If you want to build on this lesson for extra marks, repeat this photoshoot using brightly coloured flowers/petals and leaves for a different set of images to work with in future lessons.
Tip: Look for reduced flowers/plants in the supermarkets! |

|
|
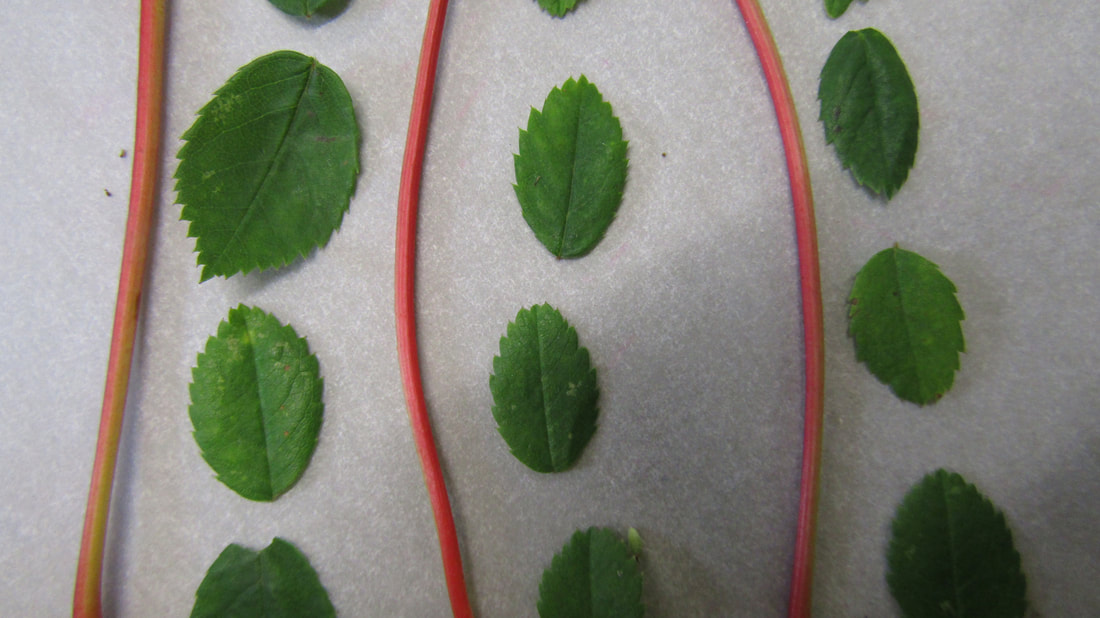
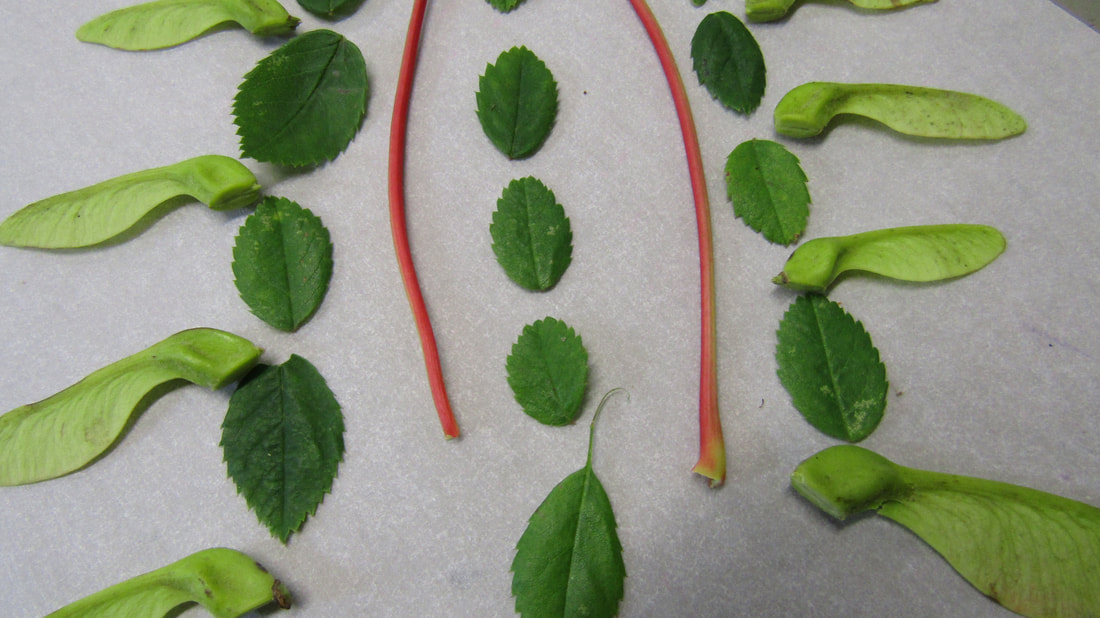
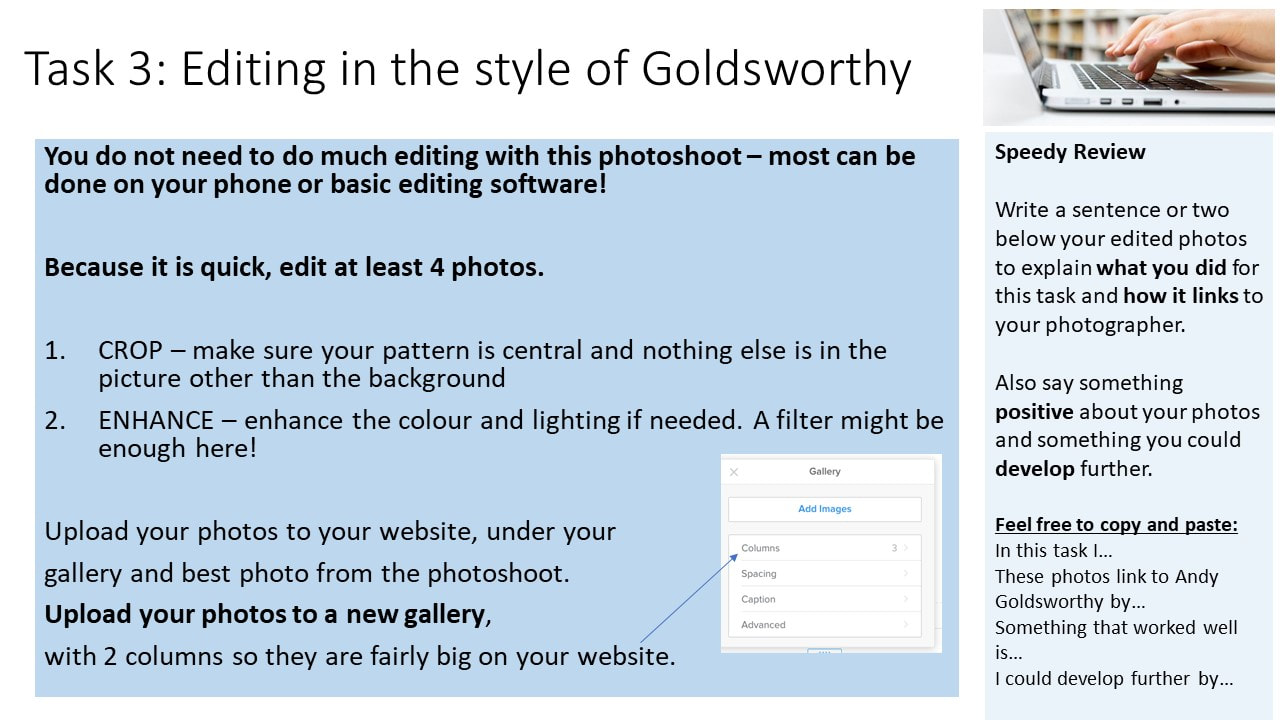
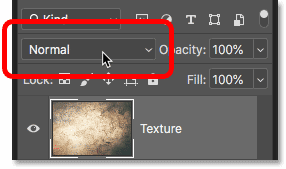
To push yourself further with editing, try using the clone tool to improve your image.
Remove things from the picture or smooth out the background etc. Just hold ALT when you click to copy an area, then draw over the area you want to paste it on. When you upload your edited photo, upload the BEFORE photo as well as the AFTER so you can see the difference side by side! Also write a sentence or two to explain how you have edited using the clone tool. 
|


|
|
Want to push further towards the higher grades??
Use photoshop or an app of your choice to enhance some of your photos, applying the things you have learnt in the lesson to your new photos. Edit as many as you wish as this is an extra! eg. you can add a vignette and filter using instagram and you could download a clone app to remove imperfections in your photo! |


Discuss in pairs:
|

|

|
|
|
|
|
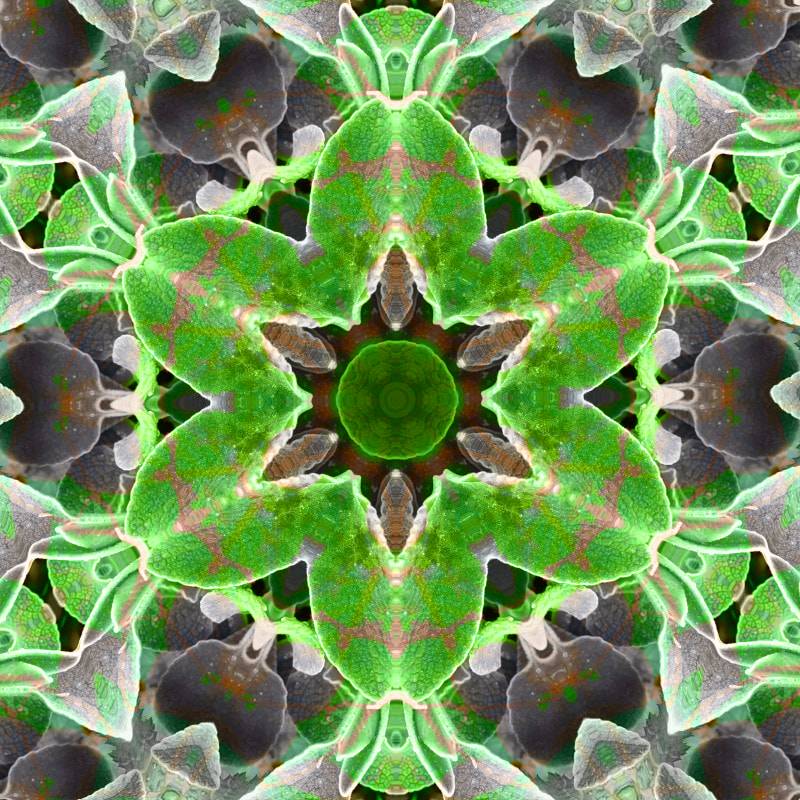
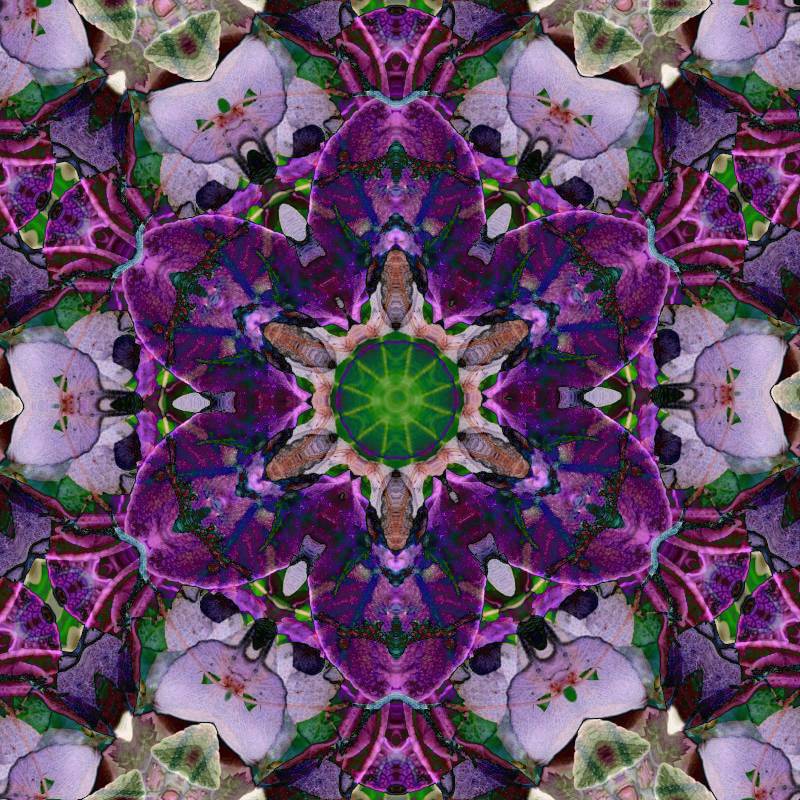
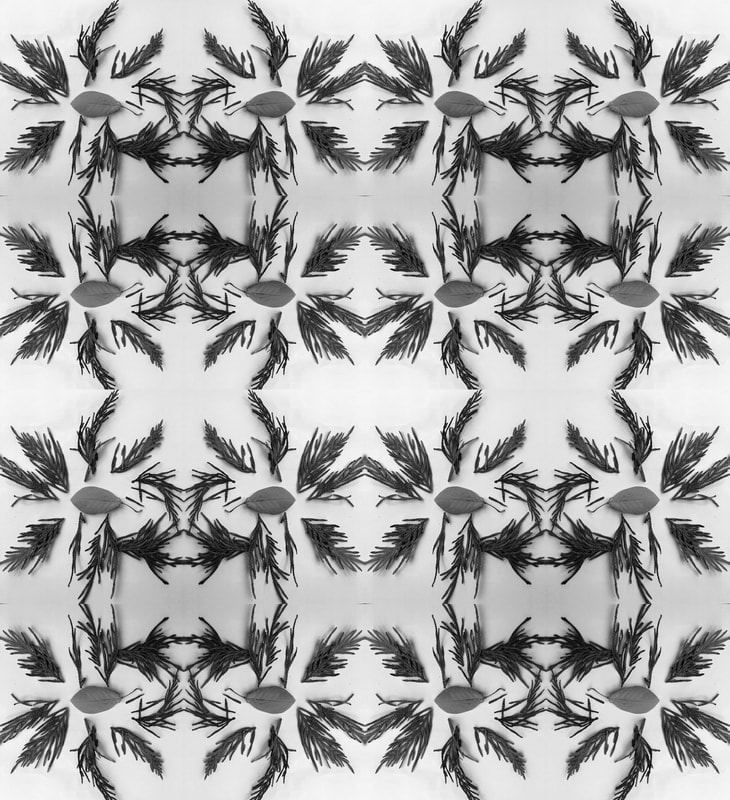
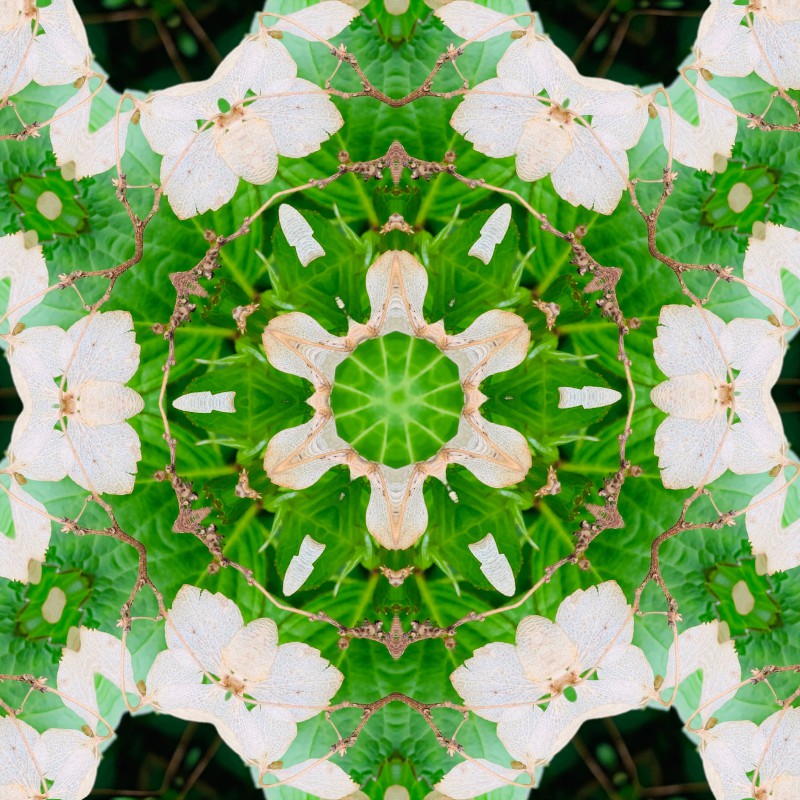
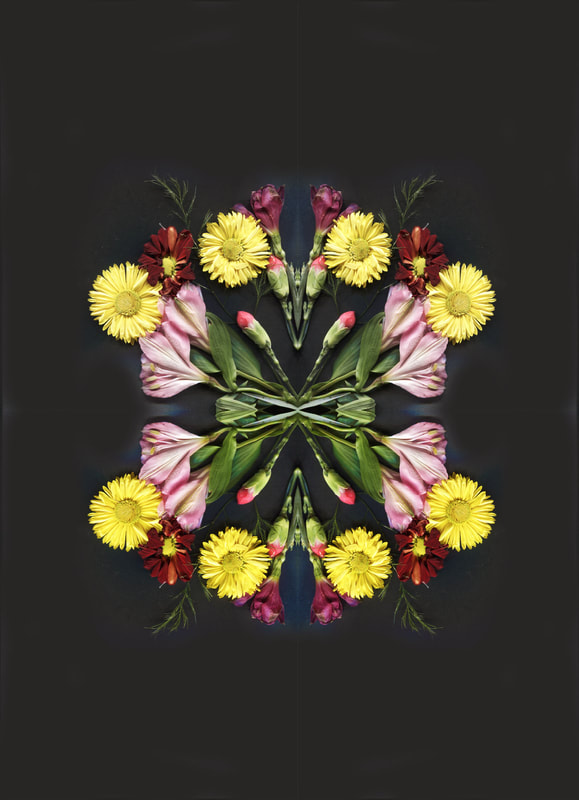
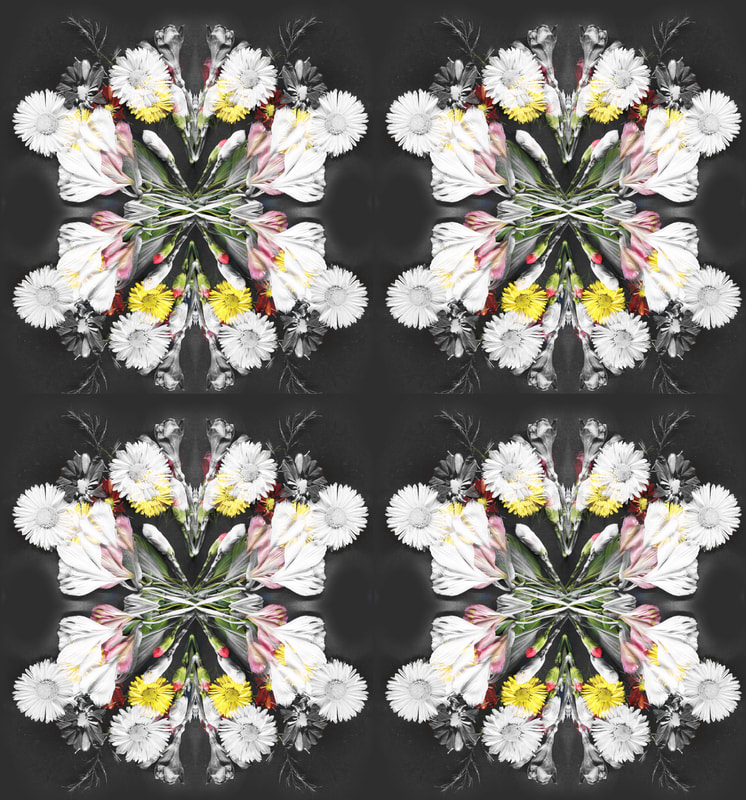
Copy and paste your first photo into photo pea (ctrl+V) then copy and paste another over the top.
Use the blend tools to try 4 different ways of blending your photos together. Save all 4 as JPEGS (remember to export) then upload them to your website (See below). |
|


|
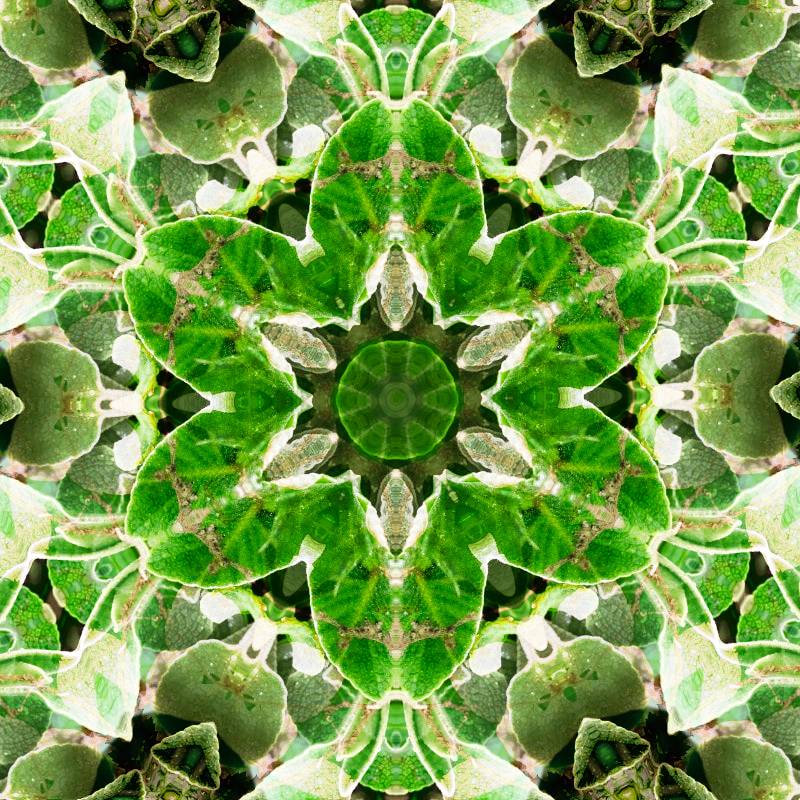
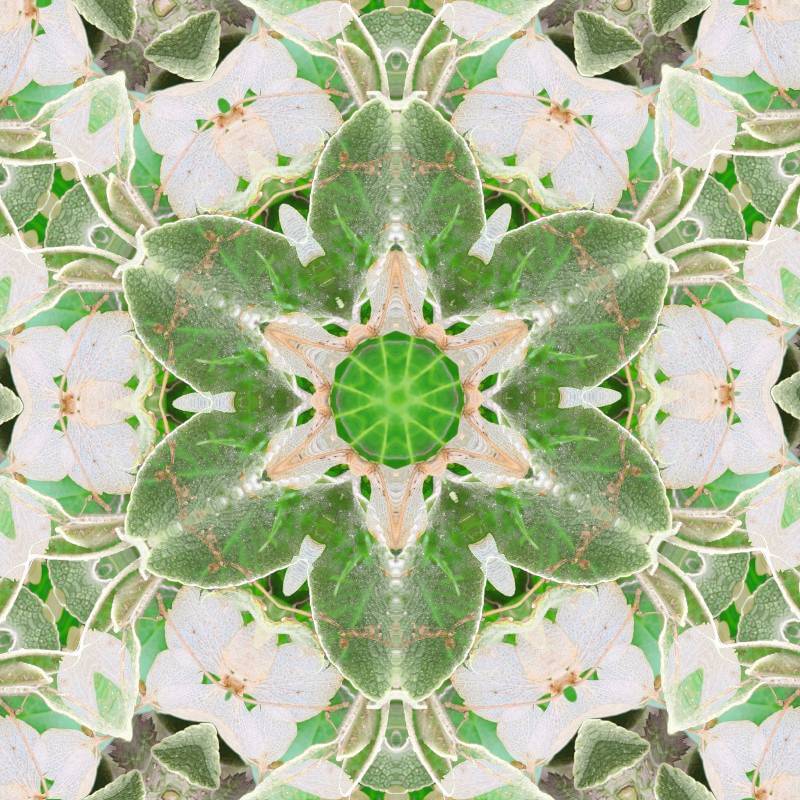
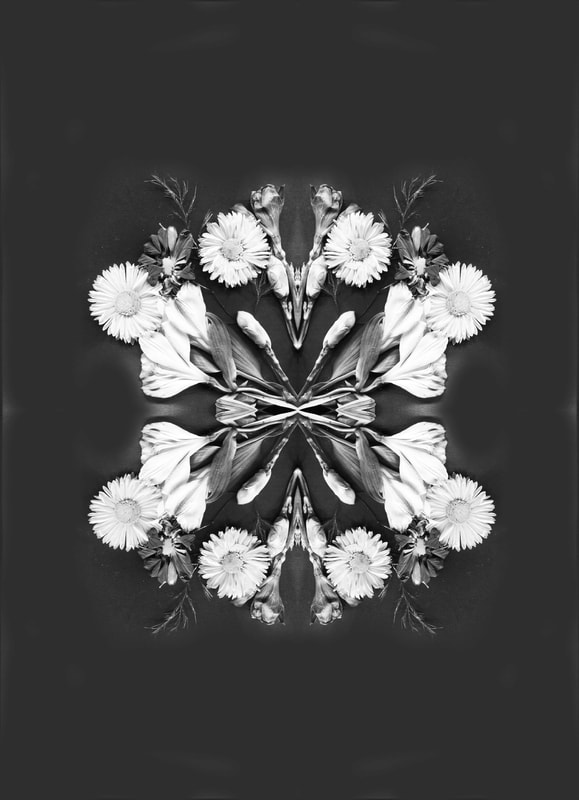
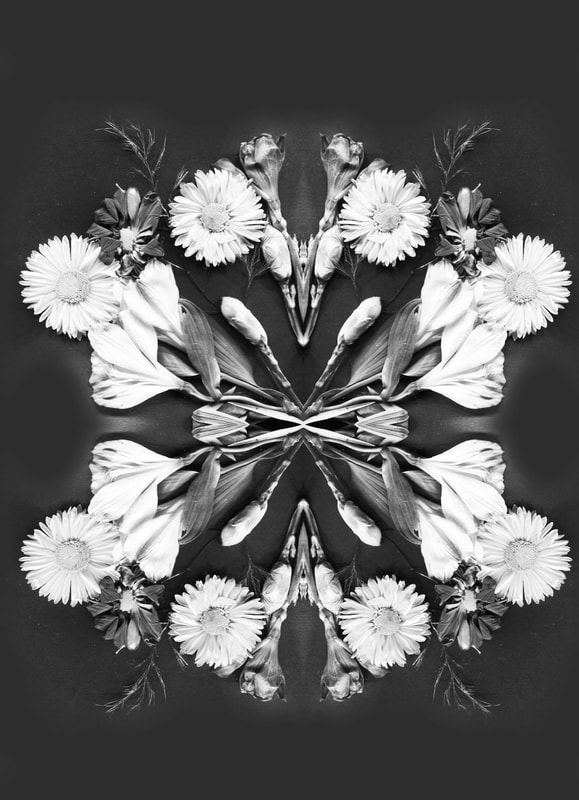
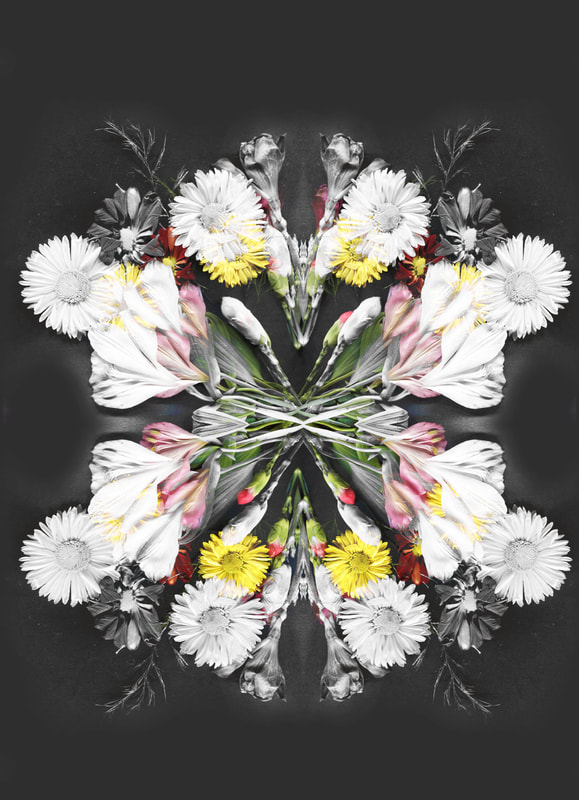
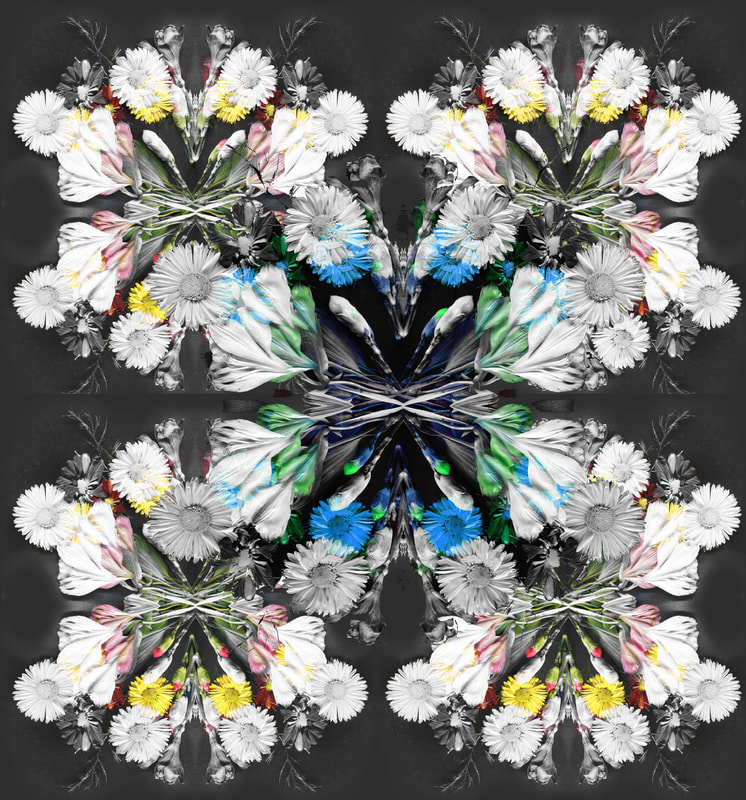
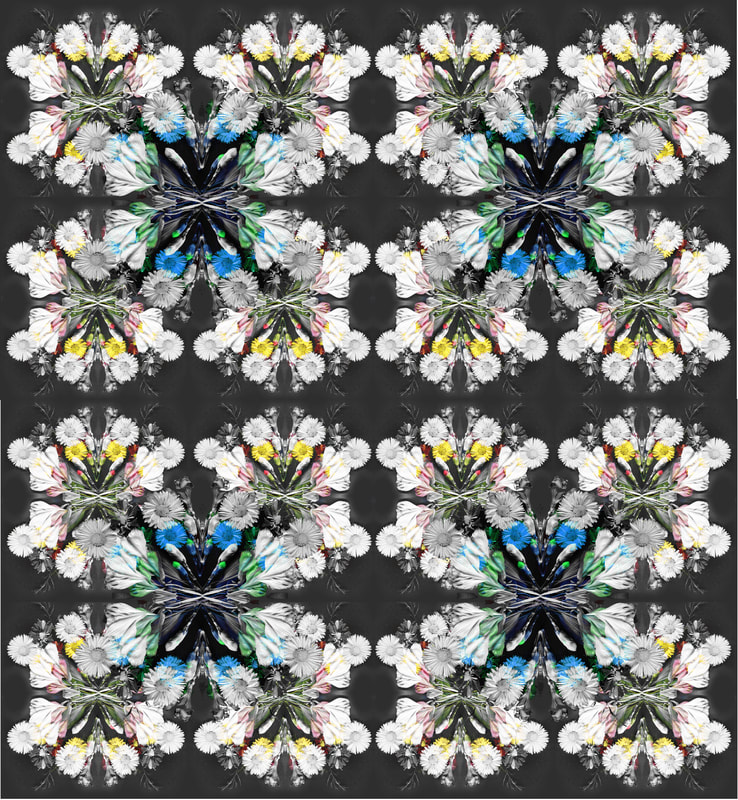
All finished? Fantastic.
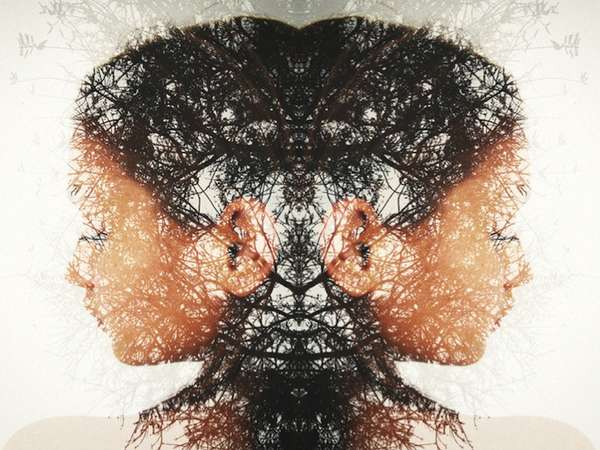
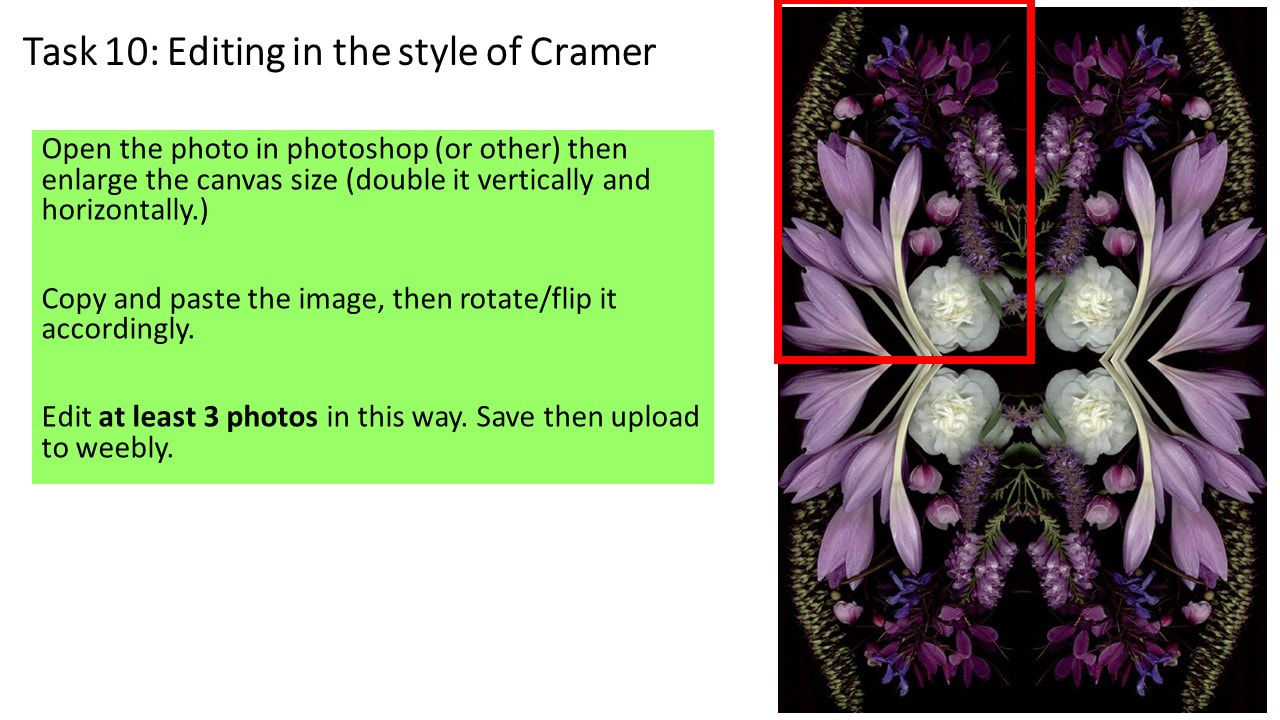
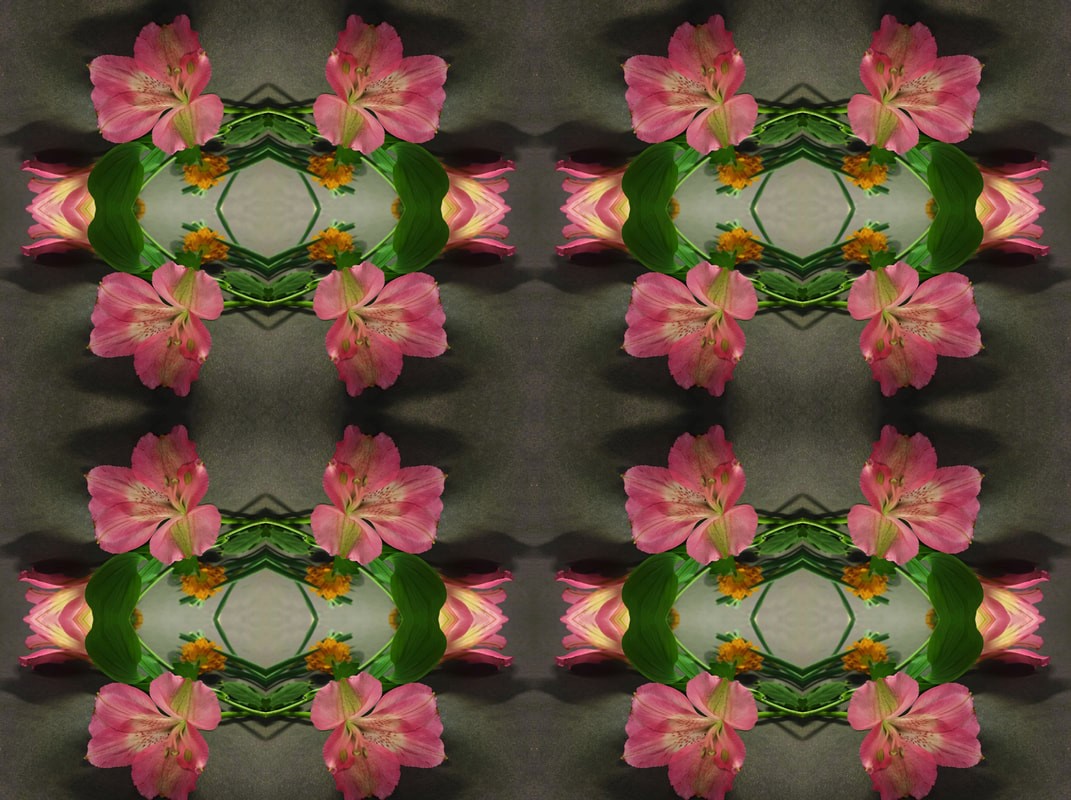
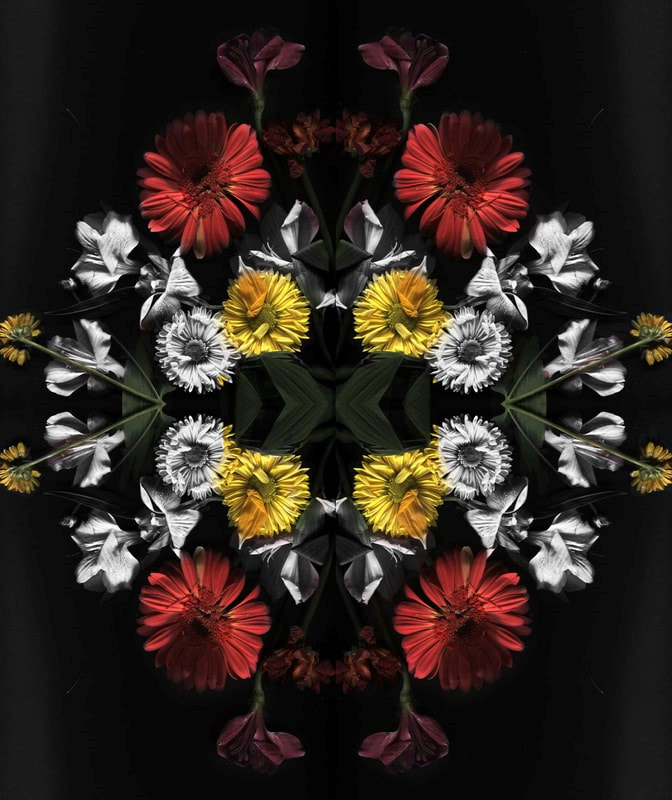
As an extension, edit two different kaleidoscope photos on photoshop/photopea, use the same technique to blend but make one layer black and white (desaturate). Also, experiment with the brightness and contrast of this layer. Produce another 2-4 edits, depending on how long you have, and upload them into another gallery under the title 'Exploring layering colour with black and white images' |


|
GO GREEN
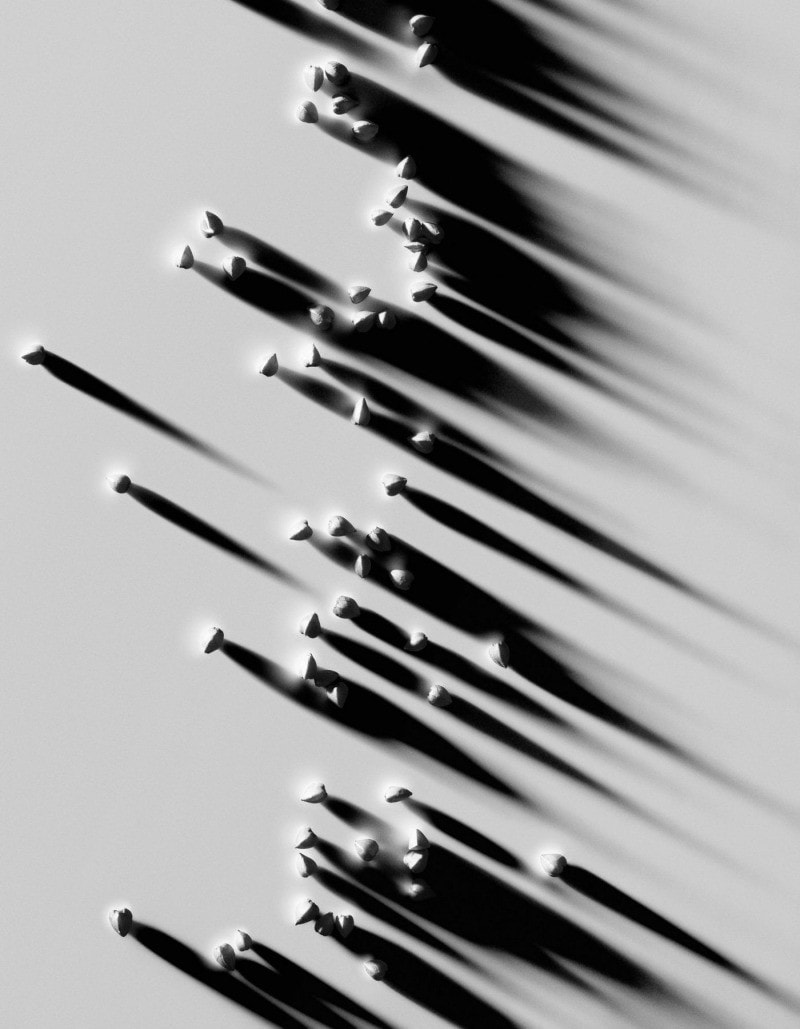
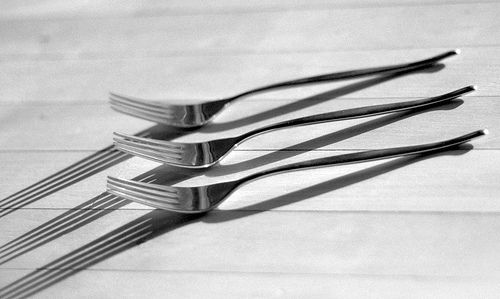
10 minute checklist... 1. Are your shadow photos uploaded to your website in a gallery at the bottom of your pattern page? 2. Are all of your Goldsworthy pattern photos (on paper) uploaded under your Goldsworthy research? 3. Are your kaleidoscope photos uploaded? 4. MOVE all work linked to Craig Cramer to your skills page. hover on the top left of each box, click move then click your skills page. We might come back to this artist later, but I'm hoping you'll get more marks by adding shadows instead! |

|


Easier: With sentence starters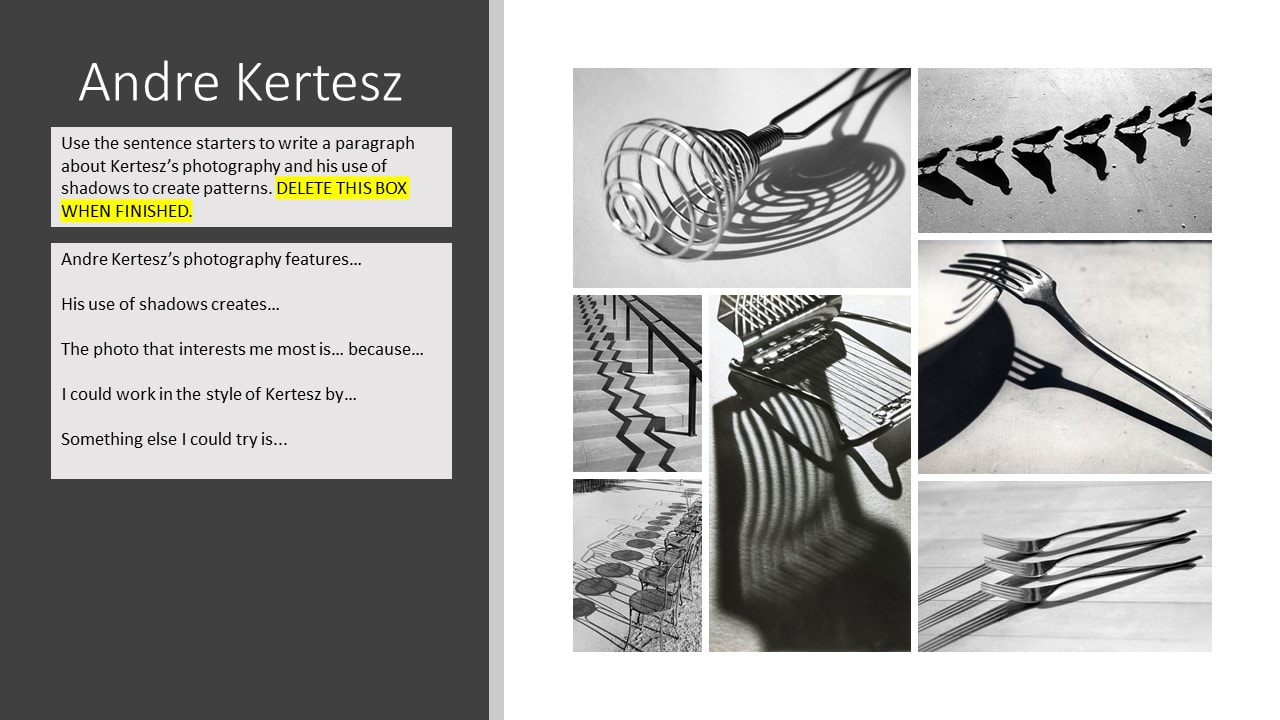
|
HPA: More challenging option
|

|
|
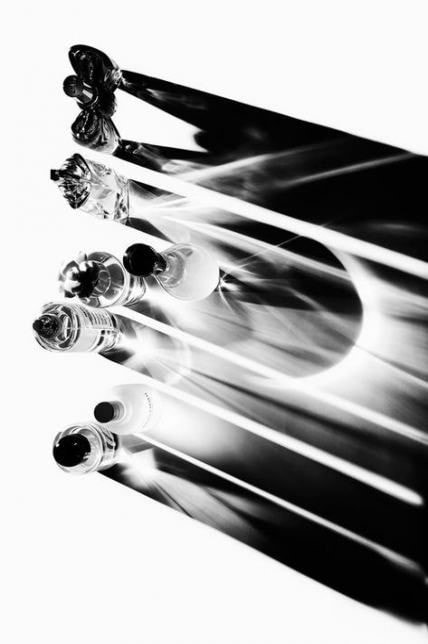
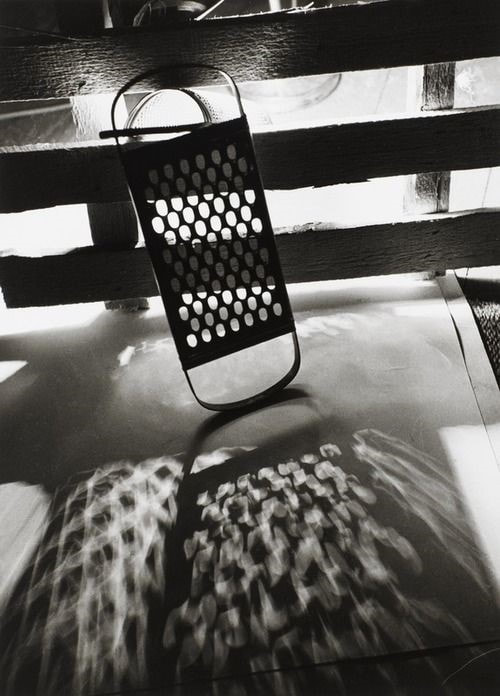
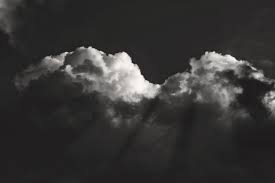
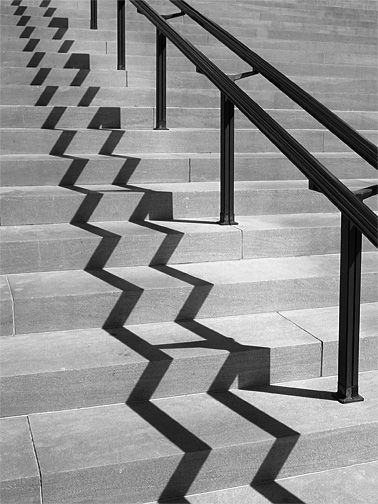
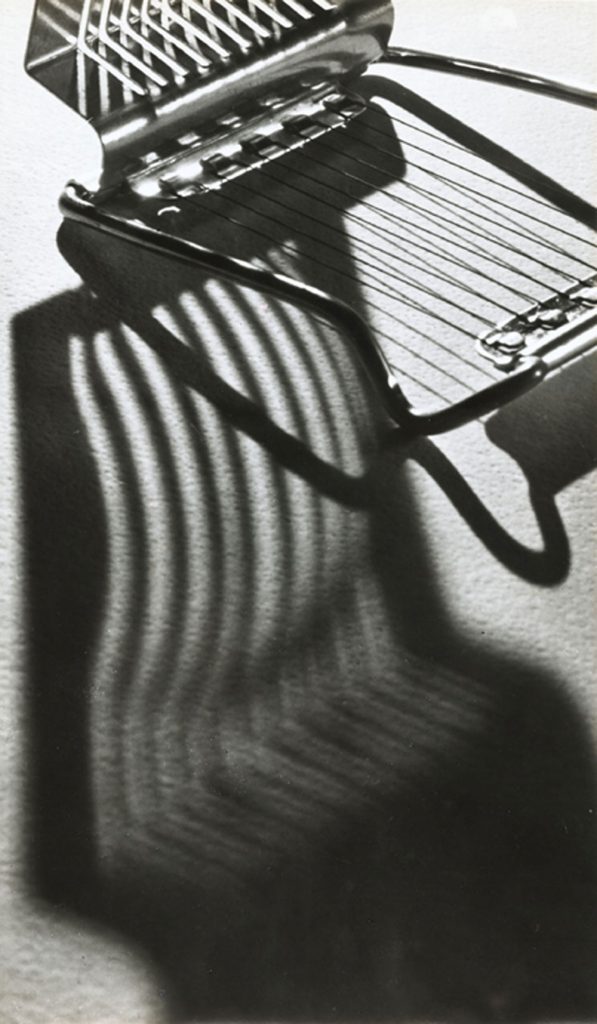
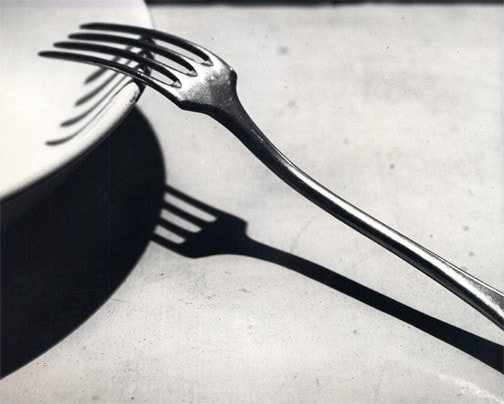
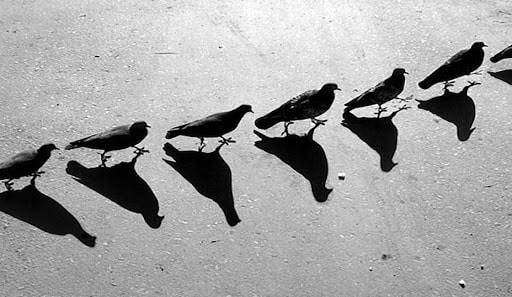
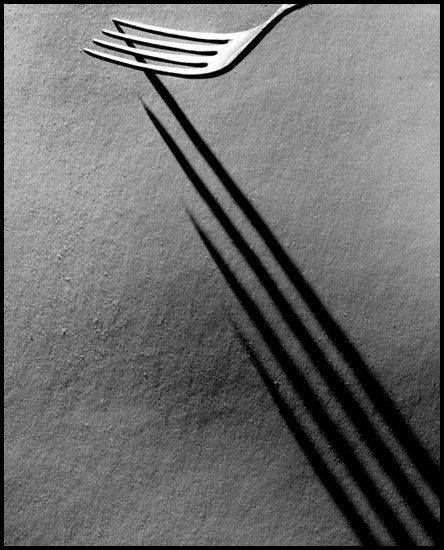
Select your best 3 shadow photos to edit on photopea.com or photoshop in Kertesz's style.
1. open the photo 2. go to image, adjustments, desaturate 3. go to image, adjustments, brightness/contrast 4. save as a new file name (JPEG) 5. Upload under the photoshoot full size. |


|
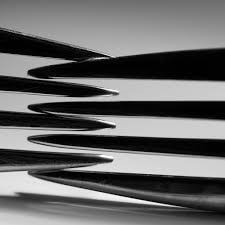
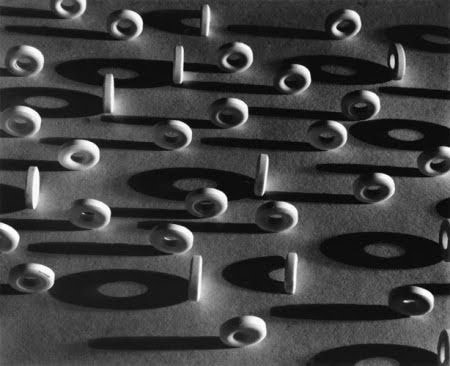
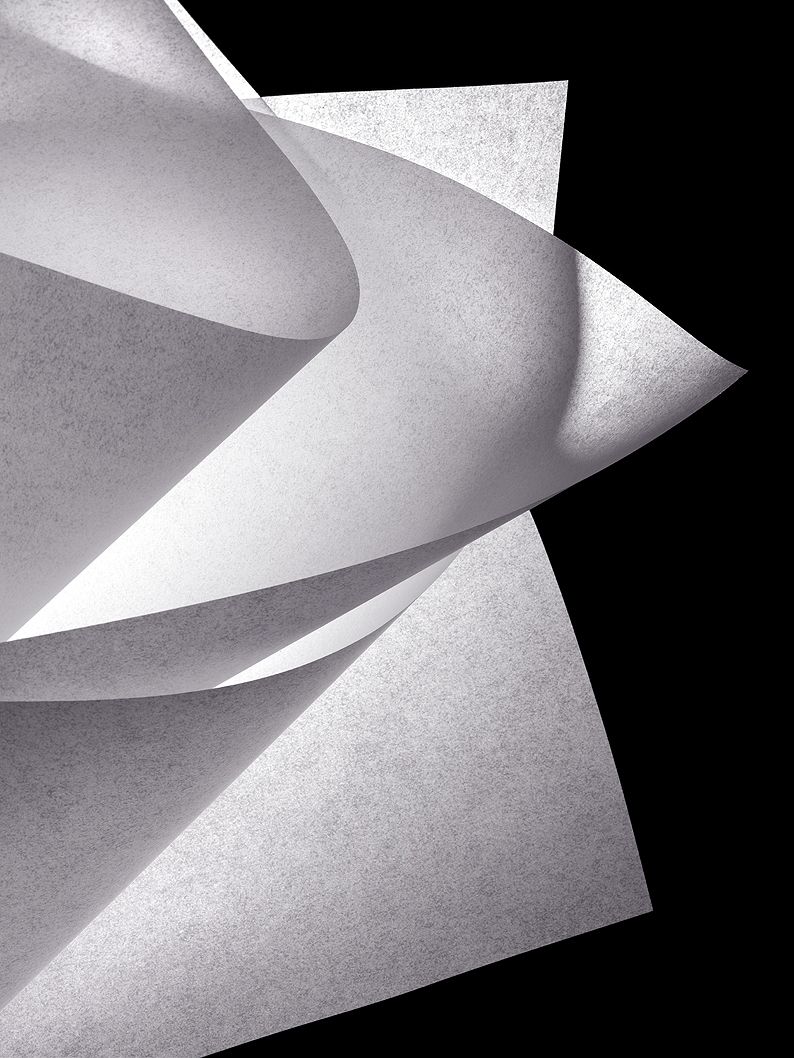
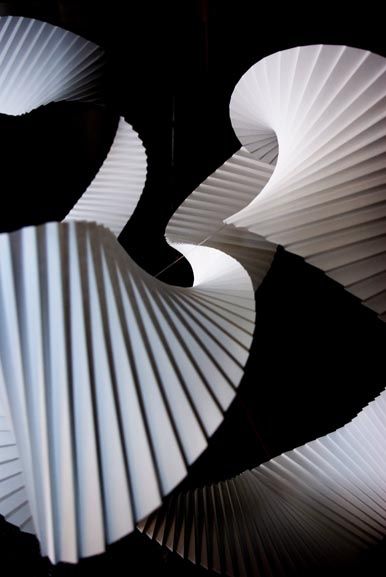
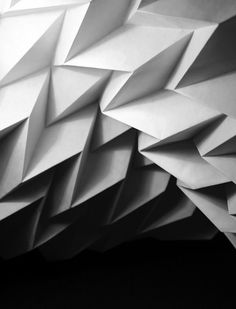
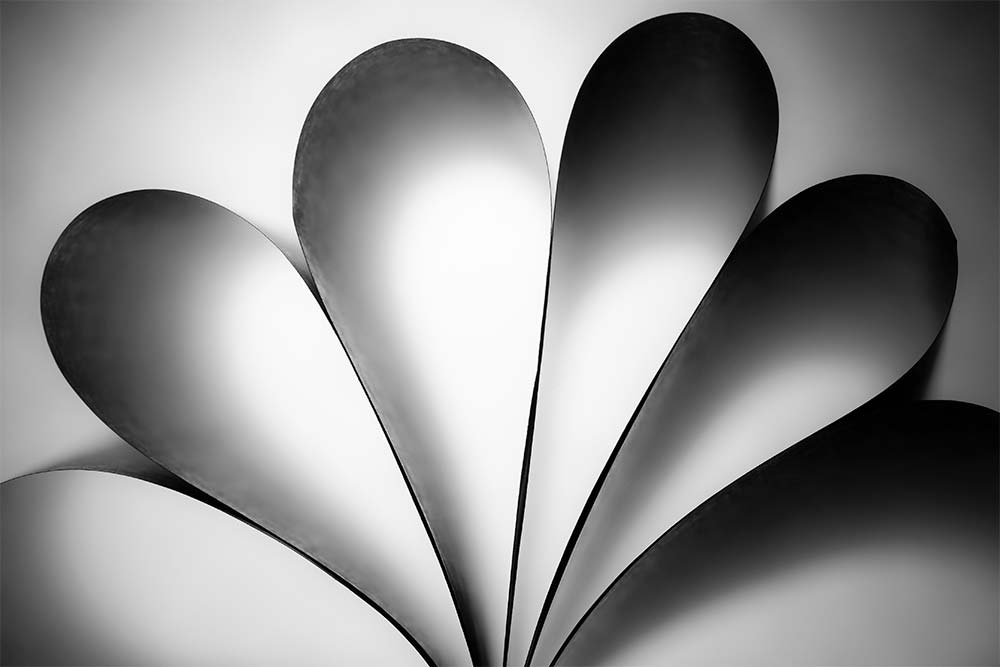
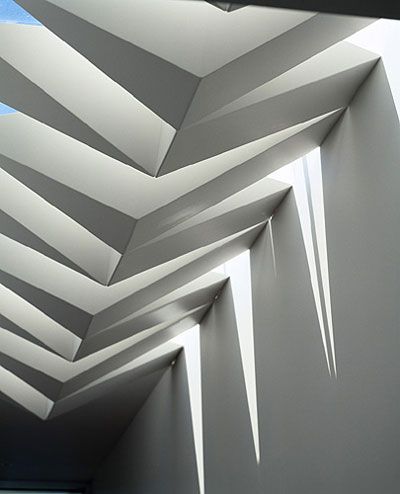
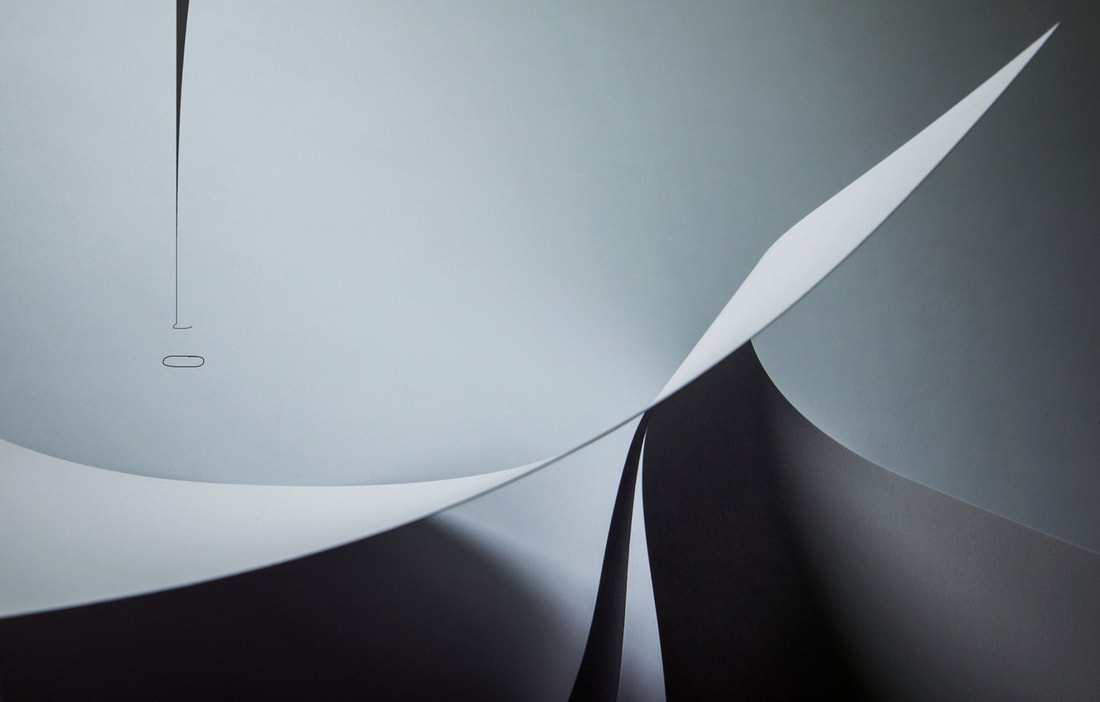
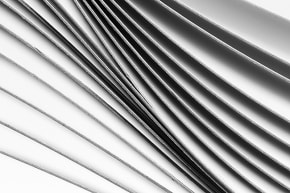
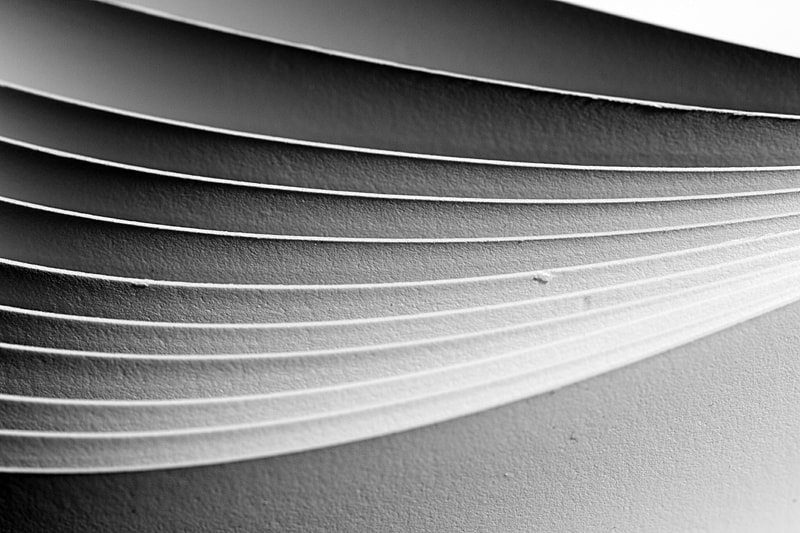
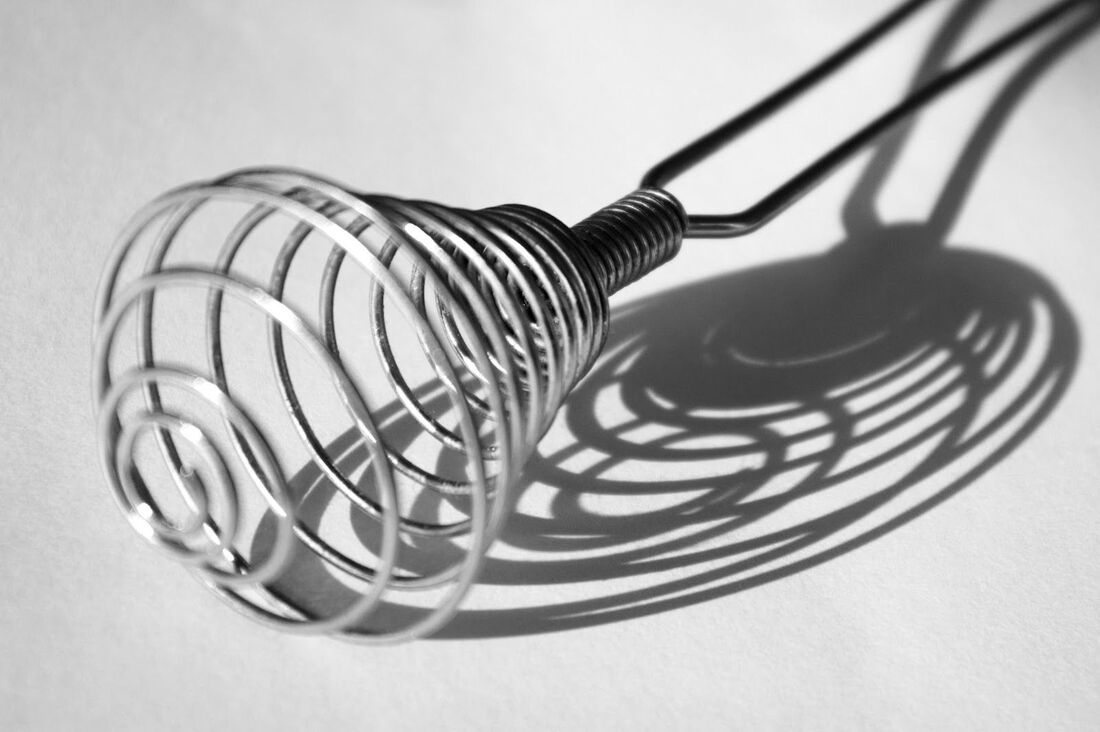
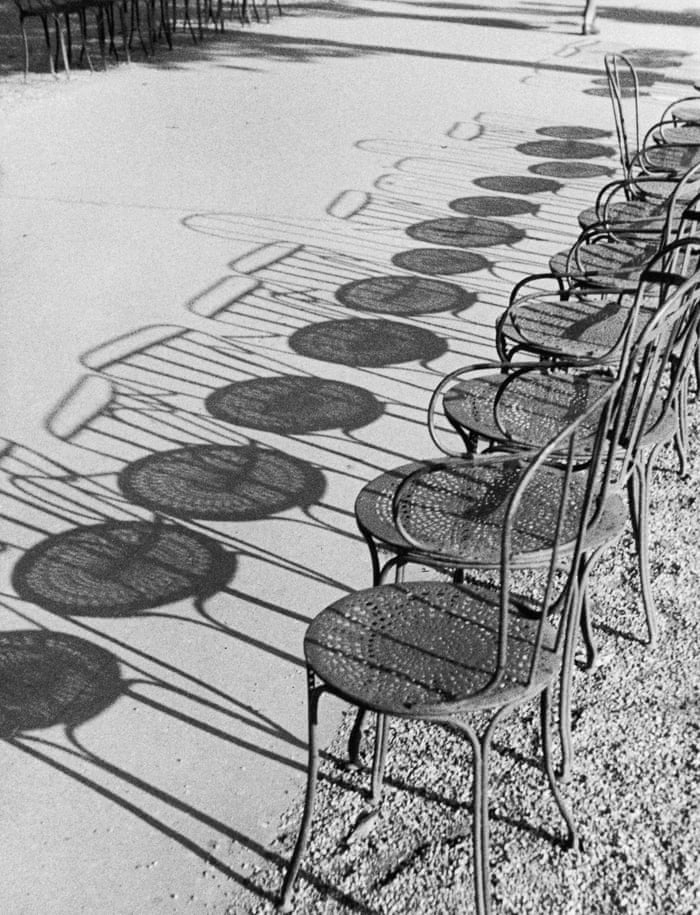
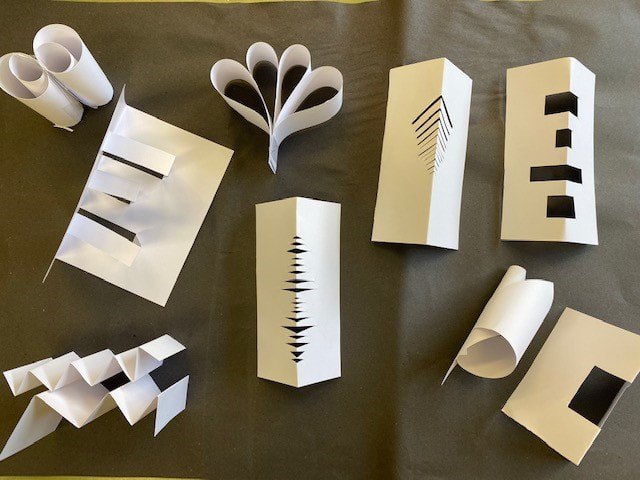
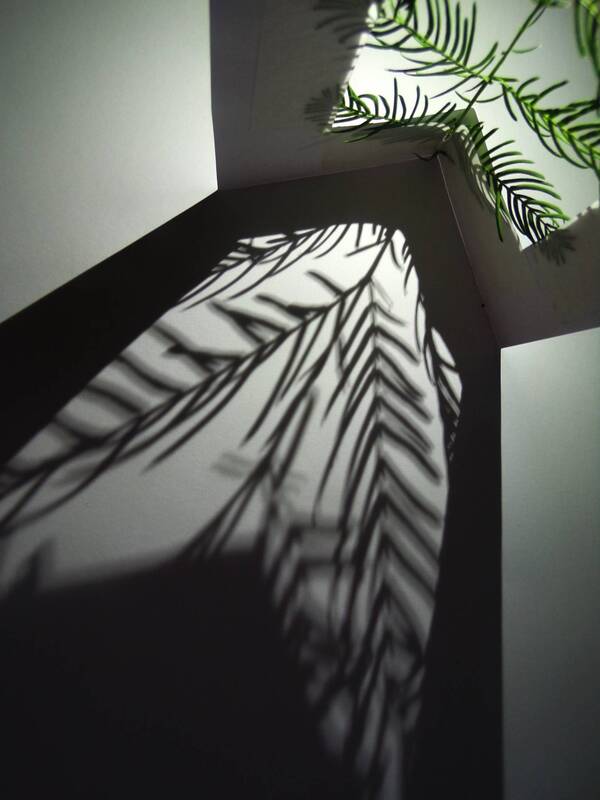
Create a plan for a photoshoot using paper to cast shadows.
include the title: Planning my Paper Shadow Photoshoot On a single slide of a powerpoint, include images and notes to help you come up with a range of ideas of how you can fold, cut, shape paper to cast interesting shadows. Do some research, and refer to some of the examples below. Export as a JPEG, change the file name, then upload to the bottom of your pattern page. |


|
|


|


|
Go to the pink sheet in your blue book and read your feedback.
I have marked your work so you have an indication of the grade for this project and you each have a clear list of things to do to help you pick up exgtra marks and work towards the next grade. You have one week to complete all of the tasks on this sheet. |

|
|
Review your progress as you complete each task by writing clearly in purple pen how you have achieved each mission.
I have done this by... |
|
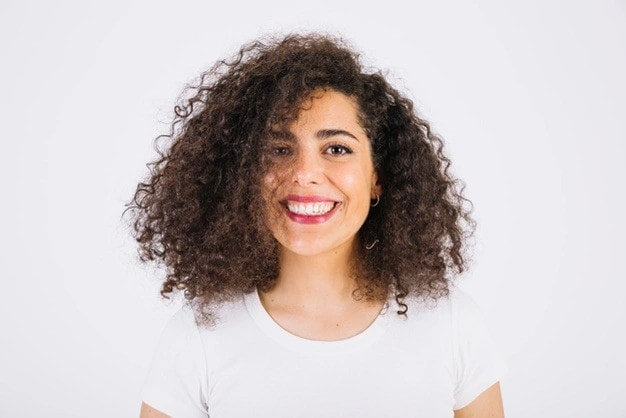
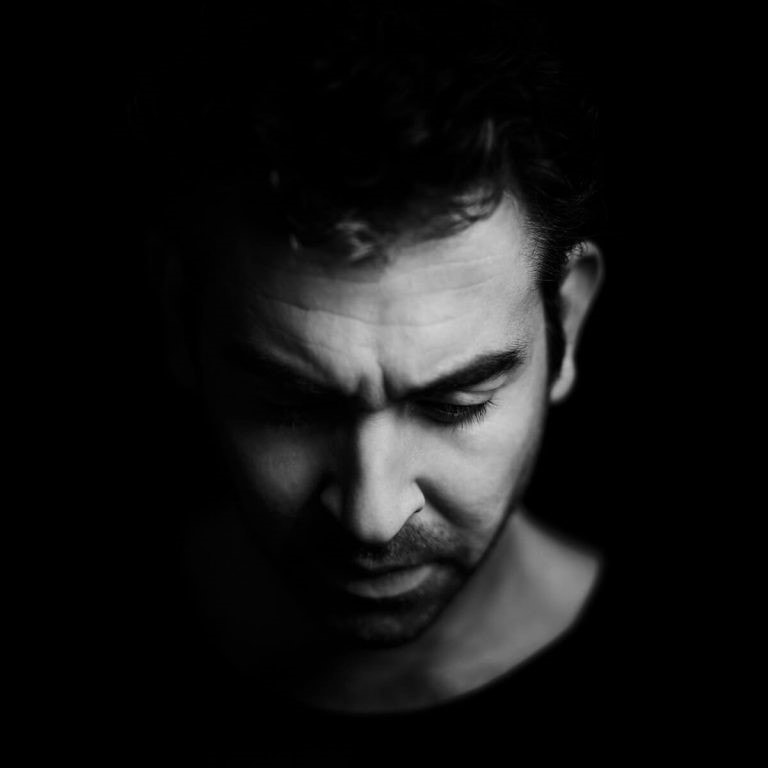
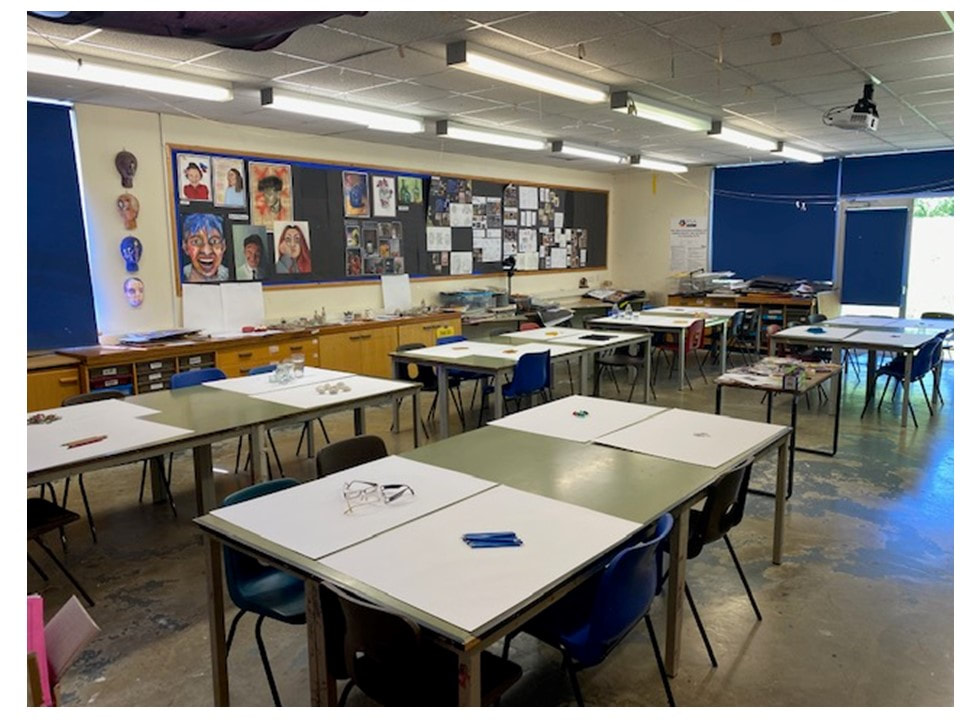
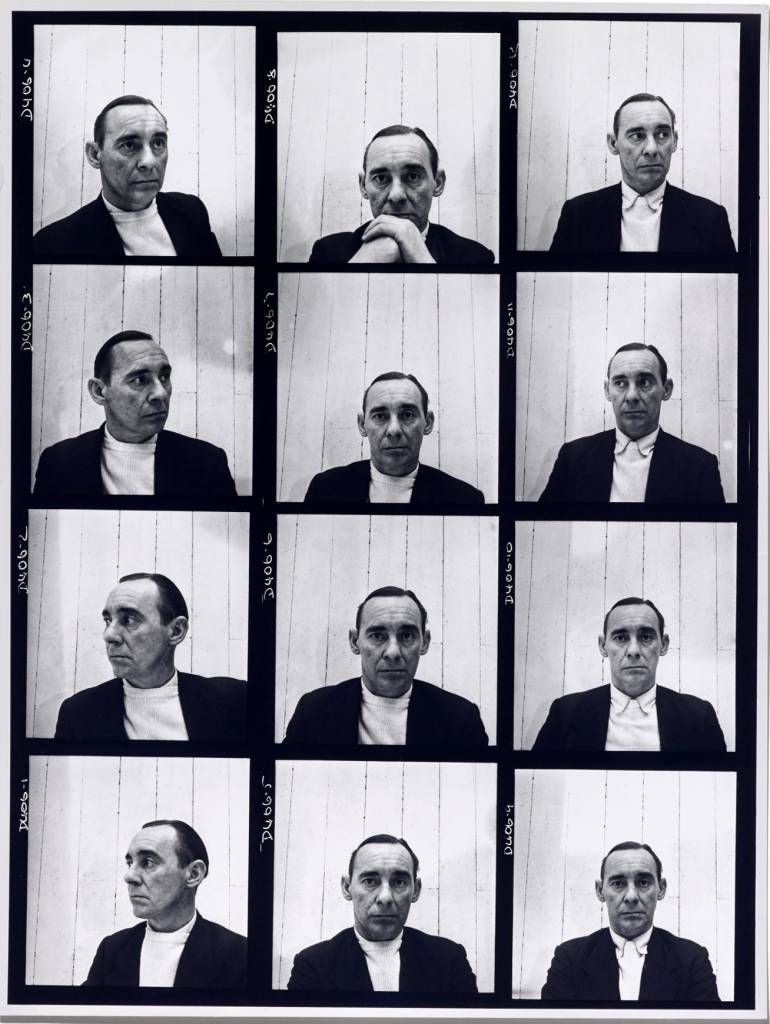
For this task you need to take 20-30 photographs of the same person against a plain, light coloured wall.
Try to set up effective lighting - you might point a lamp at the person, or open the curtains so that you have lots of natural light. Ask your model to do different facial expressions and to look in different directions. You could also vary the clothes the model wears to give more variety. GOING FOR GOLD: Repeat this photoshoot with more than one person to demonstrate that you have considered alternatives and to give you more photos to work with. Upload your photos to a new gallery in Weebly under the title Photoshoot for Andre De Freitas Development |
|

|
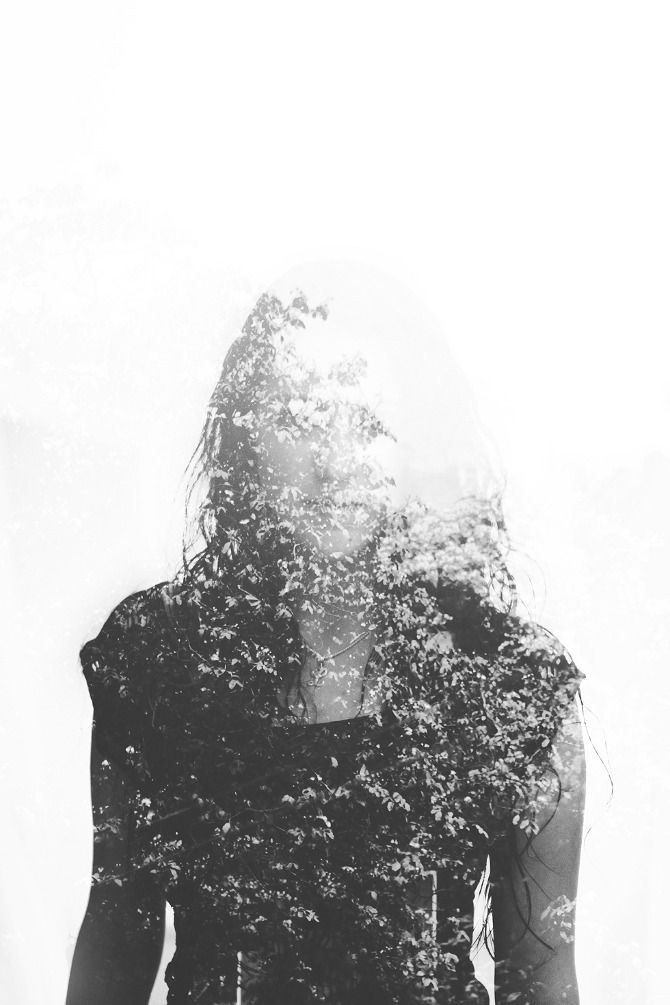
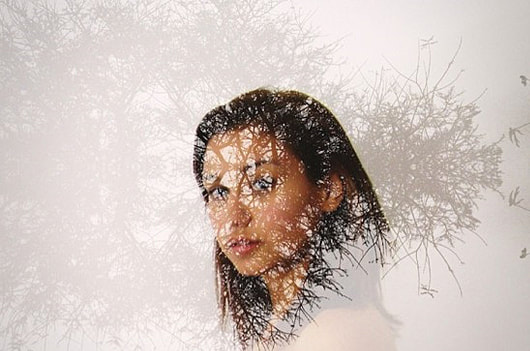
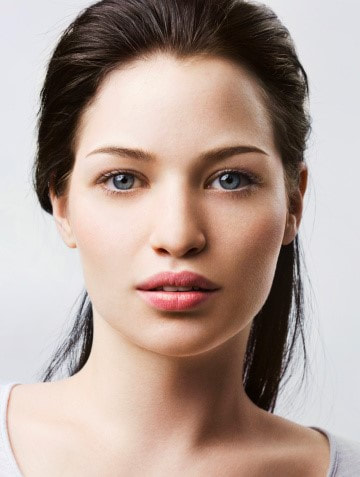
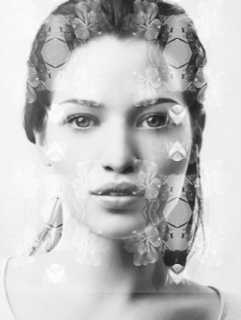
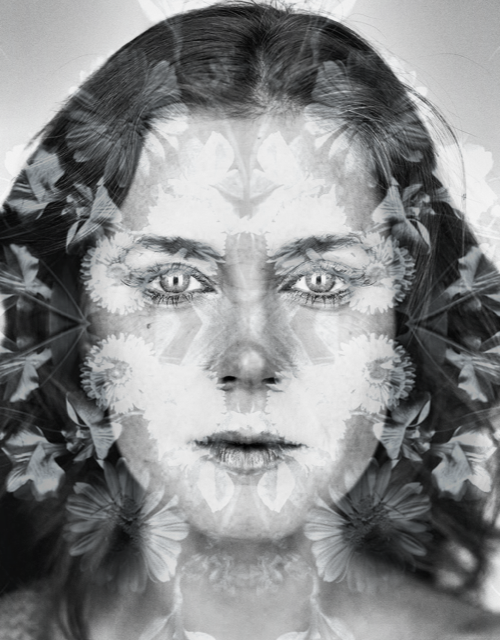
Download the PhotoFox app. It is free and easy to use.
Open a portrait photo from the last task and layer it with one of your close up nature photos, using the DOUBLE EXPOSURE button in the app. Once in this section, use the BLEND option to merge your two photos. Play around with the options - there are loads of ways to experiment. Save ALL of the images that look good - they will count as experiments! Upload them all into a gallery, and put your favourite one FULL SIZE underneath the gallery. Write a sentence to say why you like the image below it, and how it links to the style of Andre De Freitas. |

|

|
|

|
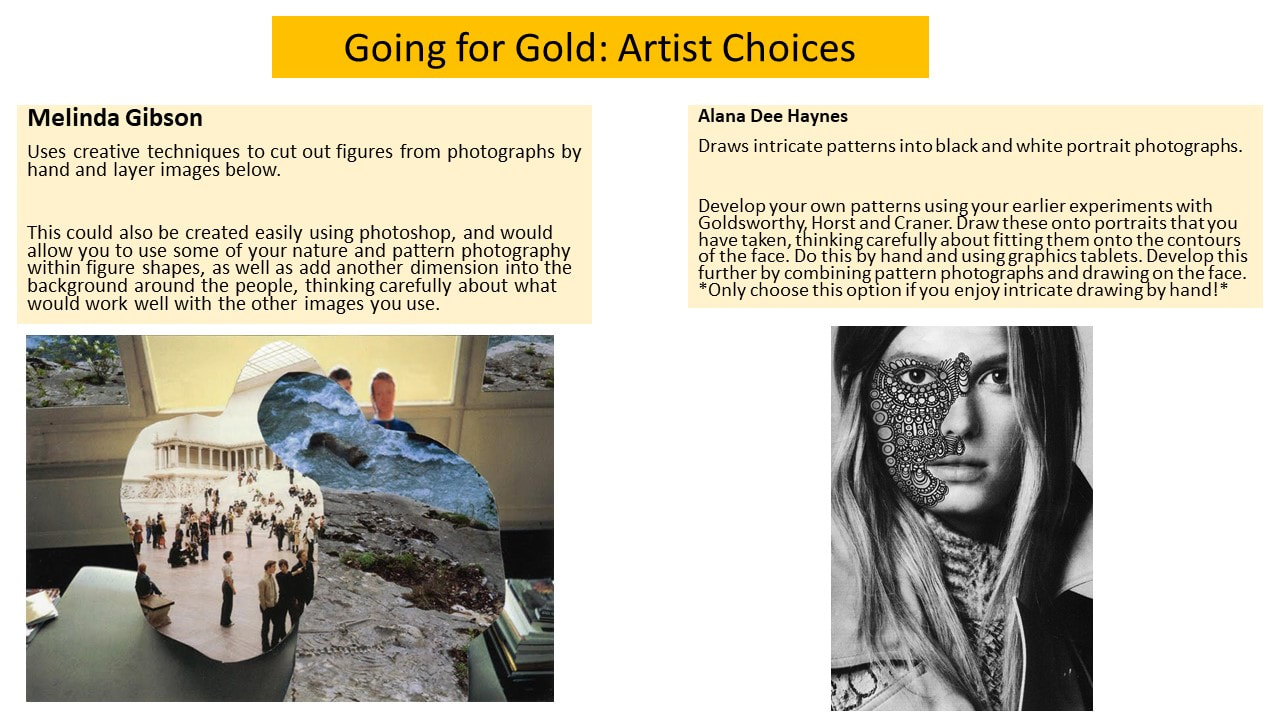
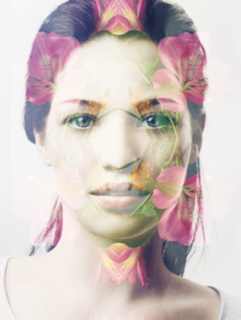
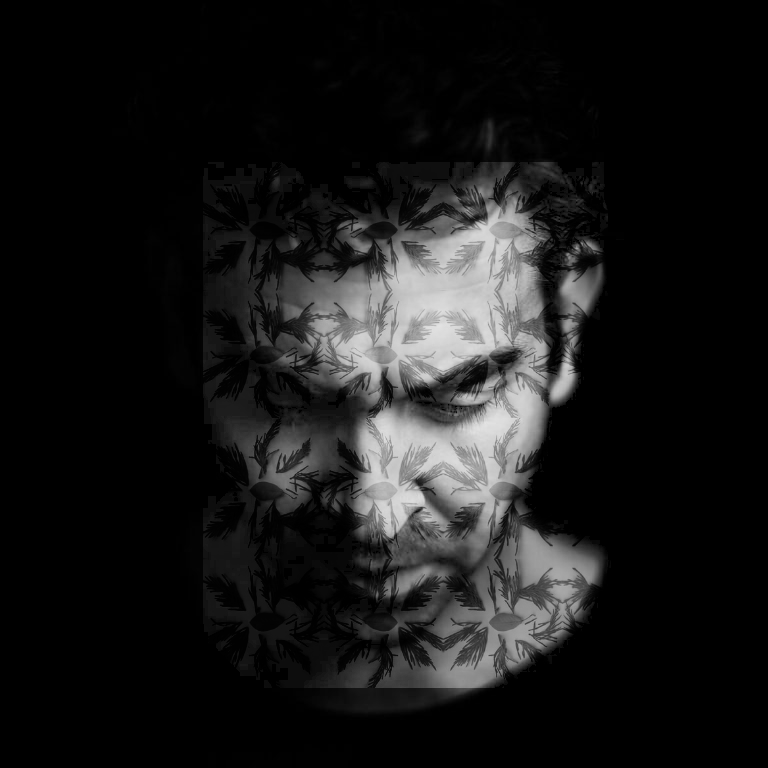
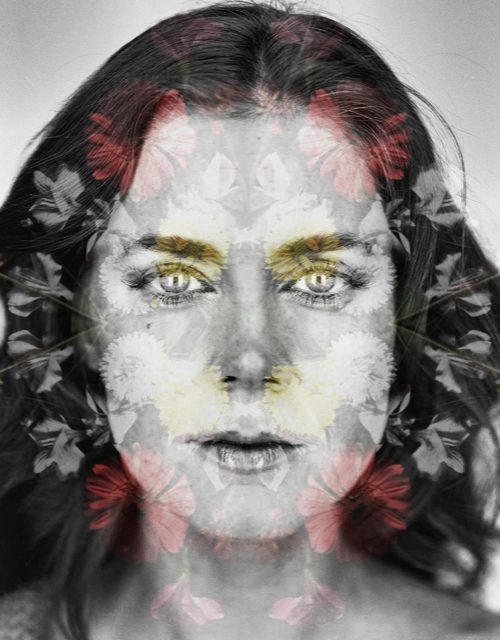
Your next task is to combine Andre De Freitas's double exposure technique with some of your previous edits inspired by Goldsworthy, Horst and Cramer.
Open your website on your phone. Save your best edited pattern photos to your phone. Using the Photofox app, open one of your portrait photos (preferably a different one to previous) and use the double exposure option to blend a pattern and portrait photo together. Alternatively, you may use Photopea to edit. Create at least 3 edits using different combinations of pattern and portrait photos, then upload them all FULL SIZE. |
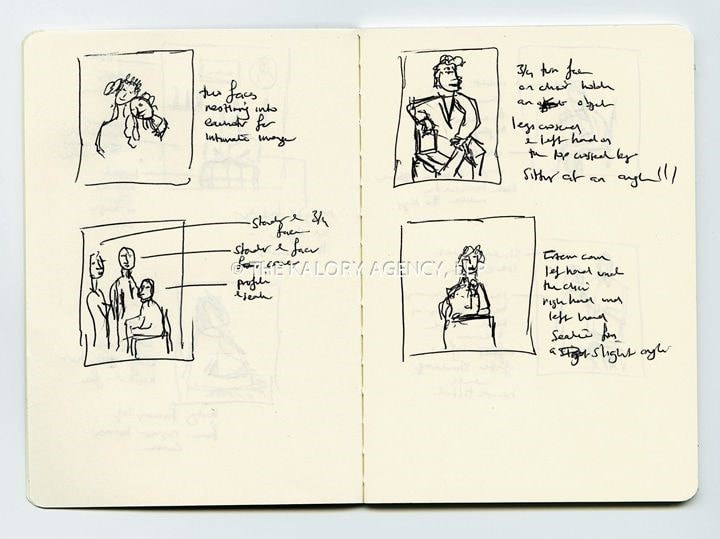
GOLD: do a plan for these edits - draw out how they might look on paper. Rough compositions etc.
|
|
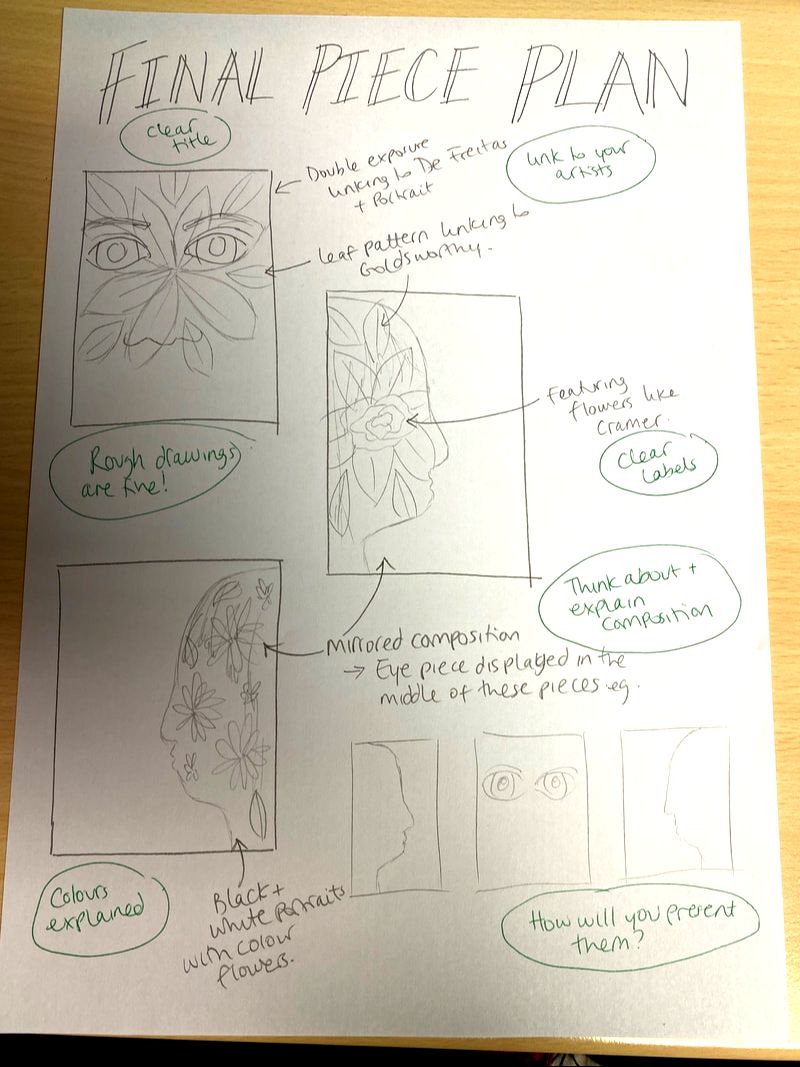
Your final outcomes must :
- Be a set of 3 or more edited images - Demonstrate the best of your ability - the best experiments yet! - Combine the double exposure technique of Andre De Freitas with any of the other pattern artists that you have used in this project. PLAN your final outcomes as a drawing. You MUST include drawing in your projects in order to pass. See the example that I have quickly drawn for you. Refer to the green text for tips on how to do this well! You can click the picture to enlarge it. |
|