 Read the following diagram. You should be on the 6th box by now, if not a little later.   Use the above diagram as a guide to support you with your editing. Explore different methods of combining your photographers styles and techniques, using different photographs so that your work doesn't become repetitive, and reviewing each edit once it is uploaded.  Continue to complete additional photoshoots outside of lessons. Make sure that you are varying your locations, lighting, models and generally the content of each photoshoot. And focus on trying to build on what you have done previously!
0 Comments
 Hopefully you have got the message by now that the trip is cancelled for Thursday. Sorry about this - I will arrange another for the summer term. This lesson you will be continuing to experiment with your two artist styles. If you took new photos, please upload them now. If you already had them, talk in pairs about what you will do today: - edit in the style of artist 1 - edit in the style of artist 2 - extra edit in the style of either artist - edit to combine the style of both artists. 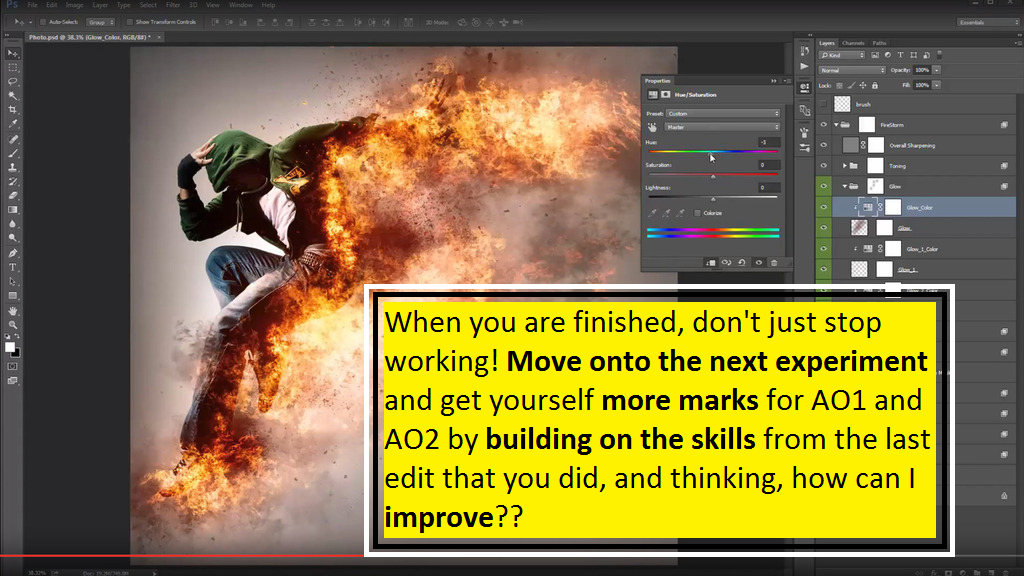  AO1/AO2: show you understand the artist's techniques by creating your own version of your artists. Not a total copy, but copying the techniques and colours, compositions etc as closely as you can. 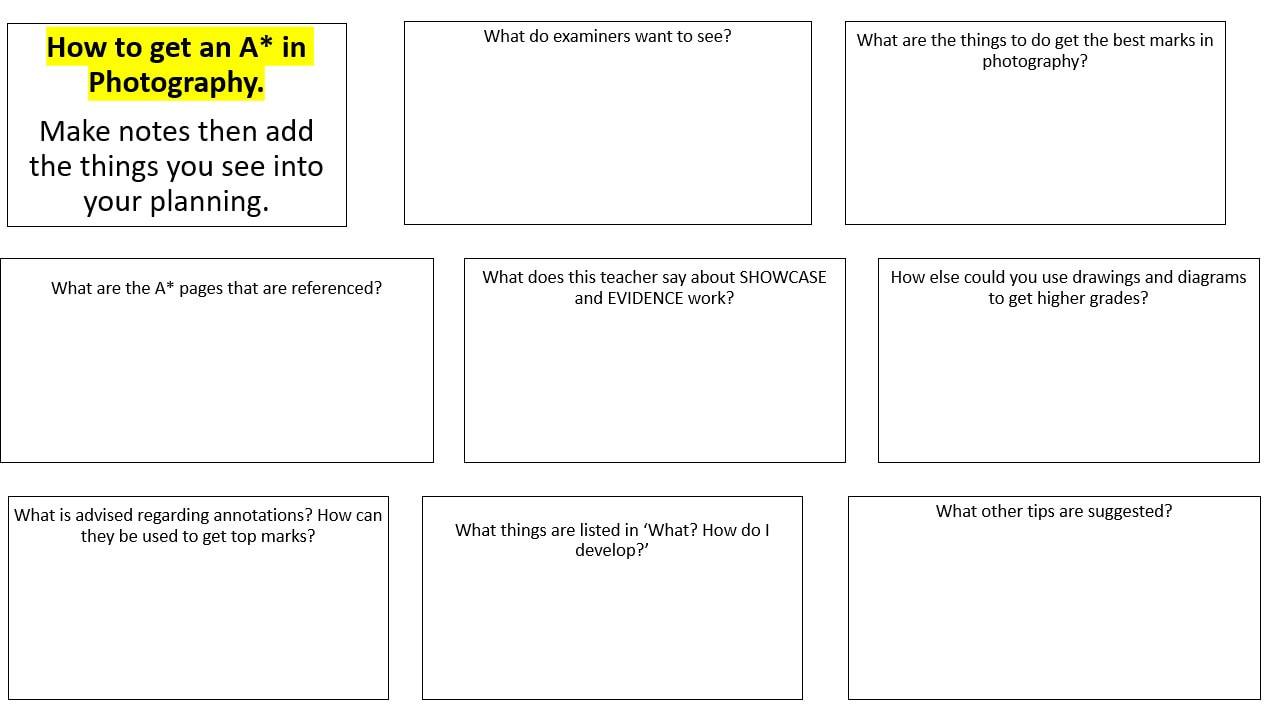  This is the part where working independent is really important! You will all want my help which is fine, but you could probably work out the answers for yourselves if you follow this:  Begin your own version of your photographer's image. Try to copy their: - Overall style - Composition (you might need to crop your photo) - Content (same/similar things in the picture) - Colours, mood and atmosphere - Editing techniques  Upload your edited photos to your website. Put the original next to them so that you can show the before and after, and a title above them of 'Before' and 'After, in the style of...'. 
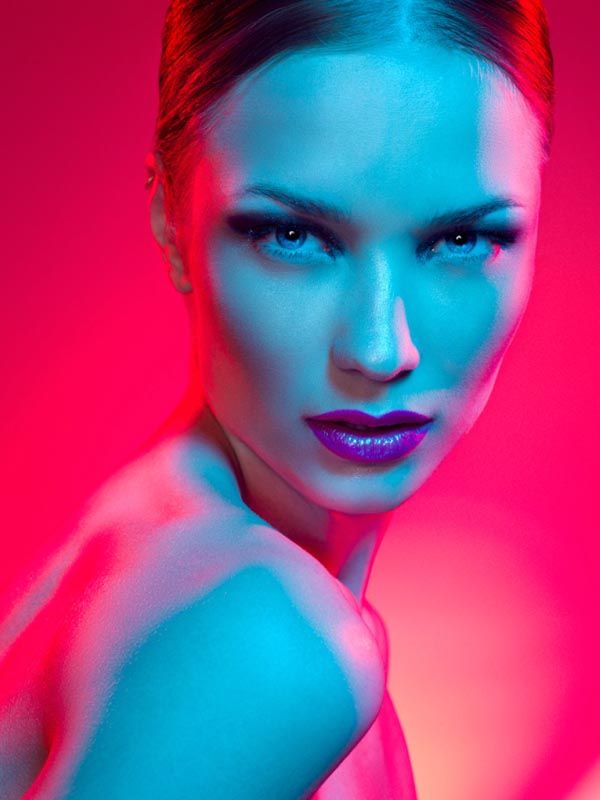
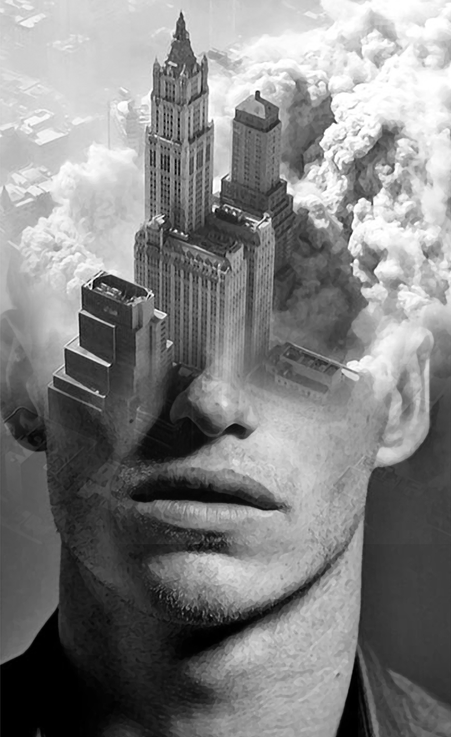
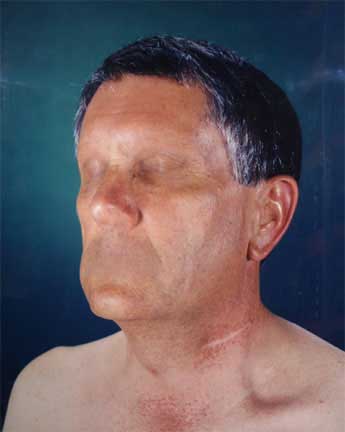
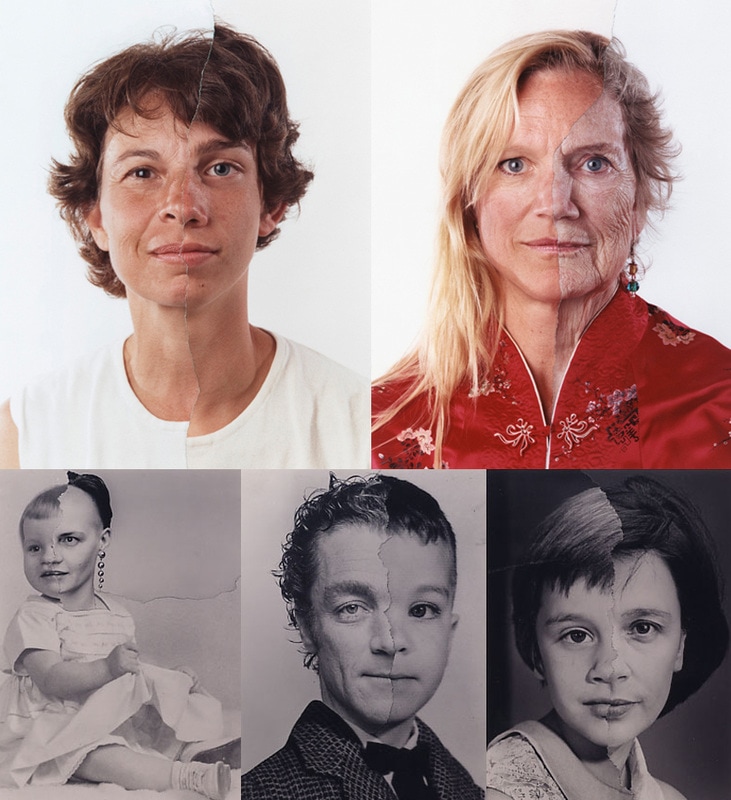
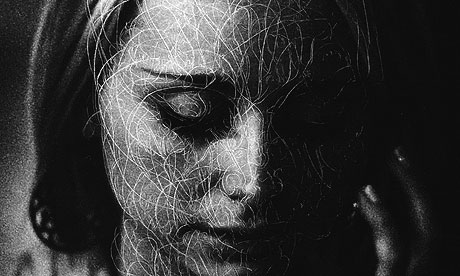
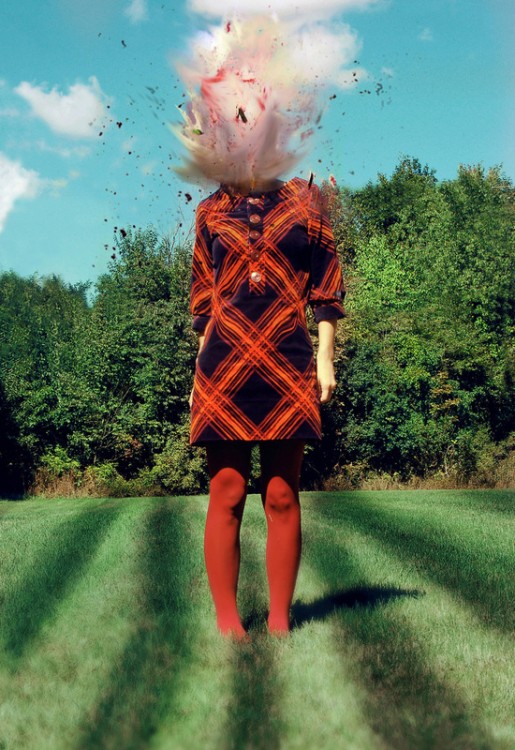
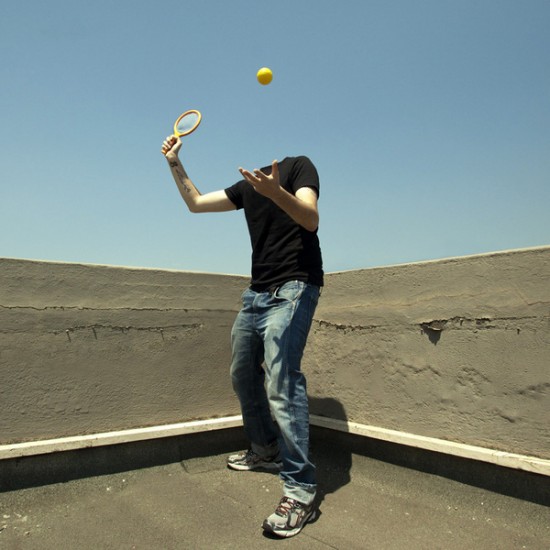
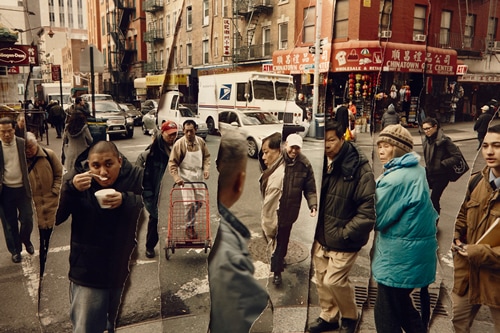
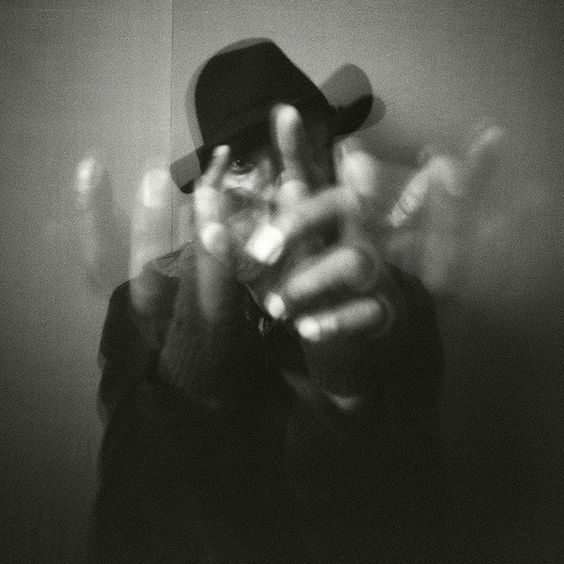
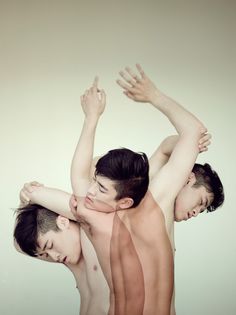
 Who were the two photographers that you researched for homework? What do you like about them and how do you imagine working in their style? 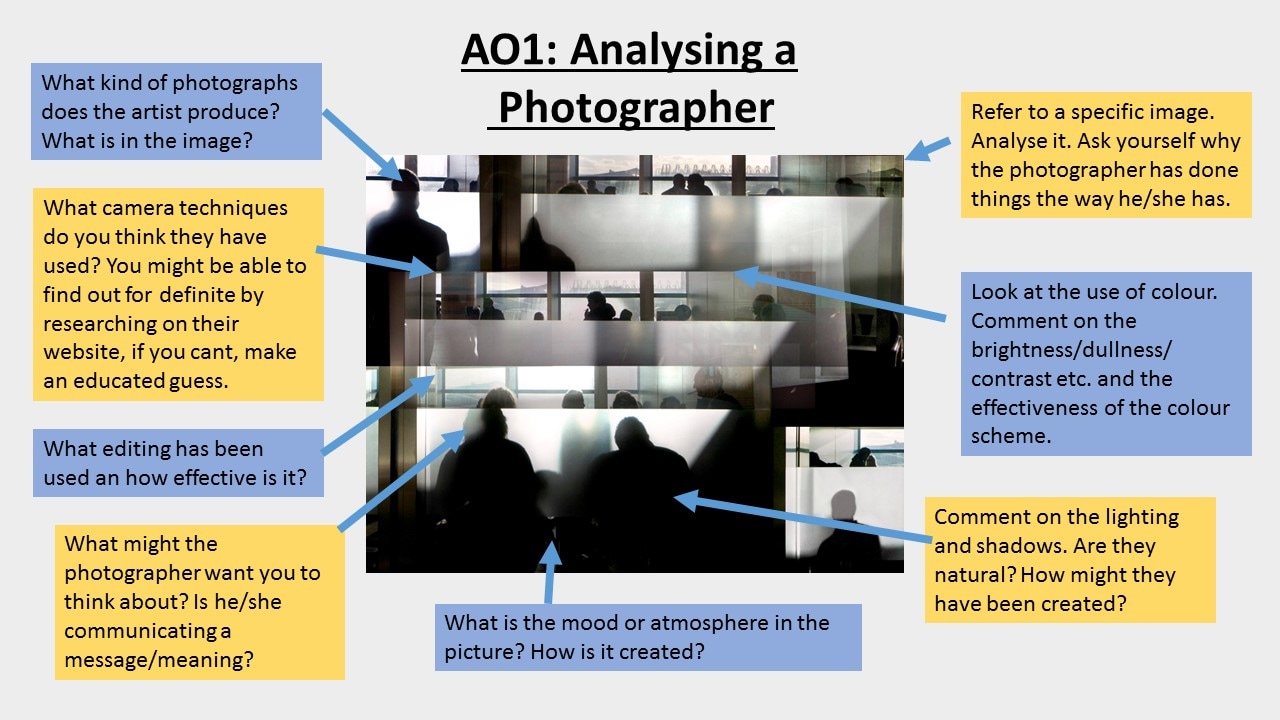  As you know, 25% of your marks come from artist research and using artists to inspire your ideas. Choose your artists carefully as you will spend the next few weeks working in their style. You should also consider how you will combine their styles, as you will need to do a lot of this!  Things to consider when choosing your artists in order to be successful:
What a good artist paragraph looks like:
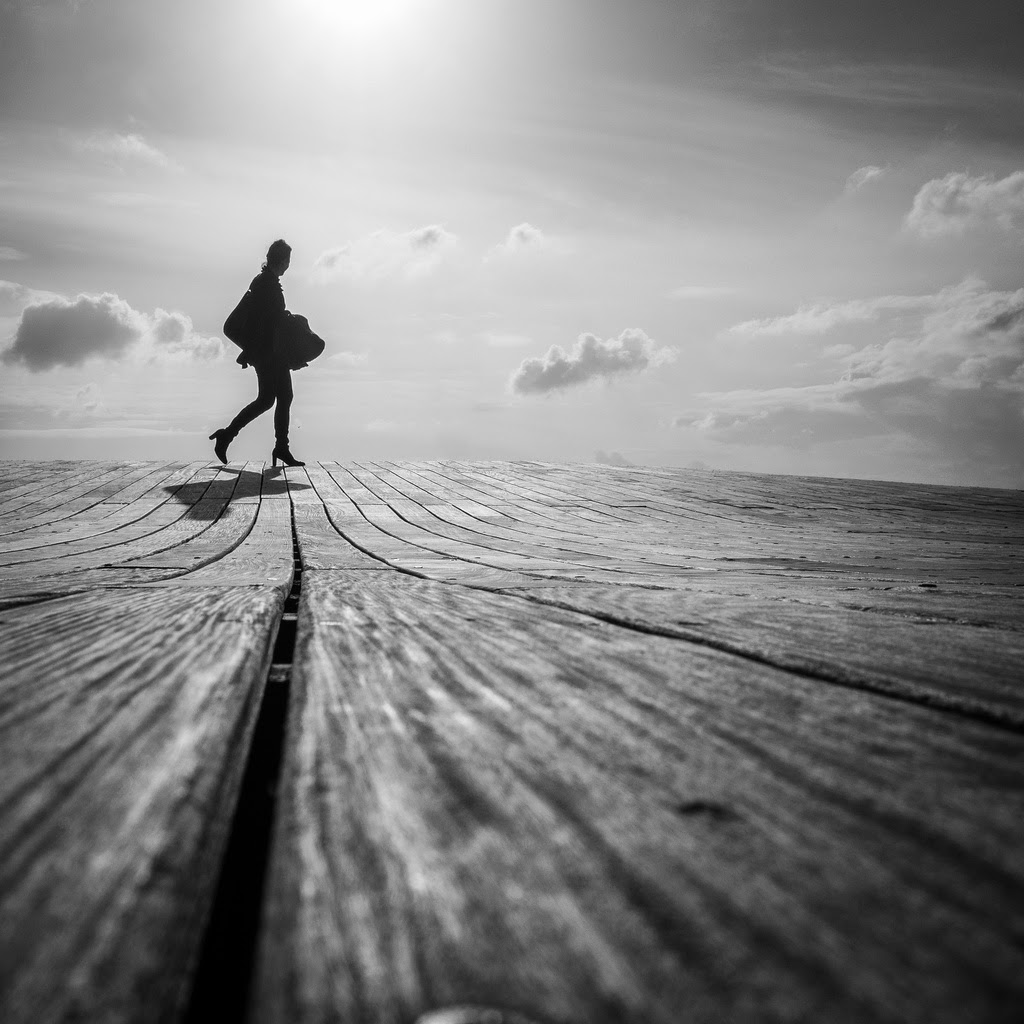
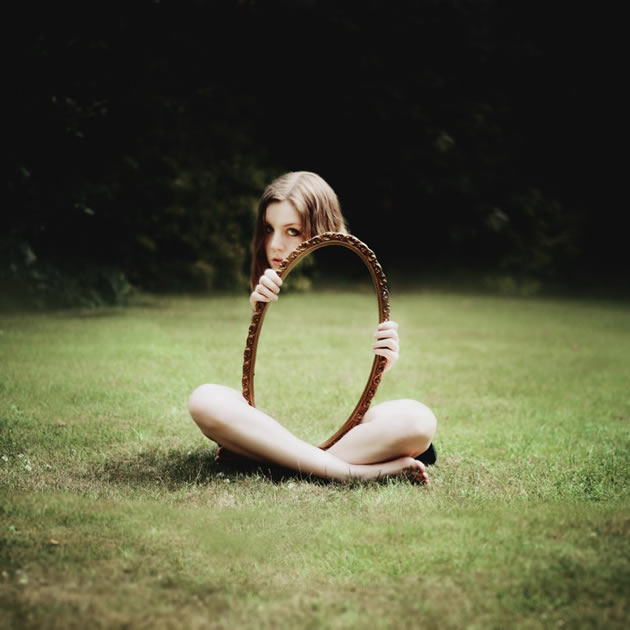
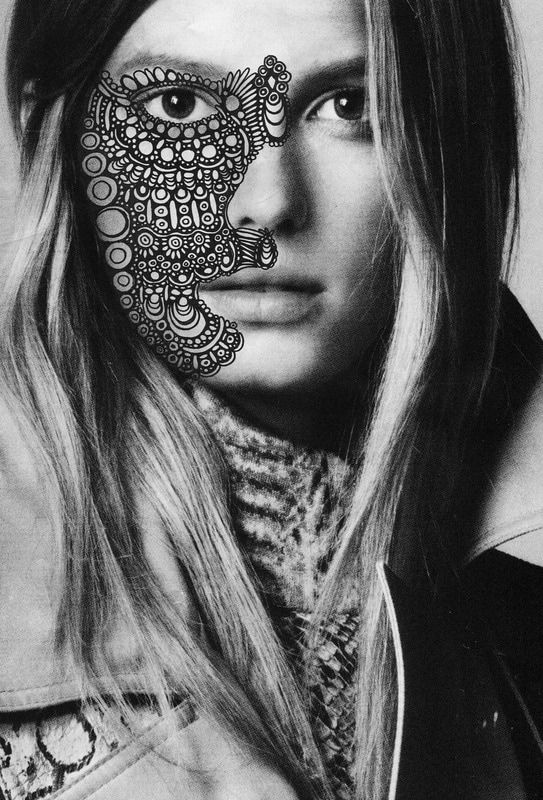
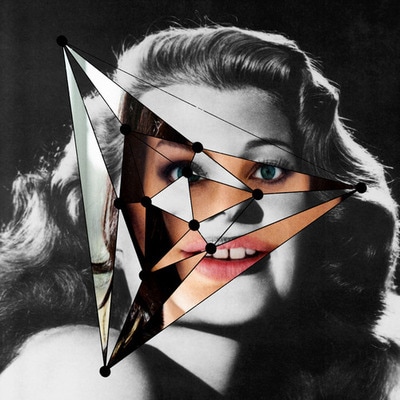
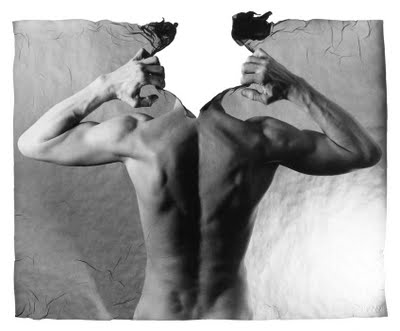
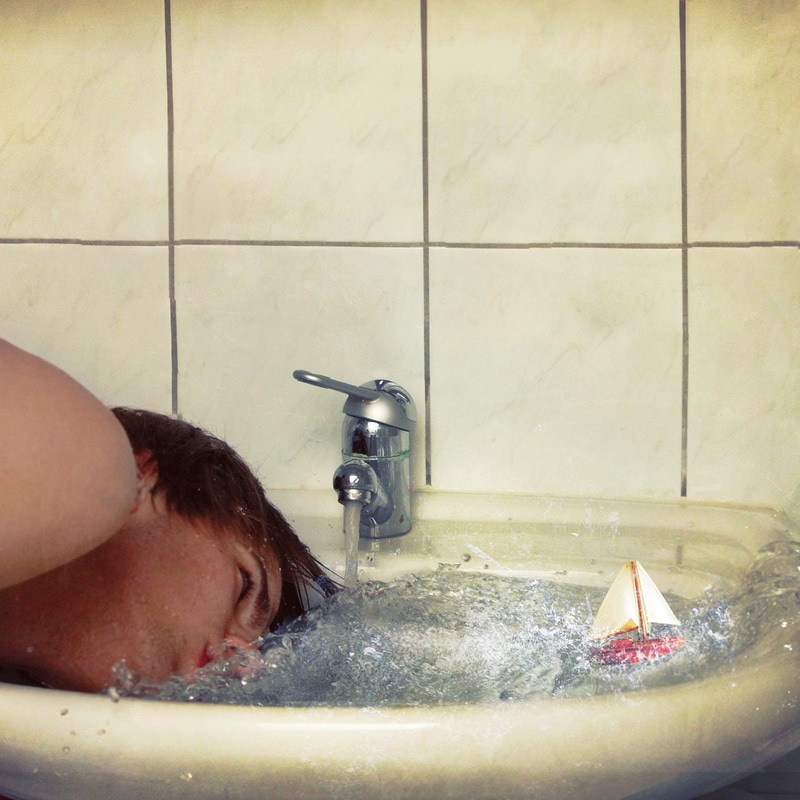
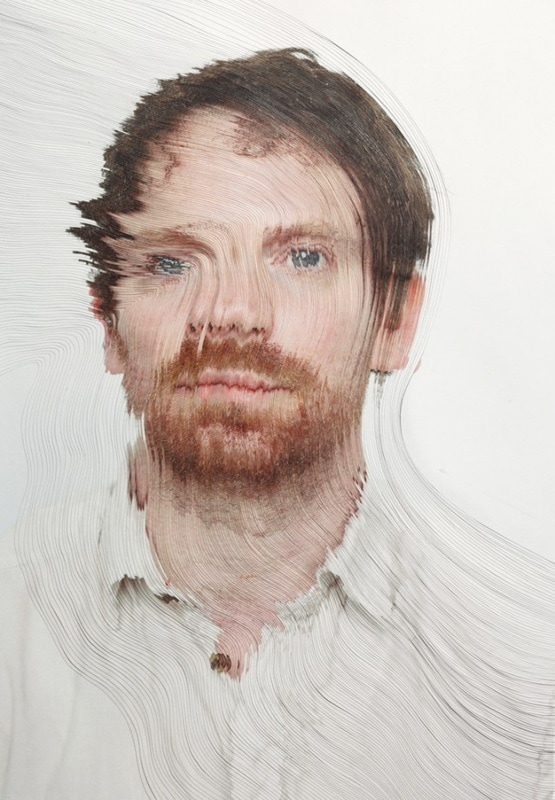
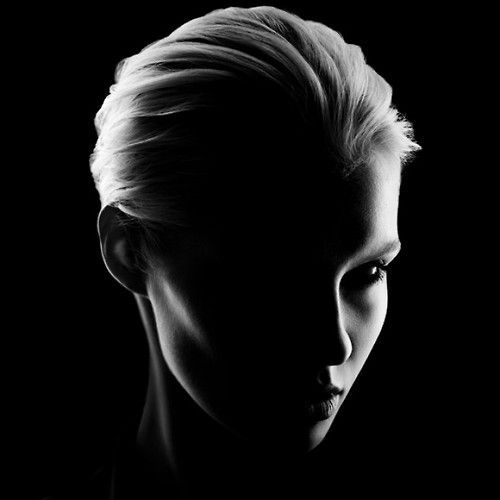
 You should have chosen your 2 artists already. If not, choose them from the list on the page below. Click the button! Your task is to write a paragraph about the work of your chosen photographers to anaylse the way they photograph your chosen subject. You should include: - 3 photographs of their figure photographs (not photos of the artist!). - key information about their work from the things you have read about (not the photographer but the work itself) - Your own observations of the photography techniques and formal elements that you see - eg. how does the photographer use composition, lighting, line, shape, tone etc? - What you think the work is about - what does the photographer want you to think about? What might the meaning behind the work be? - Your opinion and explanation of how you will take inspiration from their work. If you need help getting started, copy and paste these sentences and fill in the gaps. The photographer I have chosen is... Having read about their photography, I have learnt that... When I look at _____'s photographs, I can see... One of the reasons that I have chosen this photographer to inspire my work is because I like ... I will take inspiration from ____'s work by...  To finish the lesson, click the button below to email me. Copy your two chosen artist's pictures into an email and write their names underneath. Make sure the photos are quite small please. Then send the email to me! The reason for this is so that I can have a look at your artists and start thinking of ideas and techniques that you could try. 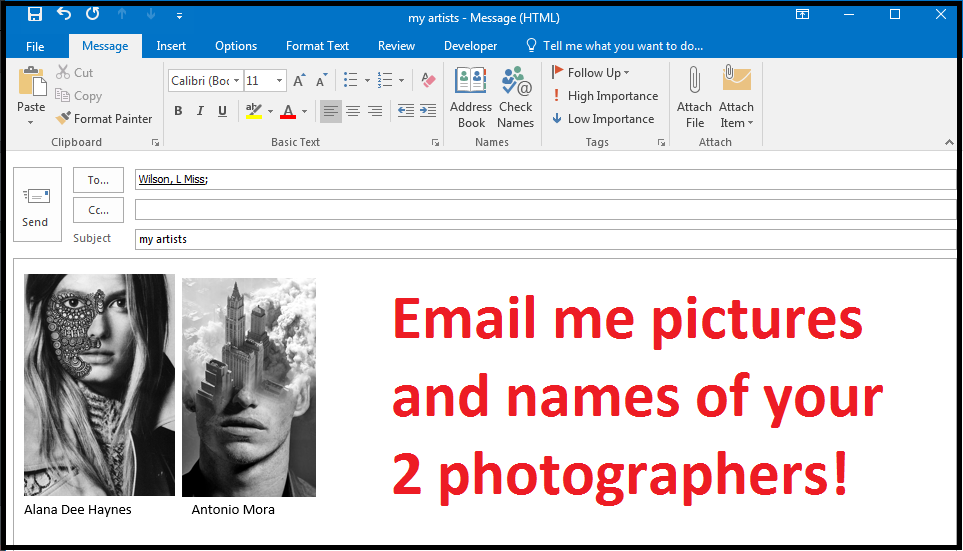  Your homework is to complete a photoshoot in the style of both photographers by Tuesday. I would expect around 20 good photographs for each photographer (or more if possible!) Please upload from home if you can to speed up next lesson.  Next, you need to plan your photoshoot. What will you do at home this weekend? You may use the planning sheet below or develop your own planning method if you would prefer to, but it must include the same information as a minimum.
Upload it to your page when finished - Export it as a JPEG!
Print your photoshoot plan ready to use at the weekend. You might also like to print off your photographers work so that you can refer to them easily :)  From here, you will be having more freedom in the way you develop your project. What do you imagine you would like to focus on, within the title of 'The Human Figure'?  Download the file below, then complete it in as much detail as you can to brainstorm the topic 'The Human Figure'. Notes or bullet points are ok at this stage - but there should be plenty of them! When finished, save and upload to your website.
 Next lesson we will be starting to find new artists to inspire the rest of this project. You will have to choose ONE of the artists we have used so far, plus TWO that you will find independently. Have a look at these artists to help you get started! 
 Learn about the way you are assessed in order to get the best possible marks! If you know what you are marked on, you are more likely to know how to improve your marks.  Download this file and save it to your area. Then complete the first slide.
When you have finished the lesson, start a new blog post with the title 'understanding the marking criteria.' Upload your powerpoint using a document widget, then complete the blog post below underneath the powerpoint.  As a blog post, copy and paste the following, then complete the sentences in as much detail as possible. I have learnt that the difference between the grades in photography is: AO1 covers: To do well in AO1 I will need to... AO2 covers: To do well in AO2 I will need to... AO3 covers: To do well in AO3 I will need to... AO4 covers: To do well in AO4 I will need to...  Your homework is to really make sure that you understand the marking criteria. I promise it will get you a higher grade if you understand it!!! Also, have a read through the document below for some useful tips :)   Complete the peer assessment sheet (orange) for the book in front of you. Find their website in the student E-portfolios link at the top of the page. When you have your book back, read you feedback, but also read your Close up project feedback which has been graded. The grades on the front of the book in 'spring' have also been updated.  You have the rest of the lesson to respond to your missions and finish of incomplete work. Read through your red book and make sure that you complete everything that you have been asked to, and when you have, write a sentence at the bottom of the feedback page to explain HOW you have met your mission.
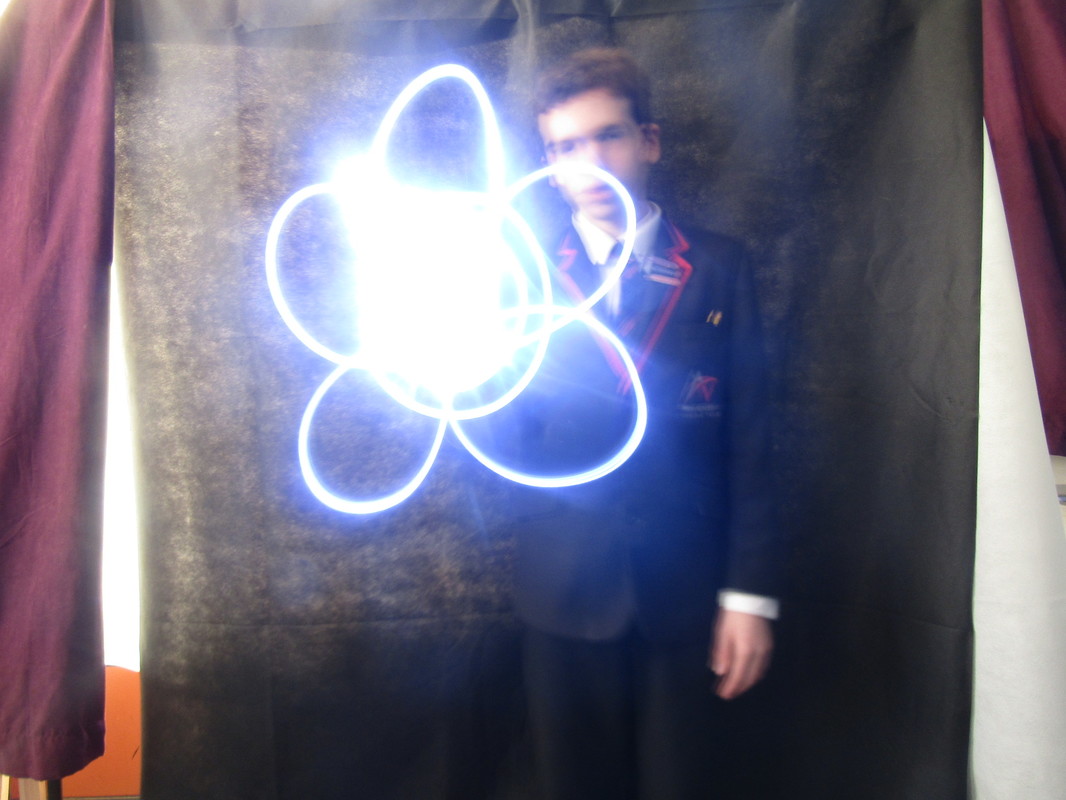
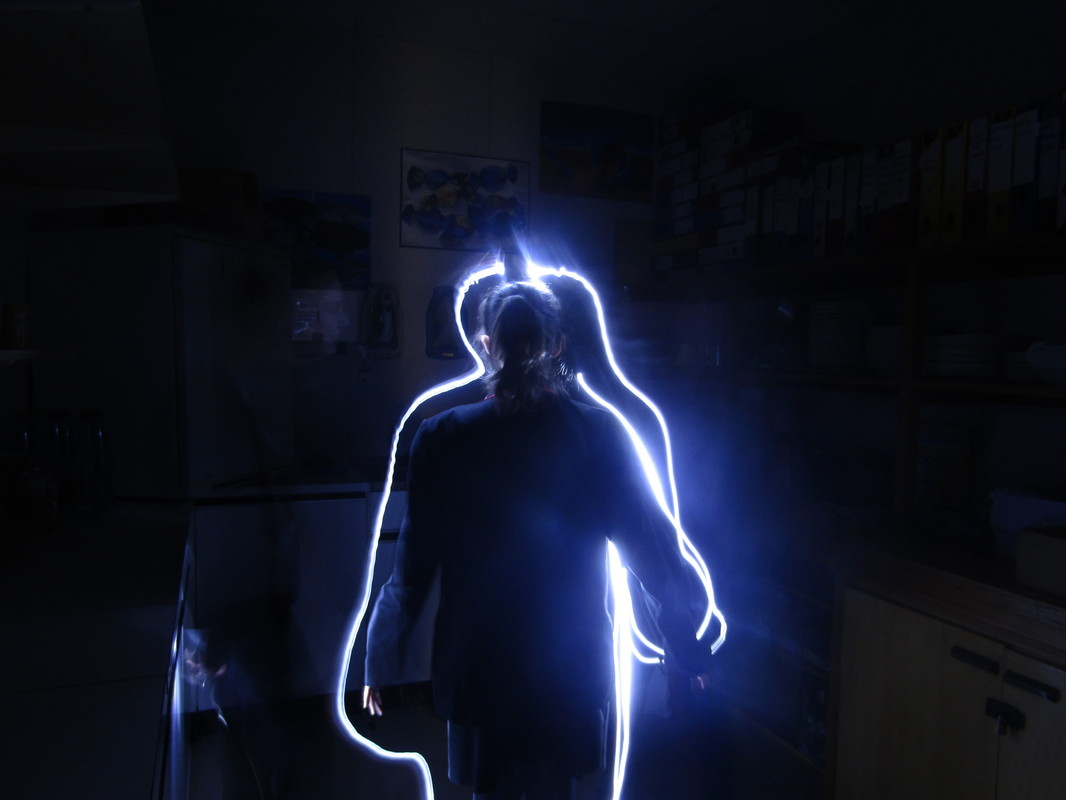
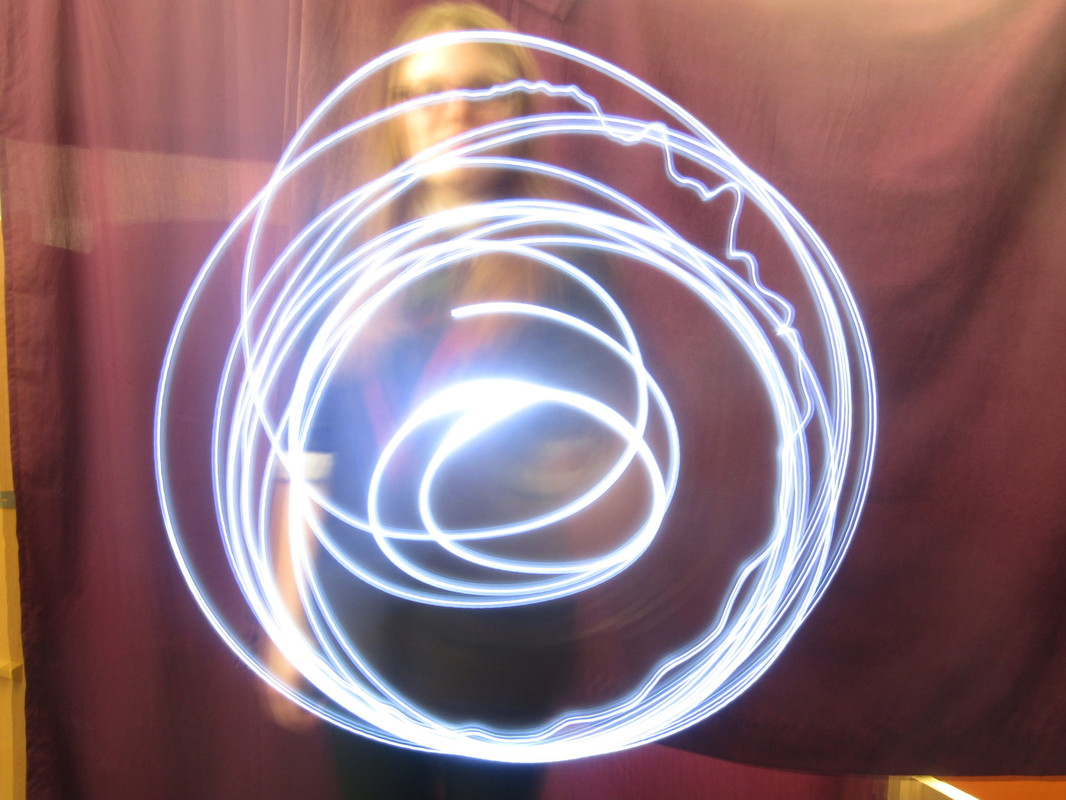
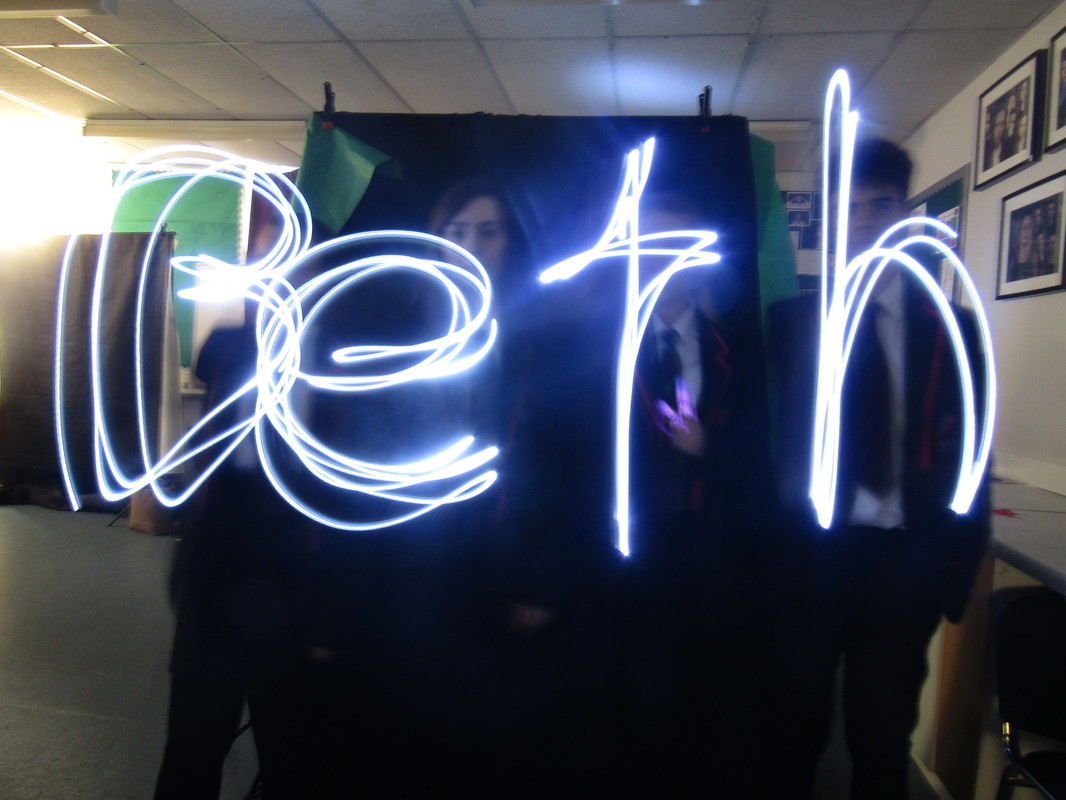
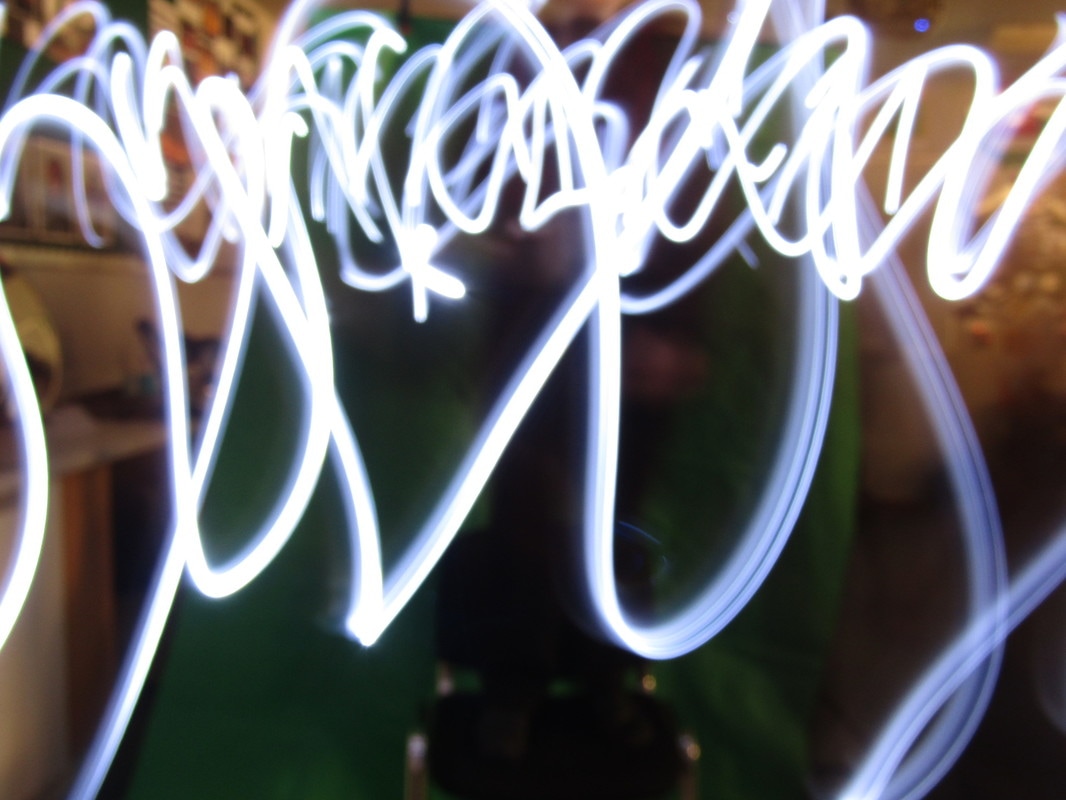
If you are totally finished, focus on the Going for Gold missions (Even if they haven't been highlighted)!  Quick discussion: What did you learn through the light drawing task?  Your photos are on the student shared area, in art/ miss Wilson/ year 10 Photography/ Light drawing. Upload all of your photos as a contact sheet (gallery) - include the ones that didn't work! Put a title above it 'GROUP TASK - Experimenting with shutter speed: Light Drawing' Next, under your contact sheet, write a paragraph to explain the following: What is shutter speed and when should you use it? What is aperture and when should you alter it? What effect does slow shutter speed have on your photography? What did you learn through the light drawing task? Explain the need for trial, error and review. Shutter speed is... You should use it when... Aperture is... You should use it when.... If you use a slow shutter speed, your photo will... Trial, error and review was important on the light drawing task because... GOING FOR GOLD/EXTENSION: Add captions to the best photos and explain why they worked so well. Also choose 4/5 photos to add captions to that didn't work and explain why they didn't work.  How could you apply slow shutter speed to your Human Figure project?
If you have finished the main lesson task early - do some research on Google to help you answer this question. Find some exciting images that would be suitable for the project, and find out how they are created. You might want to save some of them onto a powerpoint page and you can upload it later as an extra bit of research! Discuss in pairs and be prepared to share your ideas at the end of the lesson. |
AuthorThese lessons have been written by Miss Wilson. Archives
December 2018
Categories
All
|
||||||||||||


 RSS Feed
