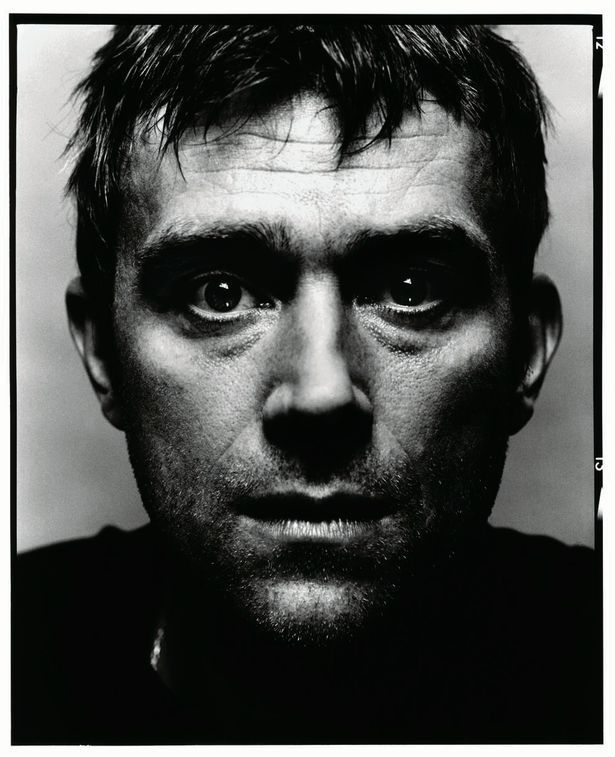
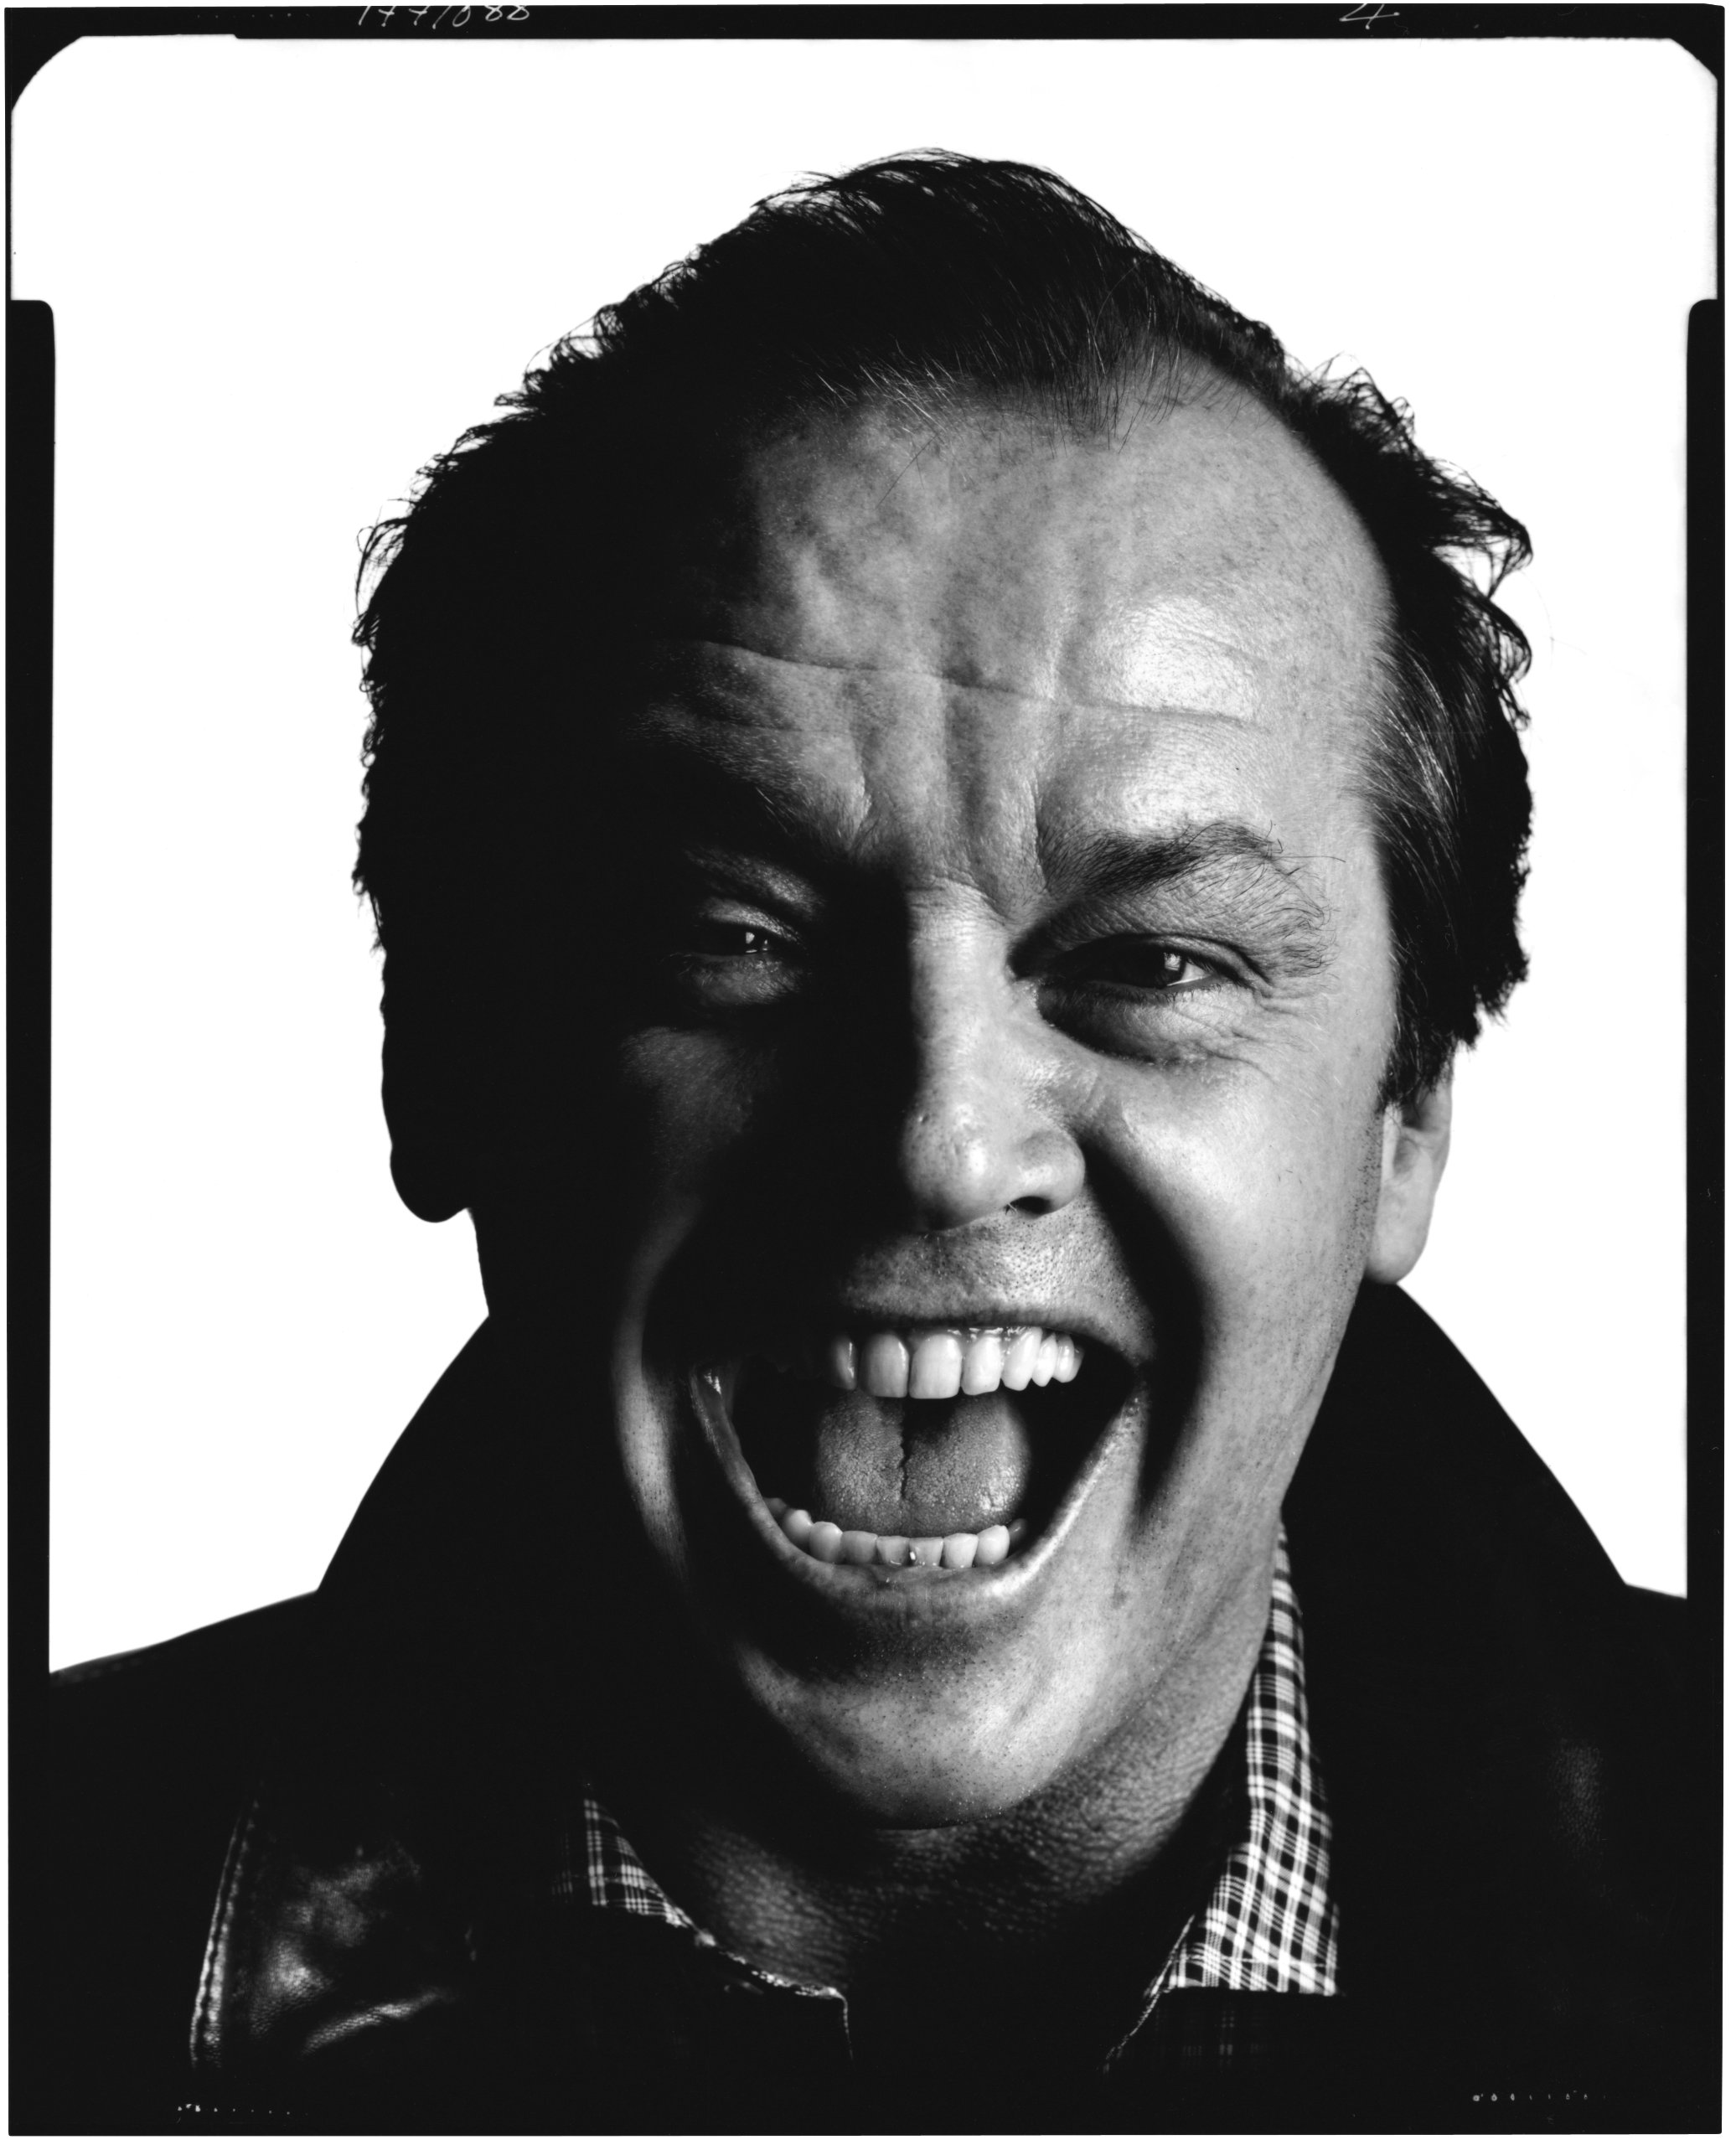
 Discuss these two images in pairs. What do you think about the: Pose... Facial expression... Lighting... Background... Mood of the picture?
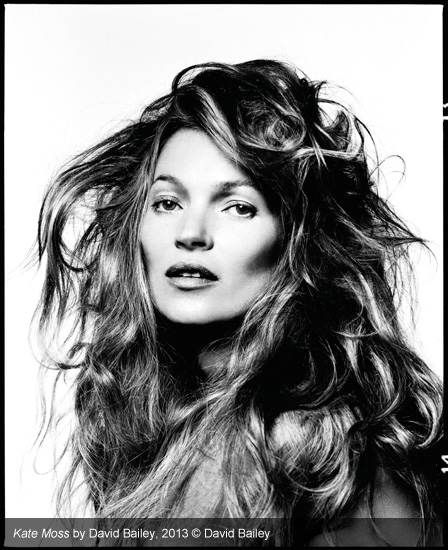
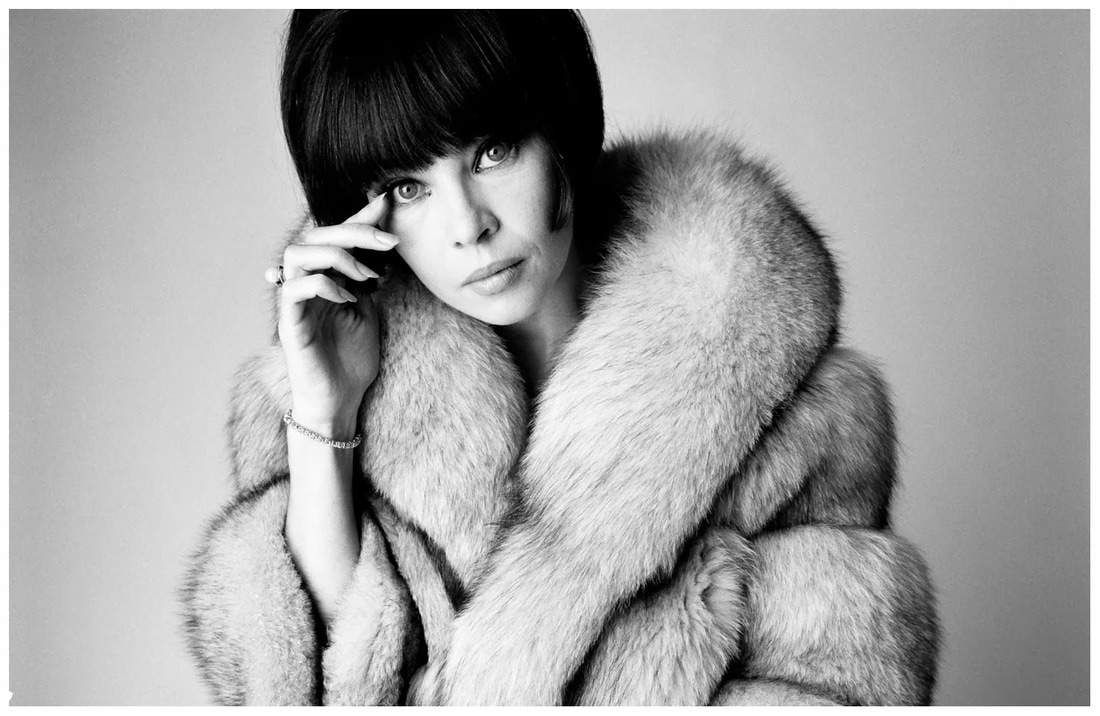
 How to take an effective portrait photograph in the style of David Bailey. 
 To bring together what you have learnt from this lesson, create a plan for your photoshoot next lesson. Your task will be to take 20+ Photographs of people, demonstrating the same skills and techniques you have seen within the work of David Bailey. Options for planning: 1. create a powerpoint slide, featuring the things you need to do next lesson in order to be successful. 2. get some paper and plan by hand, including some drawings of compositions, along with the key information. (if you choose this option - give it to me when it is finished and I will scan it into the computer so you can add it to your page). You must include notes on: - facial expressions you will get your models to try - moods you will try to recreate in your work - backgrounds you will use - Lighting - Props and/or costumes you will feature in your photographs. Upload the above planning to your Human Figure page under the title 'David Bailey style Photoshoot planning'.  Next lesson you will need to: - bring in your camera (make sure batteries are charged etc!) - bring in props/clothes to be used in your photos.  Underneath your David Bailey work, add a title 'David Bailey inspired photoshoot' Add a gallery and upload the best of your photos from the lesson today. Next, open the best photo on photoshop and edit in the style of David Bailey. - Desaturate your colours (make it black and white) - Enhance brightness and contrast - Enhance lighting and shadows (eg. curves or filters: render - lighting.) Save your edited photo as a JPEG then upload to a single image element under your gallery so your photo is large to show off your skills. You should have just one really effective photo as the outcome for this task.  Write a short paragraph to review your photo shoot and edited photos. Put this underneath your large edited photos. Discuss the following: - what did you do during the photo shoot? How did you take your photos, what props/lighting did you use and why? Did you create a mood/atmosphere through the facial expression/pose? How? - What are the strengths of your edited photos and why? - Going for gold: How could you develop this style of portrait photography in your own way? What could you do differently in either the photo shoot or the editing? To develop, you would take an aspect of the original style then make changes in an individual and creative way. - Going for gold 2: carry out whatever you just said you could do above to develop the style independently. This would need to be done when everything else is finished OR as a homework. It might involve a new photo shoot, it might just be a different edit.  Anything incomplete from this page is homework, due TUESDAY the 31st.
Make sure everything is uploaded and complete or there will be detentions on Tuesday after school..
0 Comments
Leave a Reply. |
AuthorThese lessons have been written by Miss Wilson. Archives
December 2018
Categories
All
|
 RSS Feed
