 For the mock exam, think of it as a full day to focus on developing your ideas and moving forwards towards mini outcomes.  Create a plan which includes an hourly breakdown of what you hope to achieve.
- Be specific - What experiments will you do? What annotations will you write up? etc. - Which artists will you combine and how? - Which photos will you be editing and why? - What planning or further research might be useful to have on the day? It is expected that you produce a good body of work on the day!
0 Comments
 Upload your homework photos to the bottom of your Human Figure page in a gallery. Put the title 'Homework photoshoot inspired by ________ and _______' underneath (with your two chosen artists names in the gaps) GOING FOR GOLD: Add captions to the 3 best photos in the gallery with a sentence to say why you like the photo, and possibly link to your artist, aiming to use key photography words if you can.  For this task, you are learning how to develop independent ideas by combining the styles of two photographers.  ABOVE your gallery, write a paragraph to explain the two photographers that you have chosen to inspire the rest of your project. Title: Main Artist Inspiration Copy and paste then complete these sentences: Having explored a range of photographers, I have decided to focus the rest of my project on ______ and ______. I find these artists inspiring because... (BE SPECIFIC AND TALK ABOUT PHOTOGRAPHY TECHNIQUES/STYLES!) Going forwards from this point, I plan to combine the styles of these photographers by... Underneath your paragraph, add two image blocks, and add a photo of each photographer's work (preferably different images to the pictures you have used previously) to make it clear to the examiner.  Your first combined experiment: Working with your homework photos (or other photos if you don't have them), create an experiment on photoshop which combines the styles of both chosen photographers.  Upload the full size image below the title 'Combined Experiment', then review it, using these sentence starters:
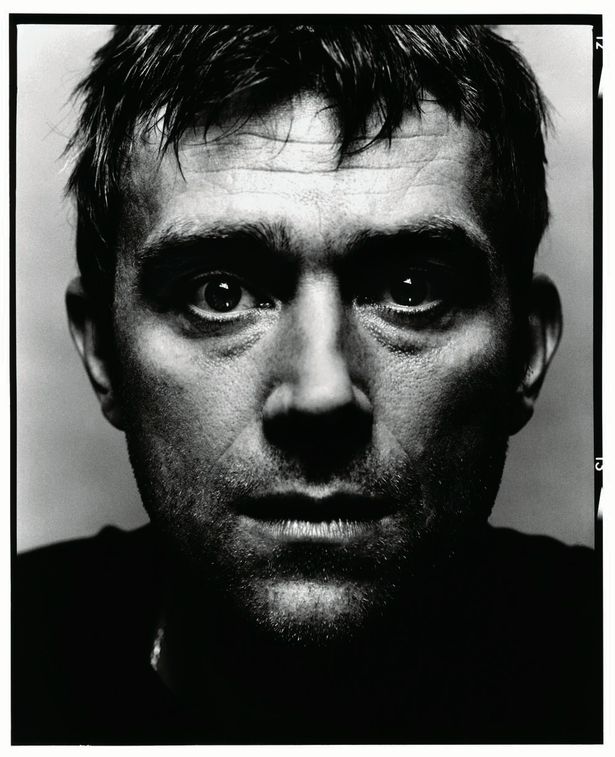
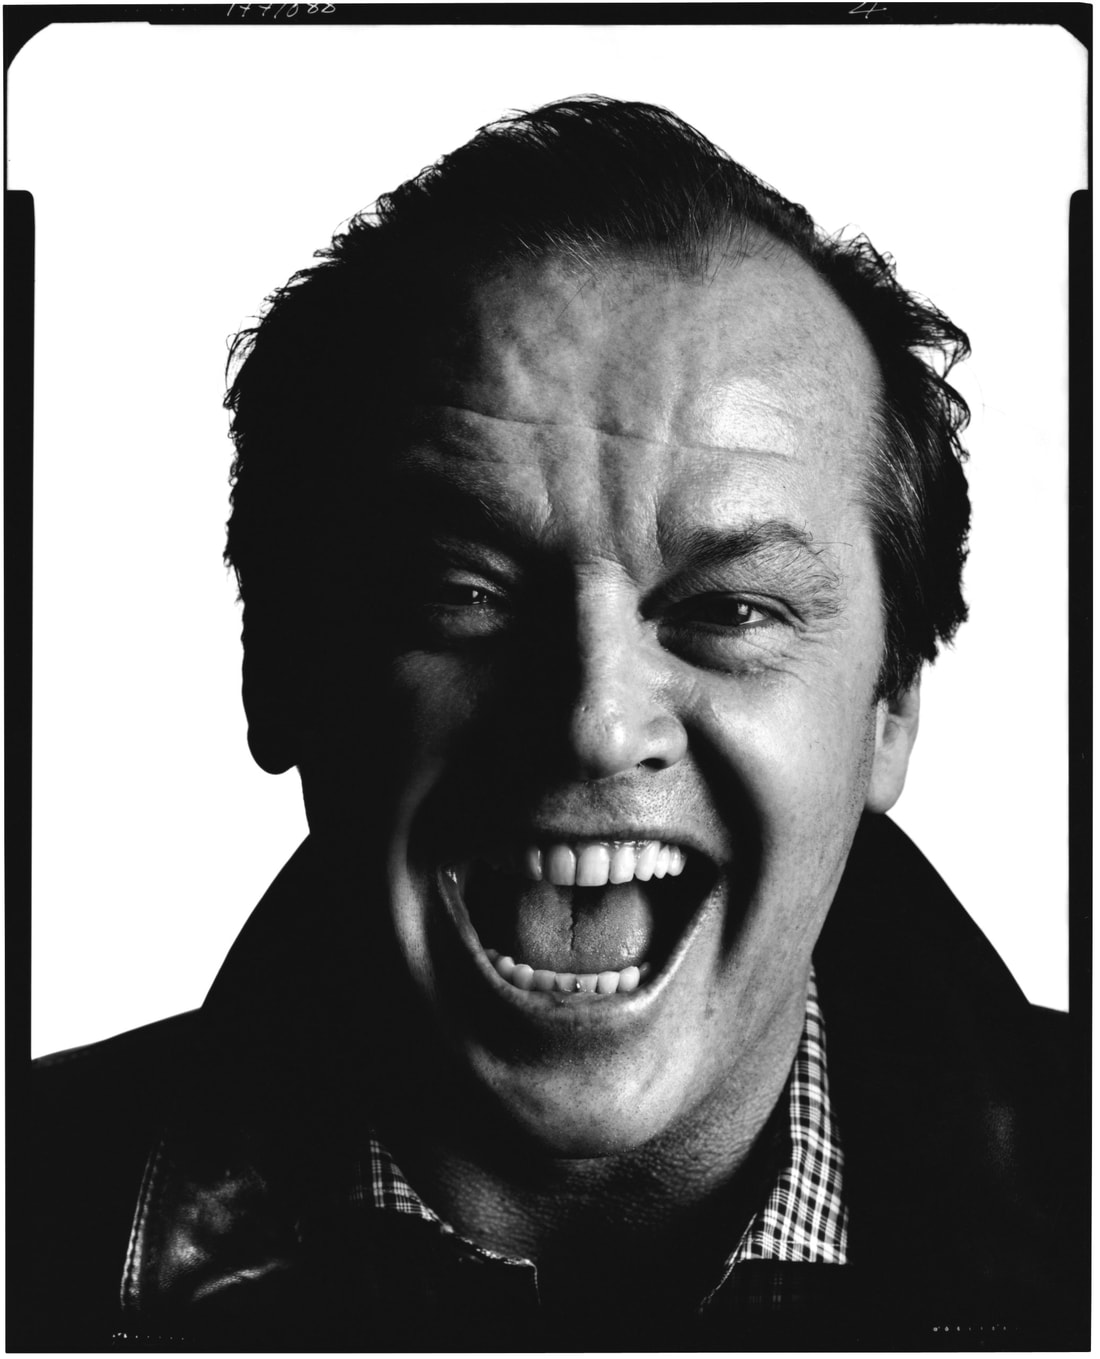
To create this experiment, I... I have combined the styles of ______ and ________ by... Something that works well about the edit is... To develop further from here I will... Going for gold Try to use cover some (NOT ALL!) of these points in your review, expanding with extra sentences where necessary: USE OF COLOUR COMPOSITION TECHNIQUES LIGHTING TECHNIQUES CAMERA TECHNIQUE EDITING TECHNIQUE MEANING BEHIND THE PHOTOGRAPH THINGS YOUR EYES ARE DRAWN TO IN THE PHOTO HOW THE IMAGE MIGHT BE VIEWED BY THE VIEWER - WHAT MIGHT IT MEAN TO THEM  Discuss these two images in pairs. What do you think about the: Pose... Facial expression... Lighting... Background... Composition?
 How to take an effective portrait photograph in the style of David Bailey.  Tips for success: - Similar composition - High contrast - white background - Bold facial expression  Underneath your last photoshoot, add a title 'David Bailey inspired photoshoot' Next, open the best photo on photoshop and edit in the style of David Bailey. - Crop it - Desaturate your colours (make it black and white) - Enhance brightness and contrast - Enhance lighting and shadows (eg. curves) Save your edited photo as a JPEG then upload to a single image element under your gallery so your photo is large to show off your skills. You should have just one really effective photo as the outcome for this task.  Write a short paragraph to review your photo shoot and edited photos. Put this underneath your large edited photos. Discuss the following:
- what did you do during the photo shoot? How did you take your photos, what lighting did you use and why? Did you create a mood/atmosphere through the facial expression/pose? How? - What are the strengths of your edited photos and why? To take photos in the style of David Bailey I... To enhance them, when editing I... Something that works well about my edit is... - Going for gold: How could you develop this style of portrait photography in your own way? What could you do differently in either the photo shoot or the editing? To develop, you would take an aspect of the original style then make changes in an individual and creative way. - Going for gold 2: carry out whatever you just said you could do above to develop the style independently. This would need to be done when everything else is finished OR as a homework. It might involve a new photo shoot, it might just be a different edit.  Recap - what do you know about Melinda Gibson's photography?
 You will create 2 edits for this artist - both using a very different technique. Using your own photographs, complete the following tasks: Task 1: Photoshop Open a portrait - preferably one without a complicated background Open a landscape/scene to layer it with (both photos need to be the same way round - either portrait or landscape) Copy the portrait and paste it over the top of the scene. Use the eraser/select tool to cut out the figure to reveal the picture below. Do this with care. Upload to your website. Task 2: Collage by hand Print out a portrait and a landscape in colour. You'll need to change the printer to AVA MFD TECH and change the printer properties so they come out in colour. cut out the figure using a craft knife and board/scissors. Layer the two images and glue together. Scan and upload the image to your website.   Having researched the 5 photographers, your challenge for today's lesson is to experiment with any/all of their styles on photoshop... with no instructions! Use your prior knowledge of photoshop techniques and tools, to see if you can create a photo in the style of one or more of the following: - easiest: David Bailey - Jason Faucheur - Melinda Gibson - Rob Mullholland - hardest: Antonio Mora Use your homework photos... or old photos if you don't have them. You have one lesson to experiment - see what you can do!   What did you achieve this lesson? What worked/what didn't? How did you find working independently with limited guidance? What did you learn?   Read through the project overview below: This is the first of 2 projects for your coursework. Your coursework is 60% of your grade. Your first project is The Human Figure. Change the title of 'Component One' Page to 'Component One: The Human Figure'. All work will be saved here for this project. Between now and half term, you will research and try out the styles of 5 new photographers, learning some new techniques along the way, before choosing TWO to focus on for your project. You will then develop the rest of the project independently, covering all of the assessment objectives: - AO1 - Artist research and using artists to inspire your ideas (25%) - AO2 - Experimenting - different camera and editing techniques (25%) - AO3 - Recording ideas - drawing, taking photos, planning and written work (25%) - AO4 - Final outcomes - a series of pieces that bring your ideas together (25%) Upload your homework photos to a gallery at the top of your new project page. Also save them to your area.  You are learning how to analyse photographers styles through written work, ready to try their styles next week.   Swap computers...
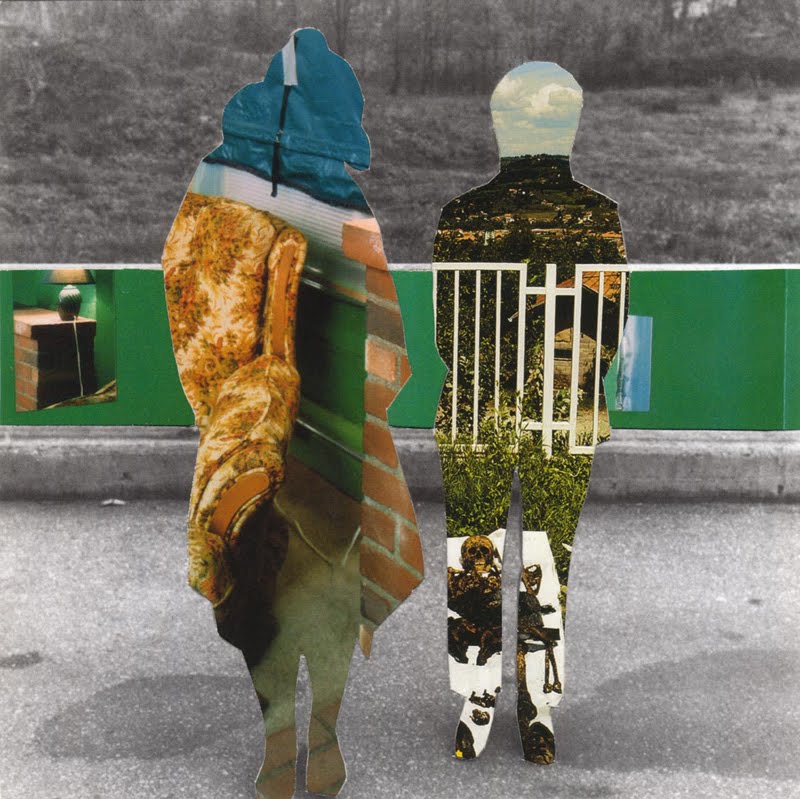
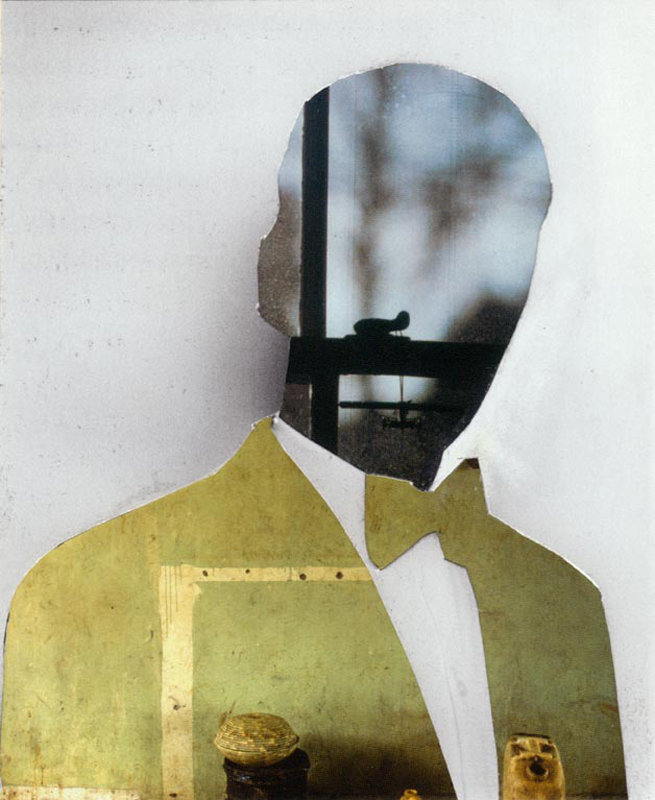
Check their work - look for spelling mistakes and typos etc! Be a 'critical friend'!  How do you think these images have been created? How would you create them on photoshop?

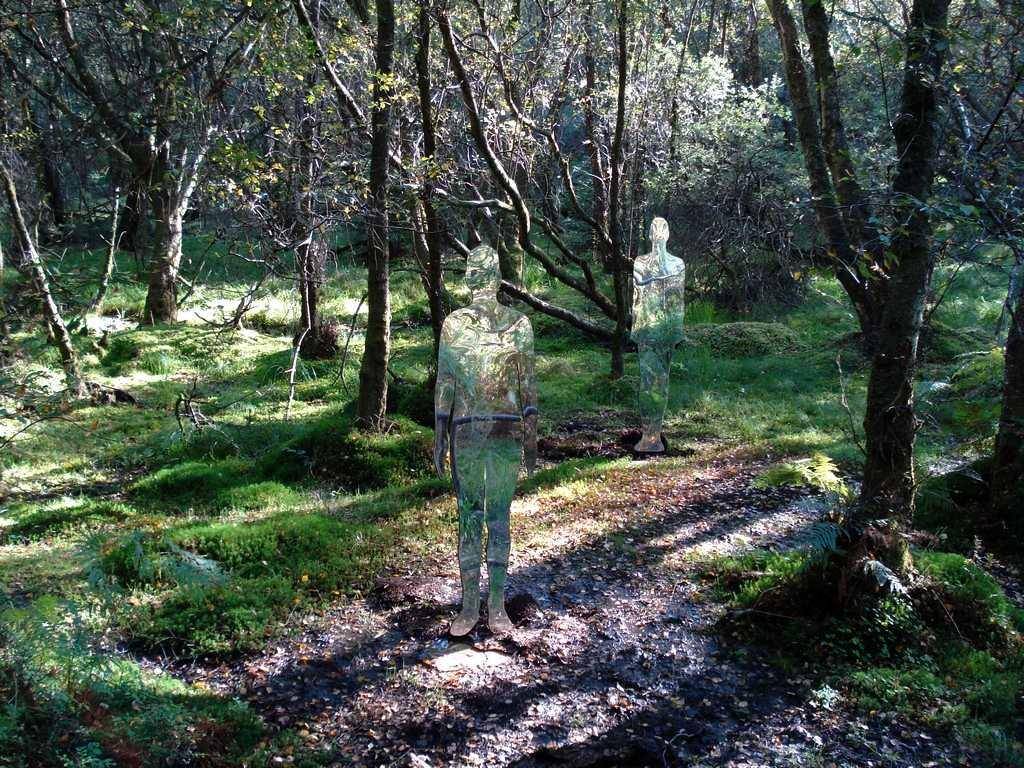
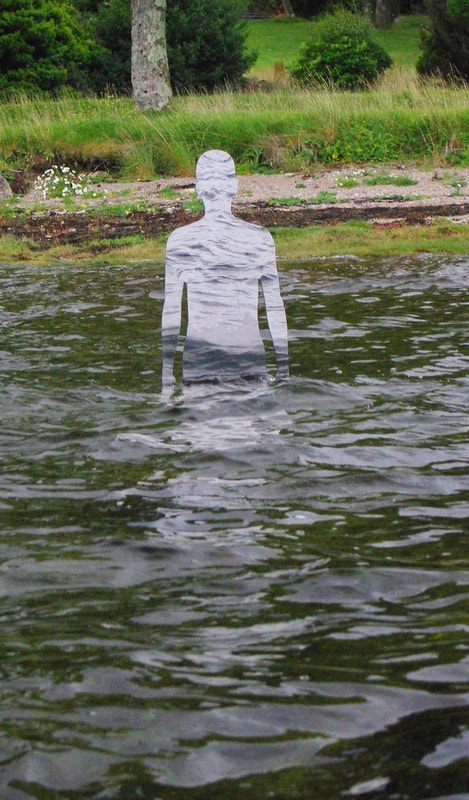
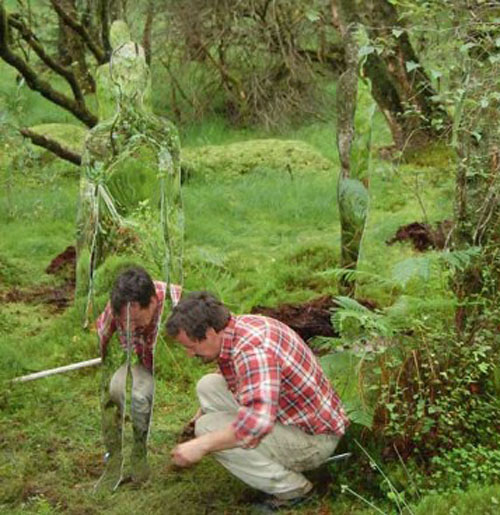
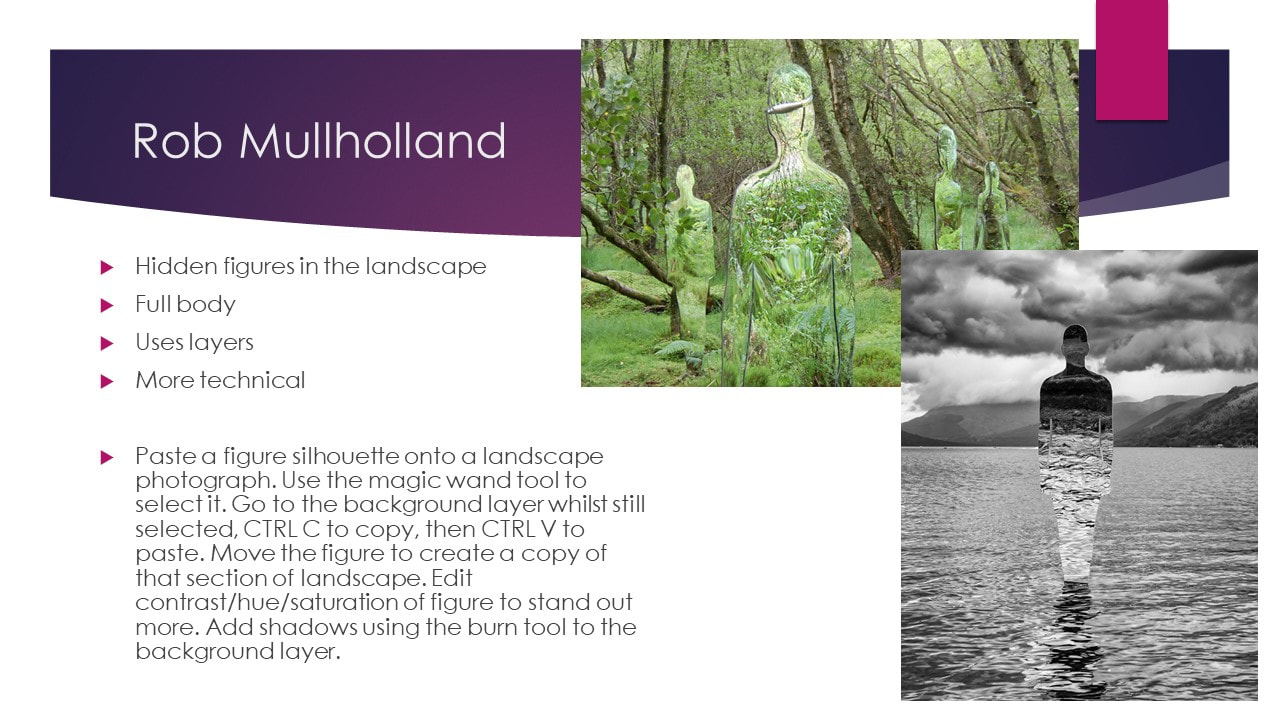  Create at least one edited image in the style of Rob Mullholland. You may include one or more figure in your image - up to you! Start by opening one of your landscape/scene photos to use as your background in photoshop. 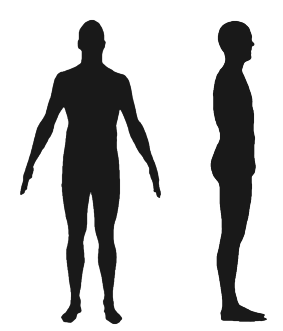 Copy the image above and paste onto a landscape photograph. Use the magic wand tool to select it. Use CTRL T to change the size if you need to. Go to the background layer whilst still selected, CTRL C to copy, then CTRL V to paste. Delete the original layer. Move the figure to create a copy of that section of landscape. Edit contrast/hue/saturation of figure to stand out more. Add shadows using the burn tool to the background layer. To try a different figure, search 'figure silhouette' in google images.  Upload your edited photo then review, including:
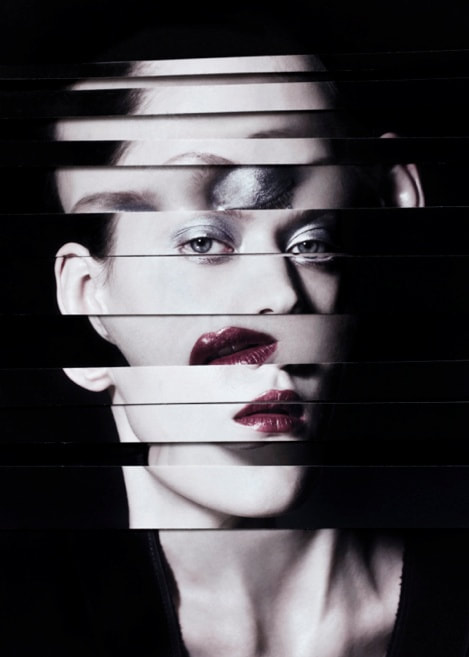
How did you create your image, taking inspiration from the work of Rob Mullholland? What do you like about this idea? How could you develop it further, more independently?  Upload your edits full size under the title 'Antonio Mora' when complete, and explain the tools you used to create the image and review the strengths and weaknesses. To create this image I... I have taken inspiration from the work of Antonio Mora by... Something that I like about this technique is... I could refine it further by...  You are learning how to create a double exposure image by layer images creatively in the style of the artist. 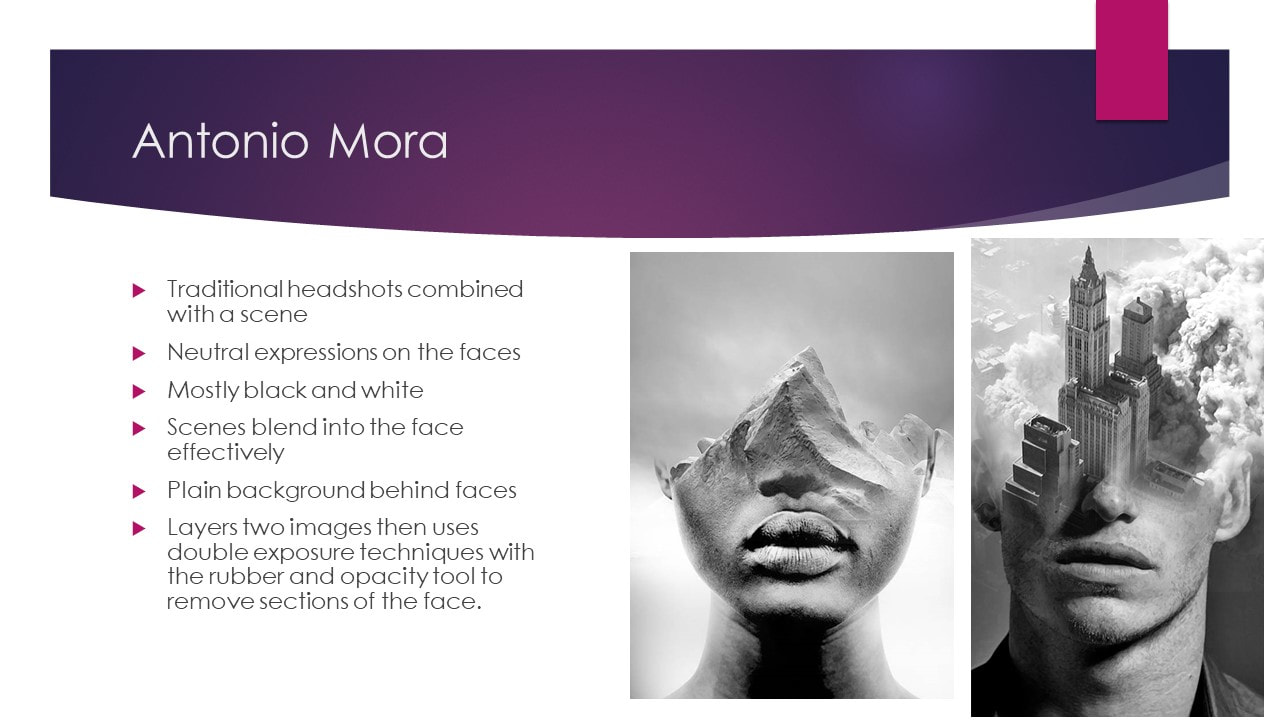  Use the instructions below to create your own double exposure image. If you have time to do more than one then you may, but try to do the second one differently - maybe in colour.  IF you need further help or want to try something different, have a look at these tutorials: https://www.youtube.com/watch?v=Mbf-QXCCXgM  Upload your image full size under the title 'Antonio Mora' when complete, and explain the tools you used to create the image and review the strengths and weaknesses. To create this image I... I have taken inspiration from the work of Antonio Mora by... Something that I like about this technique is... I could refine it further by...  For tomorrow's lesson, print 4 photographs FULL PAGE...
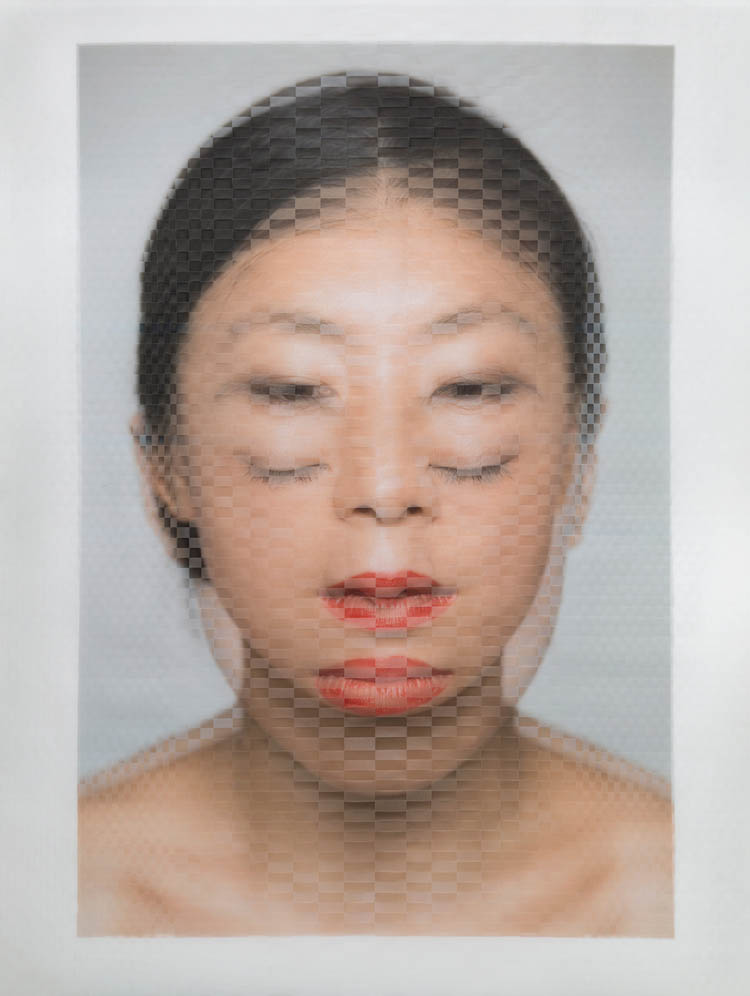
2x portraits - in focus, close up 2x edited photos - in the style of David Bailey and Antonio Mora Send your photos to AVA MFD TECH... Change the properties to print one sided and in colour!  In order to work in the style of Jason Faucheur, you need to print off one of your David Bailey style portrait photos 6 times! Choose your best one, and do this as quickly as possible. 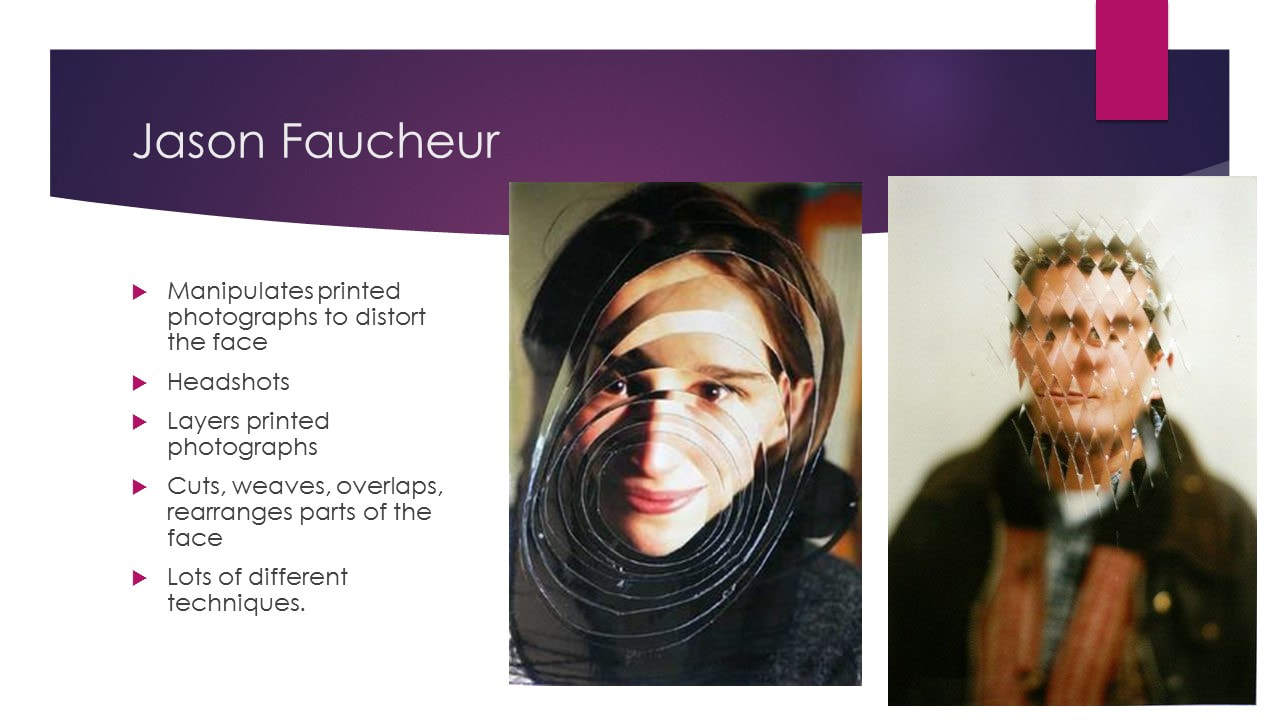  By exploring the style of Jason Faucheur you are learning about the alternative methods of manipulating an image... It's not always all about photoshop! 'Hand Manipulating an image'  See the demonstration of how you could manipulate an image by hand using some basic techniques such as: - Weaving - Rearranging
 Using the photos you printed out: - use 2 photos to weave together creatively then glue down - cut up and rearrange 2 photos together then glue down - get creative with the final 2 photos - how can you combine them?  Scan your work into the computer via the printer... Upload your scanned images onto your Human Figure page (student shared area, photography, year 10, Jason faucheur). Find your photos, click them one at a time so they go blue, right click to copy, then paste onto a new photoshop file and save as a jpeg. Write a quick review: - How did you take inspiration from Jason Faucheur? - How did you create your pieces? - What other ideas to you have for hand manipulated images? - How could you improve from here? (tip: what photography techniques could you use to improve your images before printing?) For these I took inspiration from Jason Faucheur by... I created them by... Other ways I could hand manipulate photographs are... To improve my overall images further I could...  The final part of this task is to complete one or more edits using your headshots (homework) to edit in the style of Jason Faucheur. Upload your headshots to your area and to your human figure page in a gallery. To edit you should: - EDIT THE PHOTO FIRST - brightness and contrast, sort the background etc. - use the select tool to copy and paste/move sections - rearrange the face - repeat parts of the face - use circles and/or lines 
 Read your exam paper. This is yours to keep - you can highlight and make notes on it.  See the powerpoint below - I have put together a range of ideas and artists for each exam title. Have a good look at all of them before you make any decisions.  Group mindmaps On the walls are pieces of paper with all of the titles on. Grab a felt tip, and go round each piece of paper and add as many ideas as you can think of - this will save you time when you have to do your own mindmap! Include: Things you could photograph Concepts/meanings that could be explored Places you could go to take photos Photography techniques Editing techniques I will photograph and upload these below for next lesson. Independent research Carry out general research into each exam question that interests you. Make notes on your exam paper of anything that interests you, and start copying any images that you might want to come back to later onto a powerpoint, making a note of the artists names etc. Choose your title carefully - you cant change it after today. Decide on a title then complete the following: Write up the relevant mindmap - you can add/leave things off it where necessary. You can do this either by hand or powerpoint. Create a collage of initial ideas. What are you planning to do? Make notes on the collage that link to your specific ideas. Create a new page called Component 2: Exam Project Upload both pieces of work as JPEGS.  You now need to find TWO artists to inspire your ideas. As you know, 25% of your marks come from artist research and using artists to inspire your ideas. Choose your artists carefully as you will spend the next few weeks working in their style. You should also consider how you will combine their styles, as you will need to do a lot of this! Things to consider when choosing your artists in order to be successful:
 Your task is to write a paragraph about the work of your chosen photographers to anaylse the way they photograph your chosen subject. You should include: - 3 photographs of their figure photographs (not photos of the artist!). - key information about their work from the things you have read about (not the photographer but the work itself) - Your own observations of the photography techniques and formal elements that you see - eg. how does the photographer use composition, lighting, line, shape, tone etc? - What you think the work is about - what does the photographer want you to think about? What might the meaning behind the work be? - Your opinion and explanation of how you will take inspiration from their work. If you need help getting started, copy and paste these sentences and fill in the gaps. The photographer I have chosen is... Having read about their photography, I have learnt that... When I look at _____'s photographs, I can see... One of the reasons that I have chosen this photographer to inspire my work is because I like ... I will take inspiration from ____'s work by...   Your homework is to prepare your webpage with the following blocks ready to put work into. this will speed up lessons and help you organize the work you need to complete. It will also help me to make sure that you don't miss anything out! Download the document below OR use the printed handout.
|
AuthorThese lessons have been written by Miss Wilson. Archives
December 2018
Categories
All
|

 RSS Feed
