 Complete the self assessment about the mock exam.   For the higher marks in AO2 and AO4, you need to demonstrate a high ability to refine your ideas and move forwards, trying different things and improving each time. Following your mock outcomes, we will have 2-3 weeks of final experiments before producing your final set of images for this project.  Your tasks: 1. Plan how you could improve and develop from your mock outcomes. - What could you change? - What new photos could you work with? Where could you go? - Do you need to add ideas from one of your other artists from the start of the project? 2. Plan a new photoshoot (to include some drawing either by hand or graphics tablet) This photoshoot is homework due next week. Try to get the best possible photos so they could be suitable for your final pieces if need be!  Share your ideas for development with the person next to you - what do they think? What would else they do if it was their project? ***Make a note of any good ideas that they have!***
0 Comments
 DISCUSS IN PAIRS What are all of the different things that you can experiment with when: a) taking a photo? b) editing a photo?  This week you will build on your marks for AO2 by working through a checklist of things to vary when experimenting. This will show your understanding of different techniques as well as develop your ideas further towards your mock exam.  Produce at least one edit for each of the following titles. Upload the experiment under the appropriate title on your website.  How have you found this process? Why is it useful to try making lots of small changes? What will you do next?  Your next task will be to do a drawing plan for a new photoshoot. Think about where you can go to take your photos, then plan out what photos you will be looking for.
You may draw by hand or on graphics tablets, but should include at least 3 drawings, and have a range of ideas supported by notes to explain them.  Today you will begin planning a series of edits which will be mini outcomes for the project so far. They will be created in exam conditions for your mock exam. What might they look like? Think about your project, and discuss in pairs what you might do.  You will get marks for AO4 for this set of outcomes (25% of your mark for the project). It is also a realistic idea of what you will have to do in the exam, only this time you get 3 lessons, the real exam is 10 hours!  Task 1: Drawing plan On paper OR using a graphics tablet, plan a set of two or more edits to bring together your experiments so far. Combine all of the best bits! In your plan, you should include: - An explanation of your ideas - Links to your artists - Camera and editing techniques that you will use - Labeled drawings as plans for your two or more edited outcomes Click the photo below to download the template, then work over the boxes on photoshop if you are using a graphics tablet, or print and draw by hand then I'll scan it in. 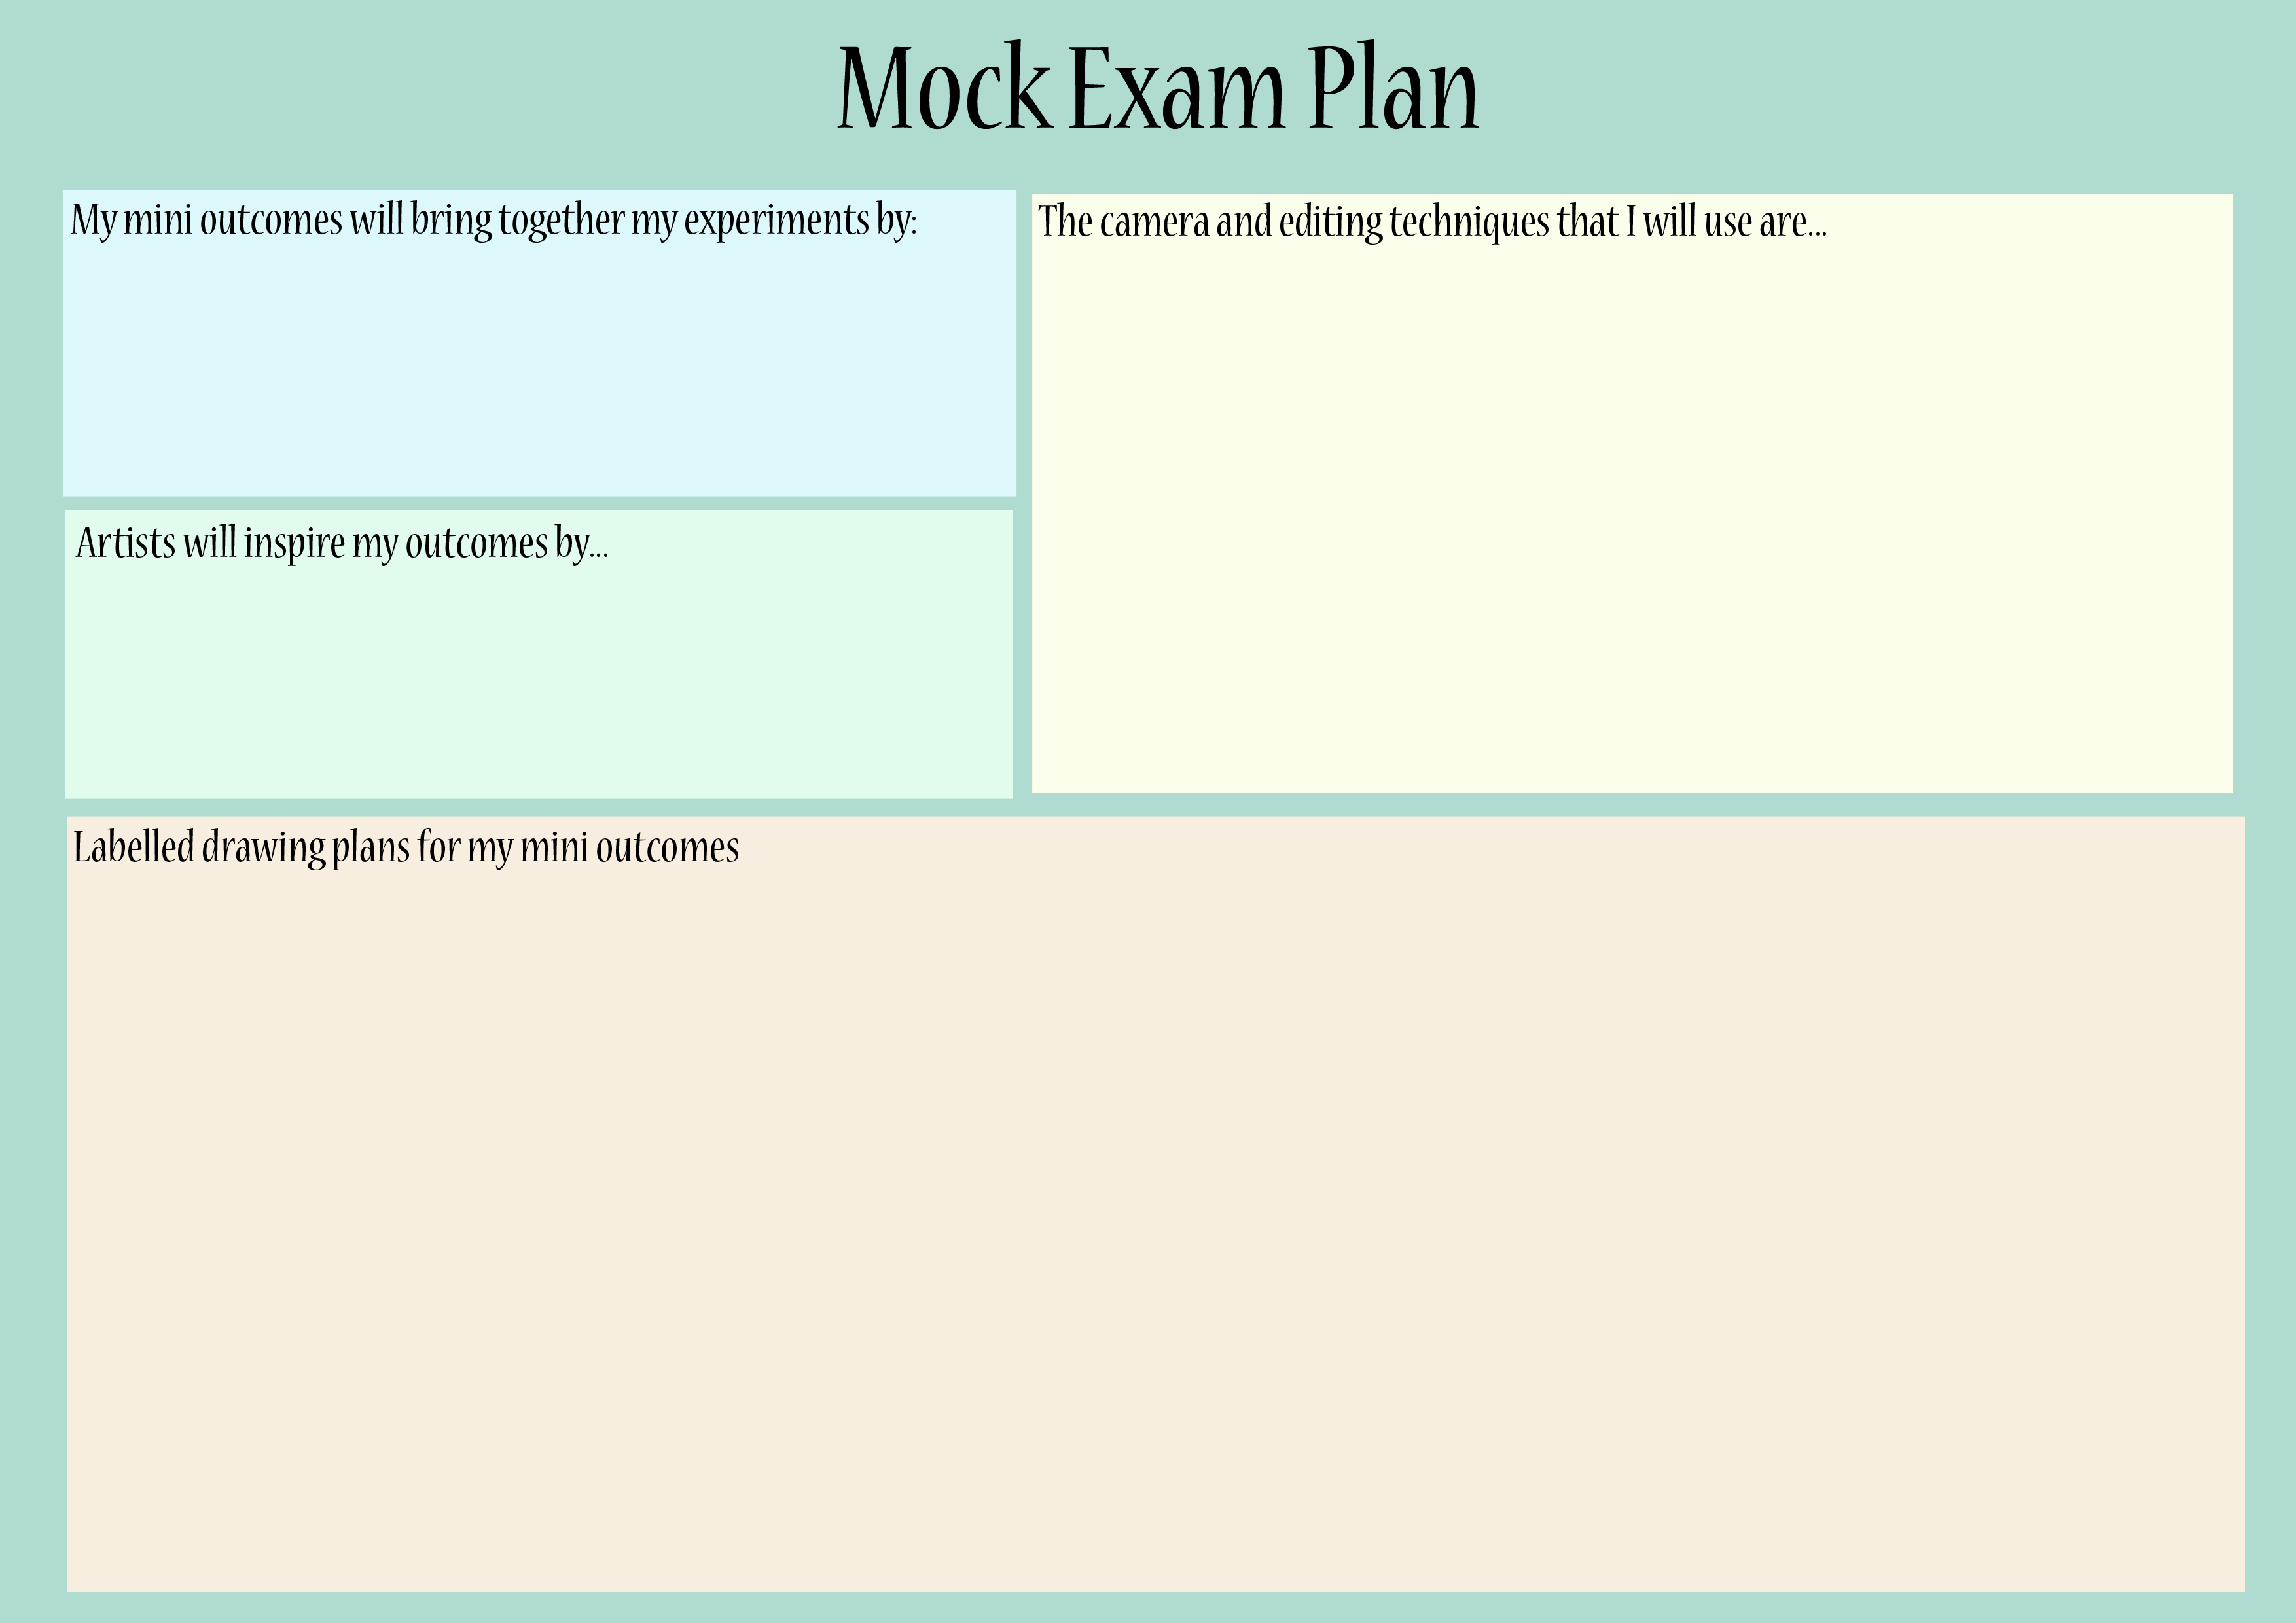 Upload your planning page full size at the bottom of your architecture page.  You have 3 lessons to complete your mock exam pieces. Like the real exam, you will be expected to: - work independently - work in silence - overcome problems on your own - demonstrate the best of your ability and skills - upload and review your edits before the end of the mock exam.  When you finish your edits, upload them full size under the title 'Mock Exam Outcomes'
Review your work, discussing: - How have your photographers inspired your edits? - How have you brought together your ideas/experiments so far in these pieces? - How did you decide on the techniques you would use and why? - What are the strengths of your outcomes? why? - What could ideas/techniques be developed further from here?  Upload your homework photos to a new gallery under the title 'Homework photoshoot'. Below it, add a sentence or two to explain why you chose these buildings and what you were looking for when taking the photos. GOLD: Also discuss a couple of the techniques that you used, eg. if you were looking for specific compositions linking to your photographers. For this photoshoot I photographed... I chose to go to these locations because... If you don't have your homework, please email Miss Wilson to explain why.  This week, we will be starting to combine your photographers further. To be successful you need to: - Combine different aspects of each photographer eg. colours from artist 1, composition from artist 2. - Avoid being repetitive. Try different techniques, different colour schemes, different editing styles. - Edit a range of different photographs (from any of your photo shoots) - Edits should flow from one to the next, making small changes rather than jumping around too much and your work not linking. - You should expect to complete multiple edits - perhaps 8+ over the next couple of weeks! Going for GOLD - After completing a lot of the above, you may choose to add a third photographer into your work to complicate it further. This should probably be one of the others we have already looked at, unless you want to find someone else and do a little extra work with a new research slide and individual edits before combining with your other two photographers.  Refer to the success criteria above, and experiment with different ways of combining your two chosen photographers styles. Upload each photograph FULL or HALF size.  Complete the following questions on the Self Assessment sheet in your book.
To be successful when combining my artists styles I needed to… So far I have combined my artists by… Something that has worked/not worked is… Because… From here, I will combine my artist styles in further experiments by… |
AuthorAll lessons here are written by Miss Wilson, especially for you - my wonderful students! Archives
July 2018
Categories |
 RSS Feed
