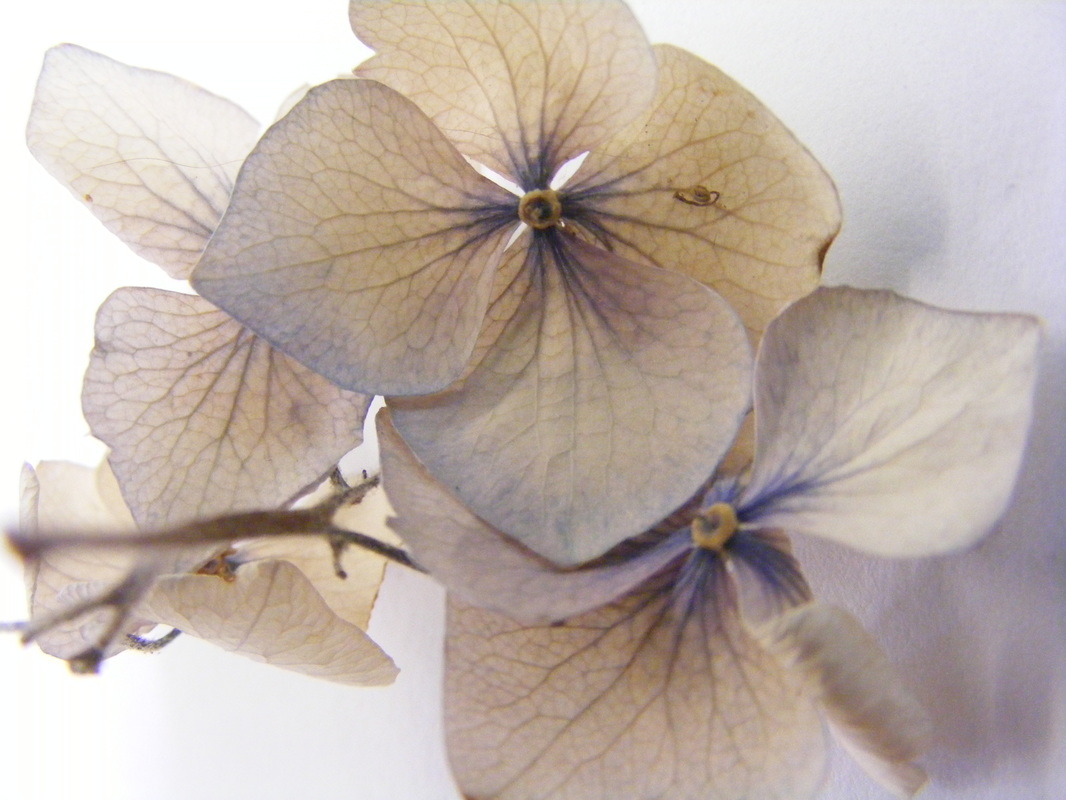
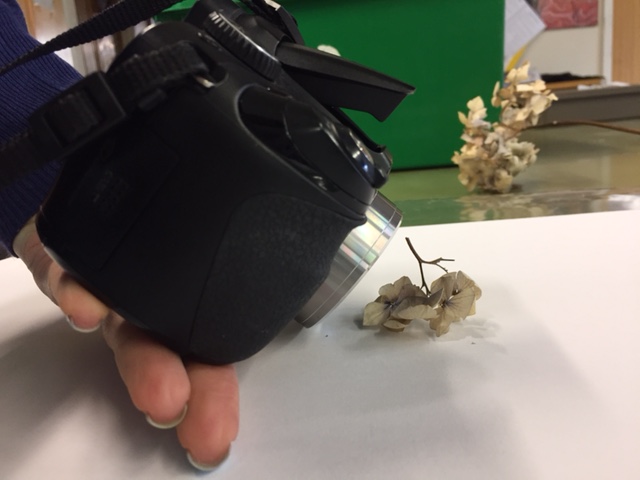
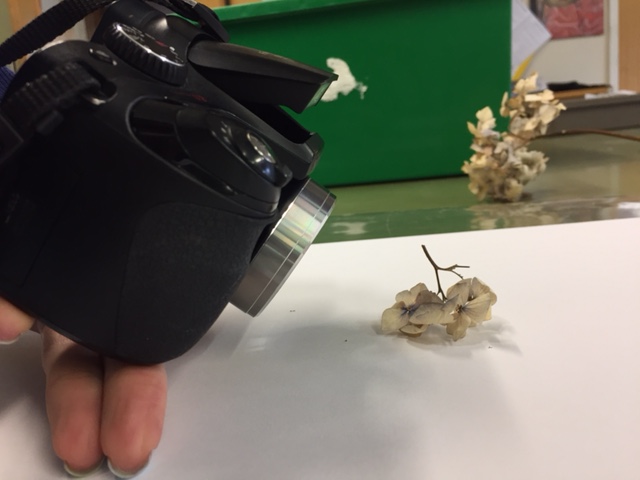
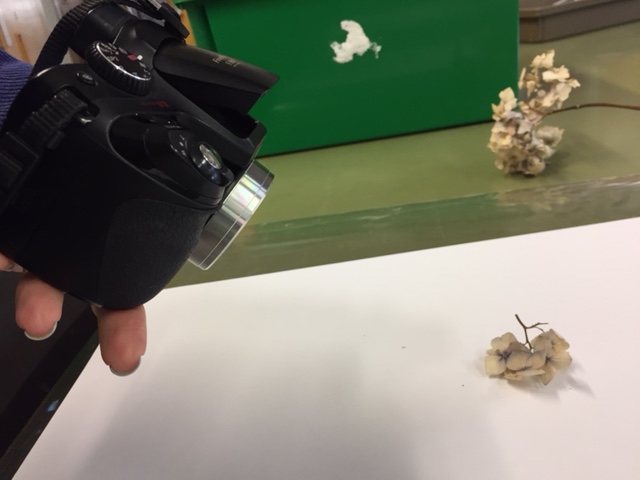
 What is the difference between macro on and off? How should you hold your camera? Roughly: 1CM = SUPERMACRO 2-4 CM = MACRO 10CM OR MORE = MACRO OFF  If you have a card reader and your memory card...Go to your Close up page. Add a title underneath your artist research, followed by a gallery element. Plug in your memory stick or cable so you can access your photos. Click your gallery icon then upload ALL of your photos (except selfies!). This will take a few minutes. Do the opposite task on a word document whilst you are waiting - you will copy and paste it when your photos have uploaded. When finished, pass your card reader/memory card to the next person. Click the gallery at the edges so the settings come up. Change the number of columns to 5 or 6 depending on the number of photos you have so they fit more neatly onto the page. Put a title above your gallery called 'Macro Contact Sheet'. If you are waiting for the card reader or memory card do this whilst you wait... On your Close up page, add a title 'Macro Photoshoot' under the work from last lesson, then a text box below. Write a paragraph to explain the task using the following questions. When writing, always imagine you are talking to the examiner as that is who will read your work! What did you have to do? For this task we had to... What was the purpose of this task? The purpose of the task was to... Explain how you used the macro setting, what you took photographs of, and what you found to be most effective. I used the macro setting to photograph... The objects I found most effective were.... because... Did you try anything that didn't work? Explain why this was. Something I tried that didn't was... because... How did the work of Joni Niemela and Karl Blossfeldt inspire you? Make links between your work and theirs. I took inspiration from the work of Niemela and Blossfeldt by....  How will you have to edit your photos so they are in the style of the two photographers?
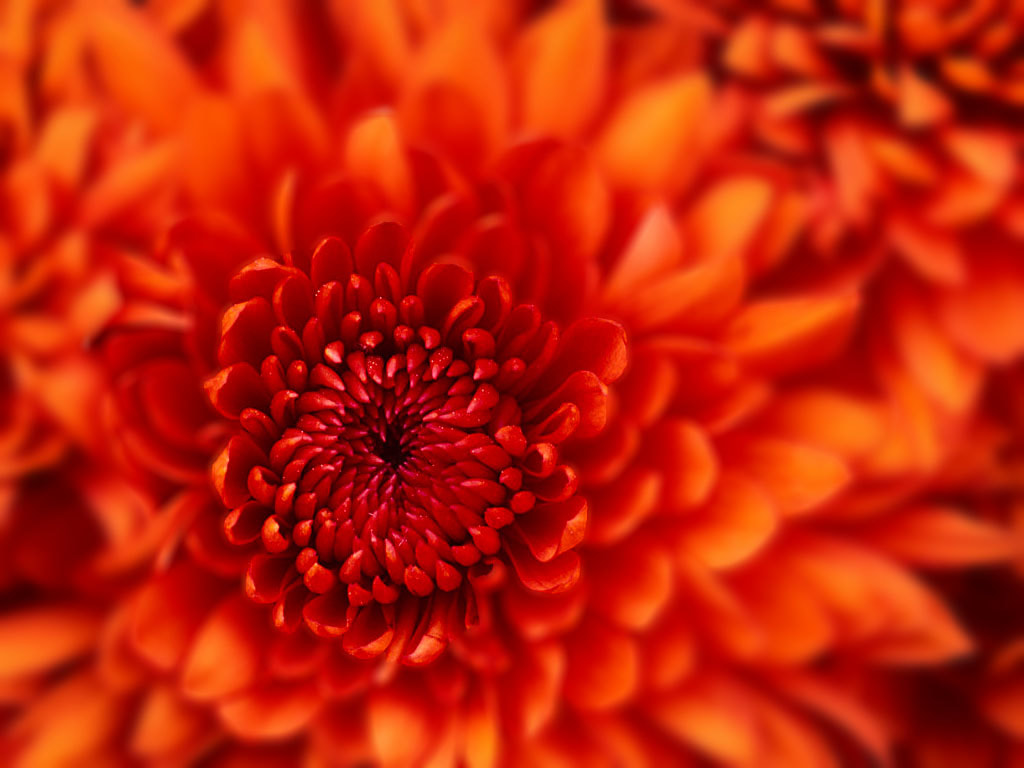
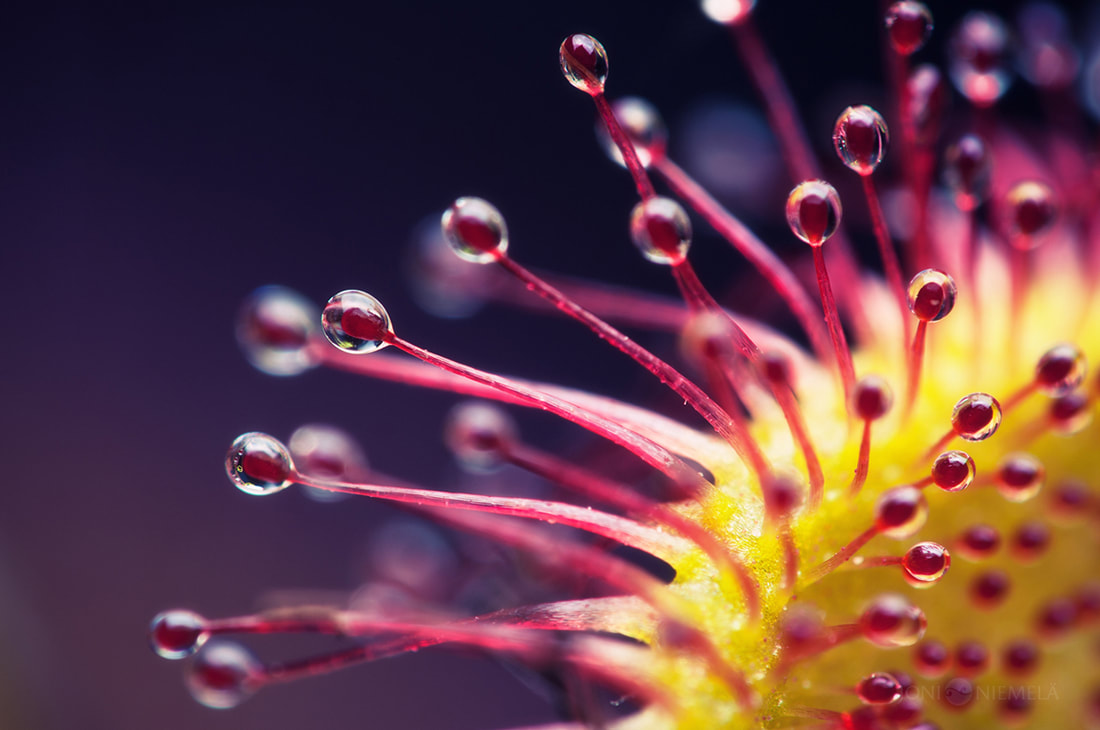
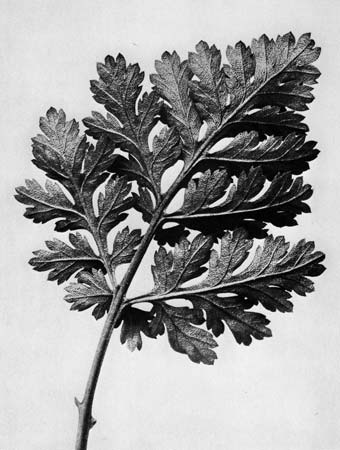
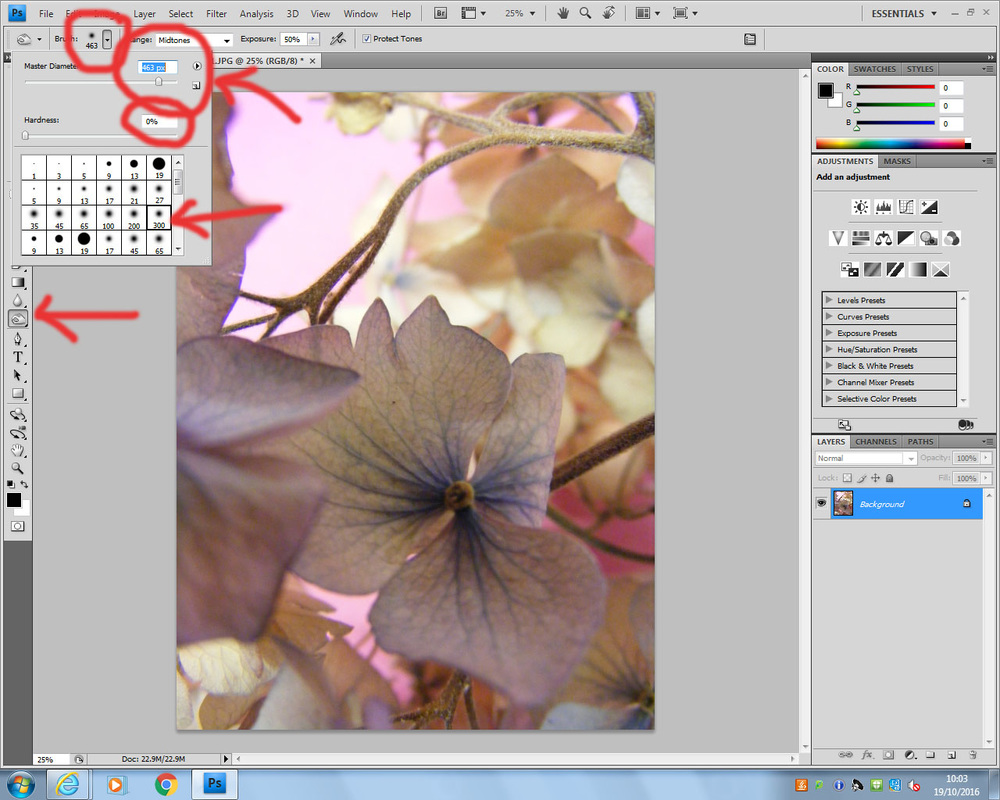
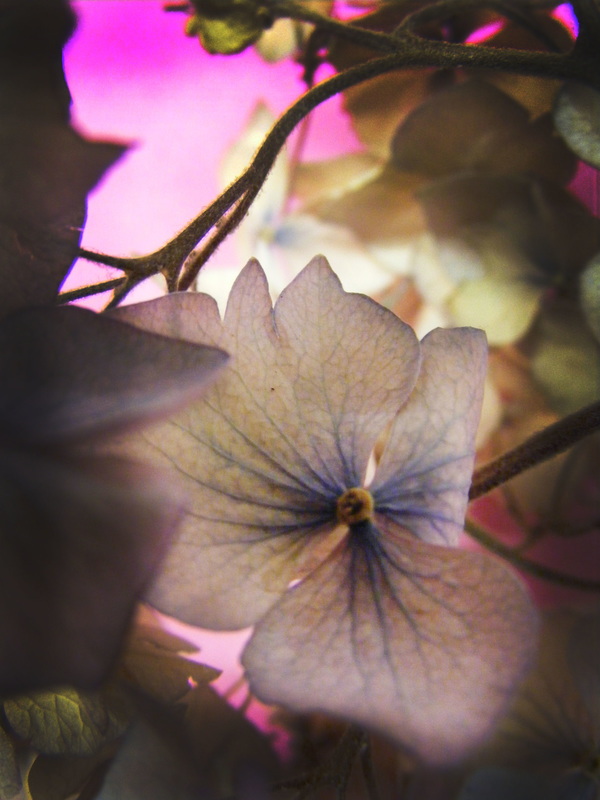
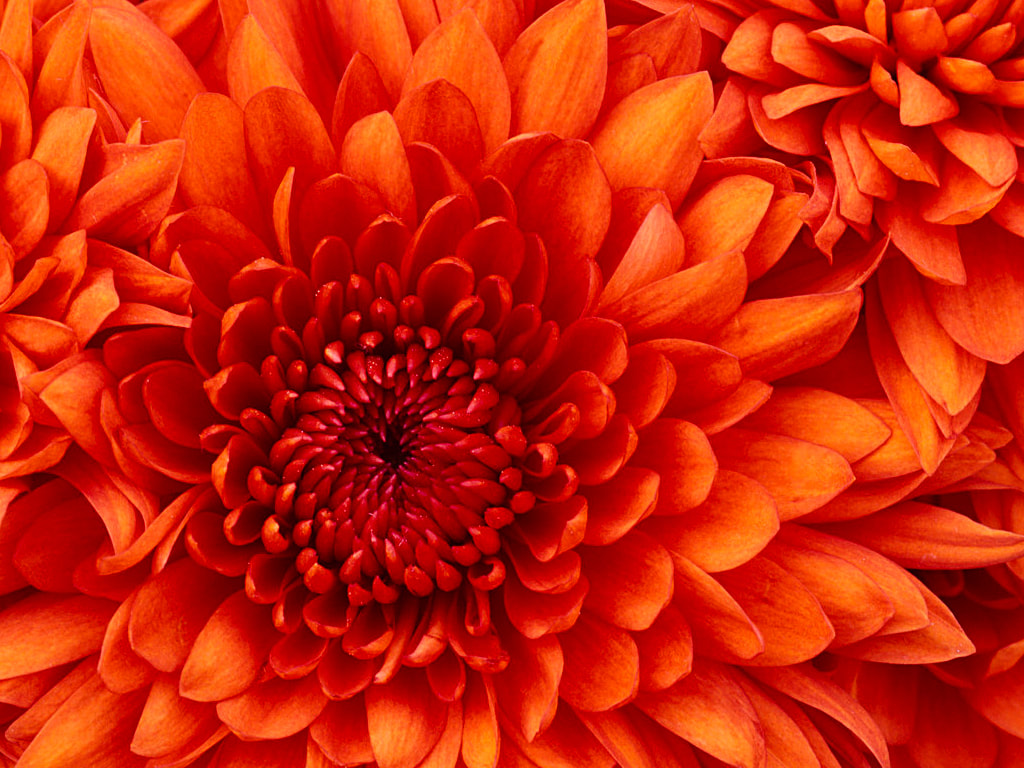
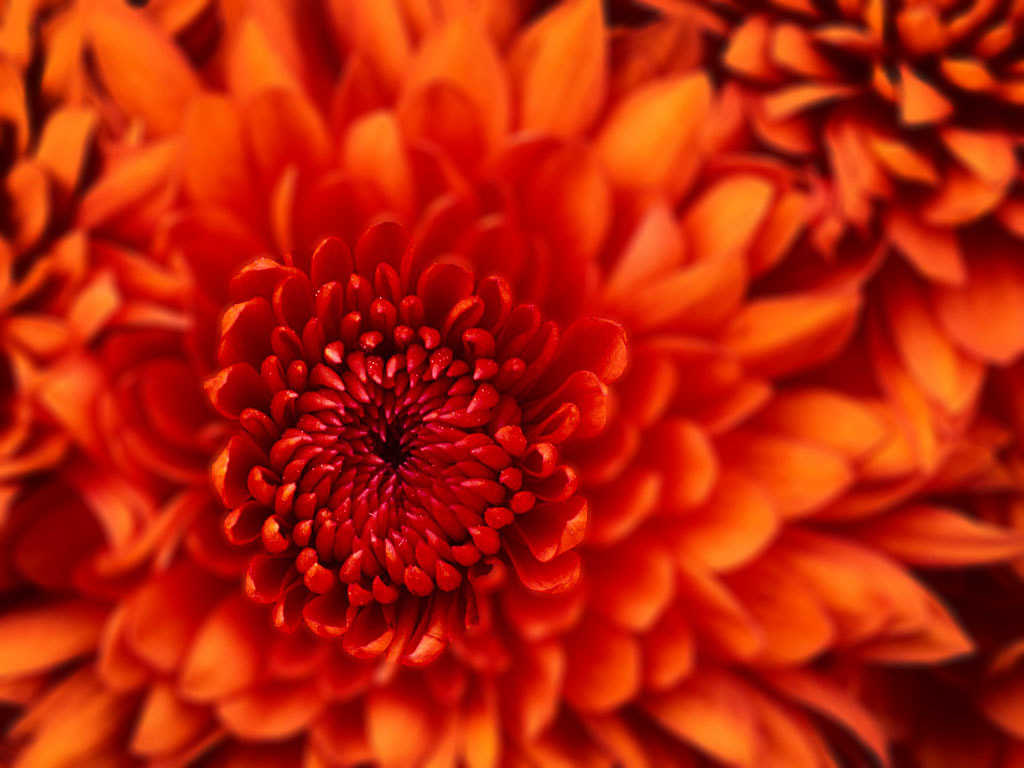
 AO2: Experimenting (25% of your marks) with links to artists (for marks in AO1 too!) This lesson, you are learning how to enhance your photos so they still look real but slightly abstract, enhancing what a macro setting does to your photographs. You will alter hue, saturation, brightness and contrast, as well as explore blur tools.  This lesson you are asked to do a minimum of 2 edited photographs. One in the style of each of your photographers. If you finish these, your challenge is then to combine the two styles independently - think how you might do this whilst you are working. Blossfeldt editOpen your favourite photo from last lesson that links most to Blossfeldt in photoshop. Start by making your picture black and white (go to image, adjustments, desaturate), then change the brightness and contrast (go to image, adjustments, brightness and contrast) of your picture so it is similar to the style of Blossfeldt. Next, crop your picture if you need to so there isn't too much negative space around your object (crop tool is in the tool bar). Finally, you might need to clean up your white background there are two ways that you could do this: 1. use the clone tool (on the tool bar) to copy sections from a clear area of background to replace areas of shadow/marks etc. (press alt on the good area then let go, then right click and colour in the area you want to replace. You will need to do this a few times). 2. use the dodge tool to lighten areas of the background (this is on the tool bar- but you might need to right click on the burn/sponge tool if you cant see it) draw over the areas that need lightening. Niemela editOpen a different photo in photoshop. Start by enhancing your colours so they are a little less realistic (go to image, adjustments, hue and saturation), then change the brightness and contrast (go to image, adjustments, brightness and contrast) of your picture so it is similar to the style of Niemela. Next, crop your picture if you need to so there isn't too much negative space around your object (crop tool is in the tool bar). Next, darken the edges of your picture 1. use the burn tool with a brush size 200+ (see pictures below) to darken around the edge of your picture to make it look like it is fading into the border (this is on the tool bar- but you might need to right click on the dodge/sponge tool if you cant see it) draw over the areas that need darkening. If you then feel your main focus needs to be , do the same as above but with the dodge tool.
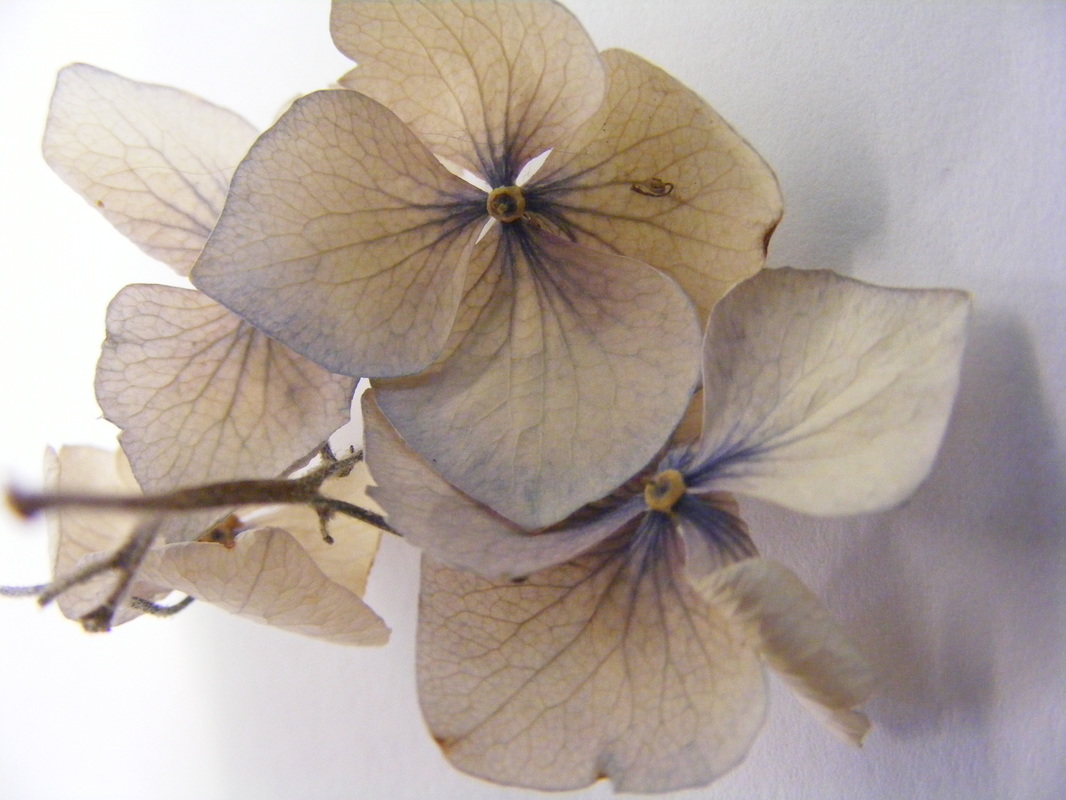
ADVANCED editing - either add this to your edit, OR create a second edit with a different photo using some of those techniques along with this one: Use the Quick selection tool to draw around the section of the image that you want to keep in focus. CTRL C to copy, then CTRL V to paste on a new layer. click the first layer (not the new one) so it goes blue - this means you are editing this layer but not the other. Add a LENS BLUR - go to filter, blur, lens blur, then alter the adjustments until you are happy. This will result in the selected section staying in focus, but the rest of the image being blurred and out of focus. Use burn etc to enhance further!
Two additional layers, middle layer blurred slightly, and bottom layer blurred more. Soft burn in corners.   Photography homework MACRO PHOTOSHOOT
– due Tuesday 6th after half term. Take 5 (OR MORE!) photos for each of the following headings: Flowers Plants Other nature Textures Outside of food item Inside of food (eg. Half an orange) Machinery/tools/related objects Car/bike (inside or outside) Other – your choice! Going for gold: Think about composition, contrasting colours, choice of background, lighting, links to current artists (Blossfeldt and Niemela). For Bonus points: Look at your next artist (Peter Keetman) and take some photos in his style.
0 Comments
Leave a Reply. |
AuthorThese lessons have been written by Miss Wilson. Archives
December 2018
Categories
All
|

 RSS Feed
