
With Ms Kkama: Aim to go through the prepare and present section then complete Task 1: Research.
Discussion: What are the possibilities for using a projector in photography? Think pair share.
Discussion: What are the possibilities for using a projector in photography? Think pair share.

Ways that you can use a projector to enhance your creativity in photography
- Using a projector can help to enhance your photography concept
- Add another layer of meaning to your work
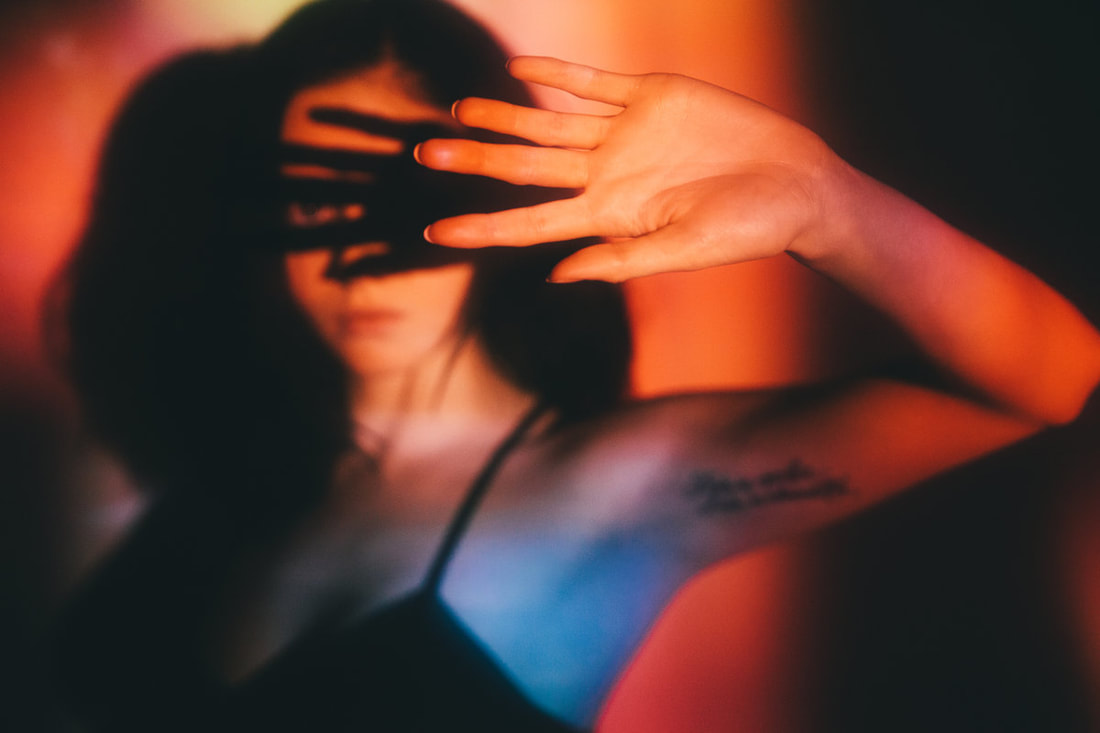
- Easy way to add colour or pattern to your subject
- Most commonly used with human models
IDEAS TO TRY
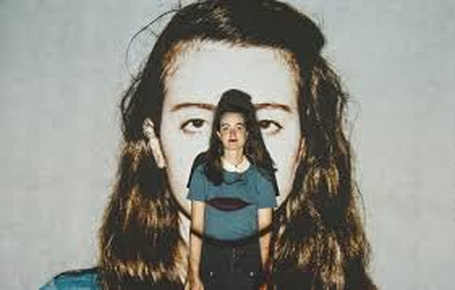
- Project a larger face over the model
- Project text onto the face - trial and error to get the correct size and placement
- Vary the lighting in the room - does a dark or light room work better?
- Try projecting a slideshow of images over the face and capturing it with slow shutter speed
- Could the projected slideshow be filmed to create a film or animation?
- Add another layer of meaning to your work
- Easy way to add colour or pattern to your subject
- Most commonly used with human models
IDEAS TO TRY
- Project a larger face over the model
- Project text onto the face - trial and error to get the correct size and placement
- Vary the lighting in the room - does a dark or light room work better?
- Try projecting a slideshow of images over the face and capturing it with slow shutter speed
- Could the projected slideshow be filmed to create a film or animation?
|

|
|

|
Further reading for more ideas!

|
http://jakehicksphotography.com/latest/2016/1/9/using-a-projector-in-your-photoshoot
https://petapixel.com/2018/01/22/use-projector-lighting-tool-creative-portraits/ Film techniques that could be applied: https://www.diyphotography.net/create-cool-lighting-effects-video-photos-using-projector/ |

The Brief: Playing with Scale
Explore ways of layering images of different sizes through use of a projector, aiming to create 2 outcomes for this task. For this task, focus on using portraits, although you may wish to incorporate elements of pattern, text or other objects.
You could try:
- layering a large portrait over the top of a person stood in front of the projector
- edit multiple images to layer when projecting
- consider your positioning of the projected images to secure a strong overall composition and potentially vary the way the image is viewed
You could try:
- layering a large portrait over the top of a person stood in front of the projector
- edit multiple images to layer when projecting
- consider your positioning of the projected images to secure a strong overall composition and potentially vary the way the image is viewed
Task 1: RESEARCH and PLAN!
carry out research into ideas for using a projector to respond to the brief.
On a powerpoint, collate a range of images that you could try next lesson in the practical. Make notes on things to consider - what might work/might not work? What could you try? The first practical will very much be an opportunity to try and learn, asking the question 'What would happen if we...?'
The more notes you have for this, the better. Print whatever you have by the end of the lesson and save it ready to upload.
Task 2: PHOTOSHOOT - Homework
Take 20+ photos in your frees OR outside of school, linking to what you planned previously.
Upload/bring in for next lesson.
Task 3: EDIT
Apply what you have learnt previously to create two edited photographs in response to the brief.

Task 4: UPLOAD AND REVIEW
Upload to your Experimental Photography page, with a clear title, along with your planning and photoshoot and review:
- What are the positives of this technique? What might it be good for in the future?
- What are the negatives or limitations to the technique?
- Explain the idea behind the way you have responded to the brief. How would you move forwards from here?
