
Sorry I'm not there for your lesson - it was unavoidable.
Please upload your light drawing photos to your area in 3 separate folders:
1. 'Learning light drawing'
2. 'Pattern linked to artists'
3. 'Homework light drawings'
Next, organise your going for gold page using the powerpoint below - find the slide which gives you the lay out and drop blocks in place in order.
Upload your photoshoots into SEPARATE galleries - each with the titles you used on your folders.
If you finish this in the lesson with time to spare, please begin to do the artist research as detailed in the tasks below.
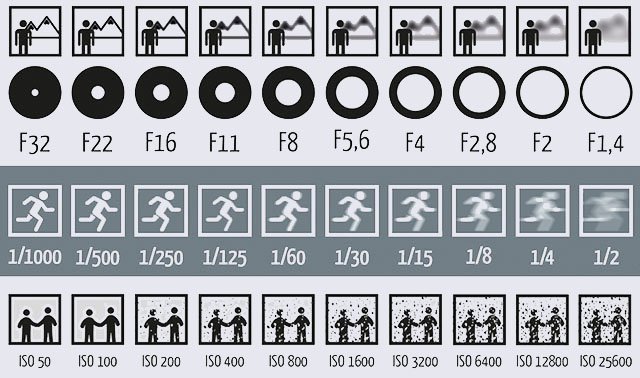
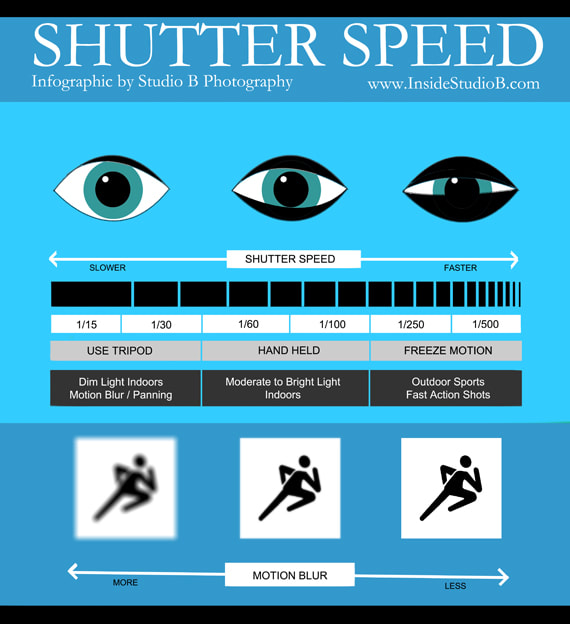
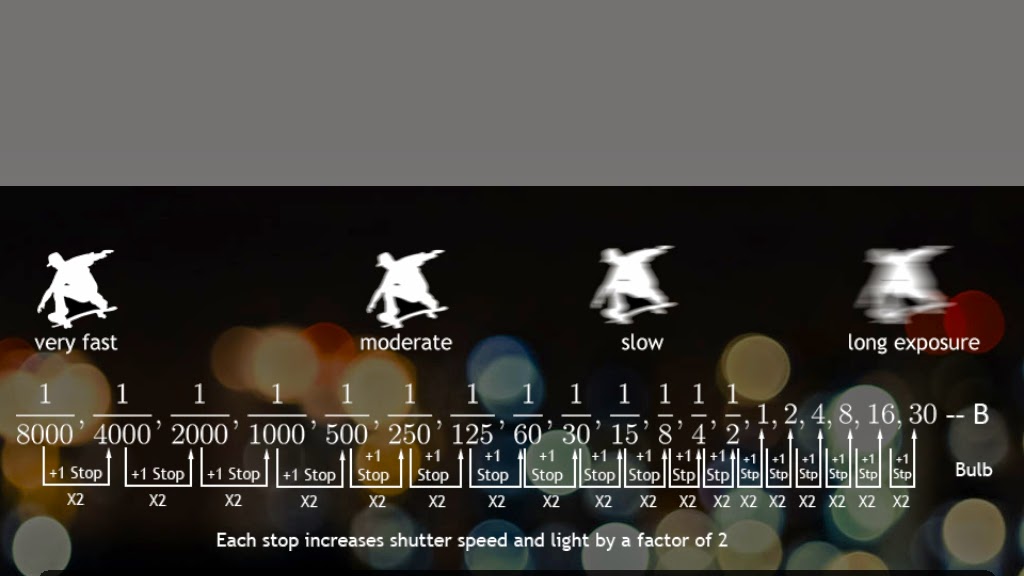
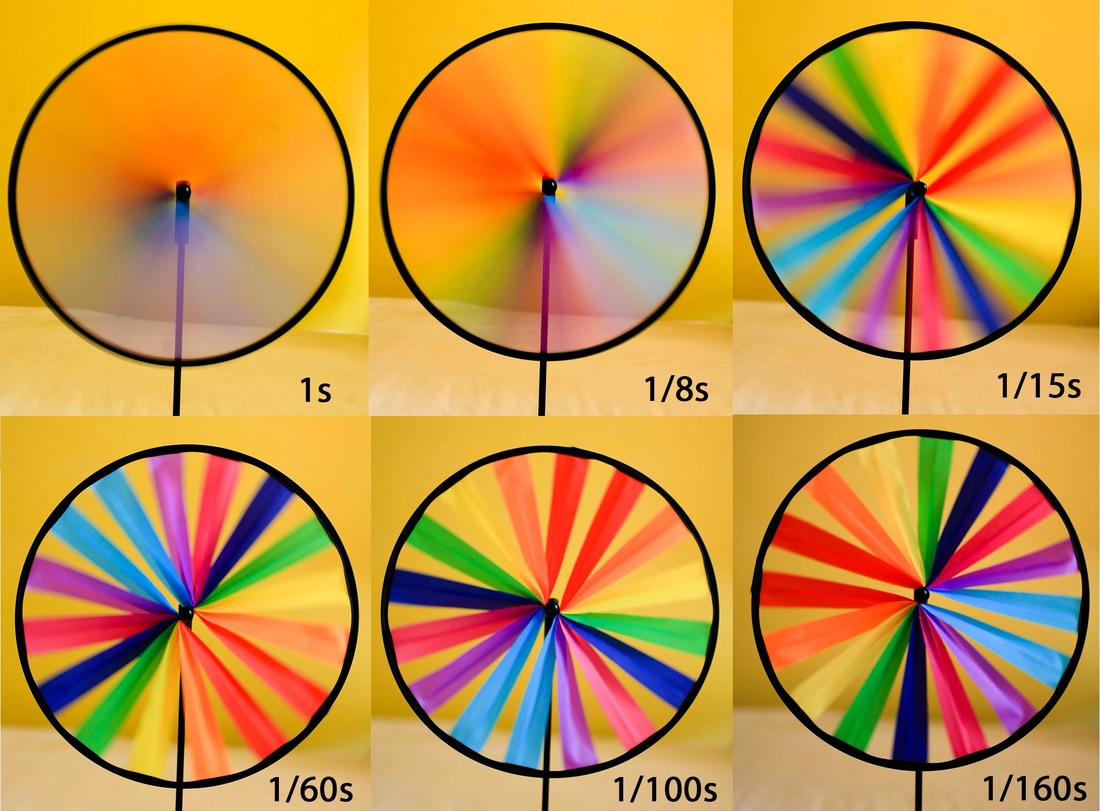
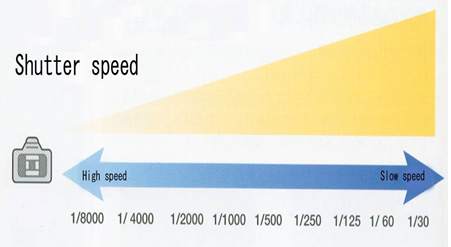
First lesson: What is shutter speed? How do we do light drawing?

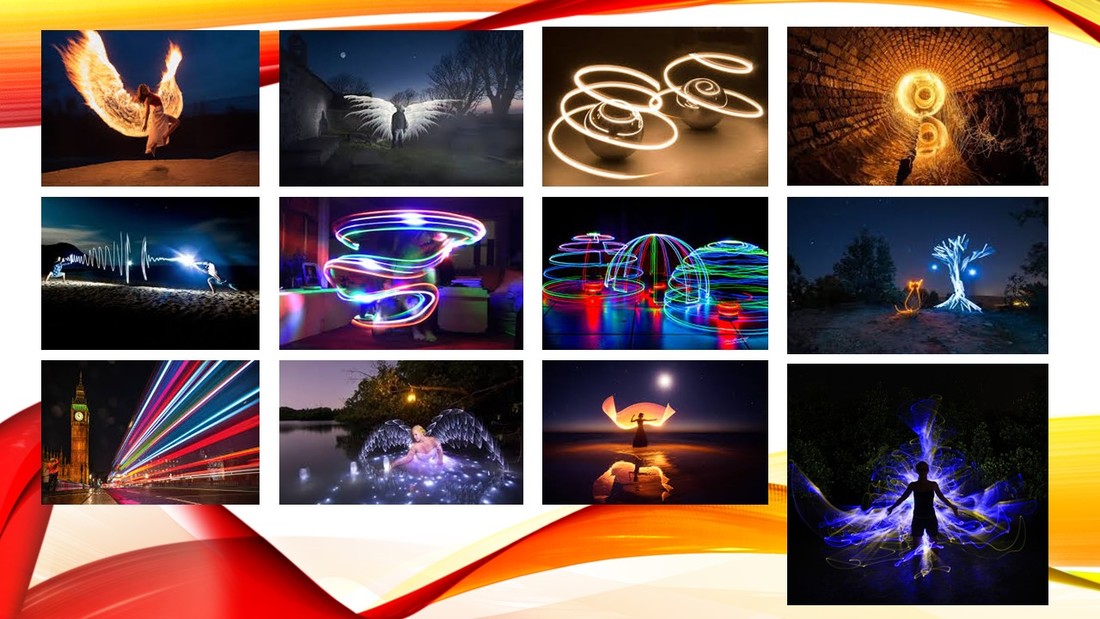
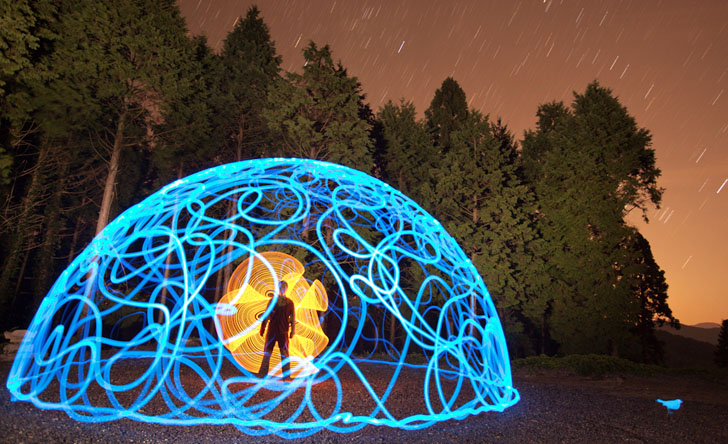
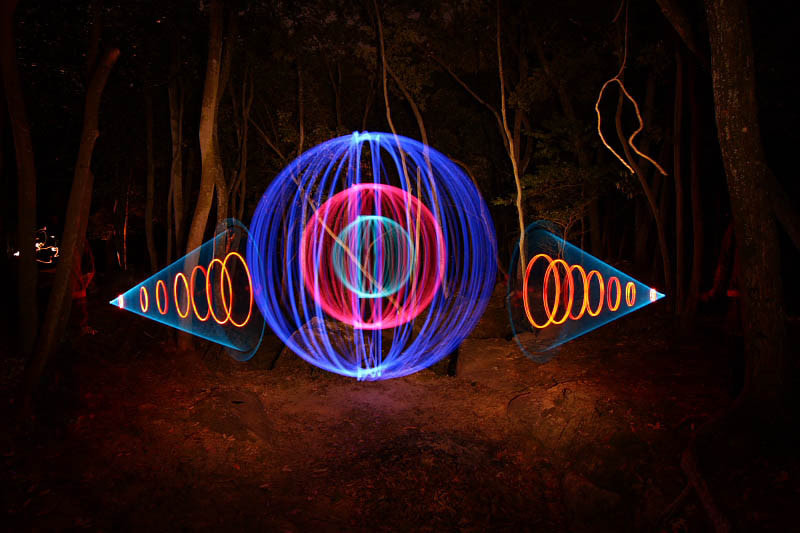
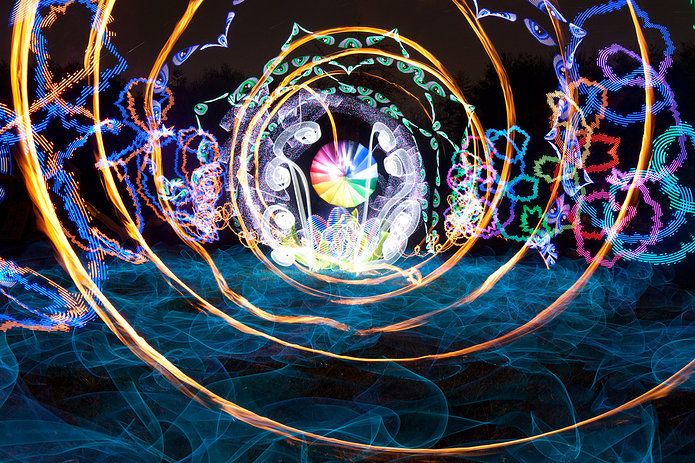
Discuss: How have these images been created??

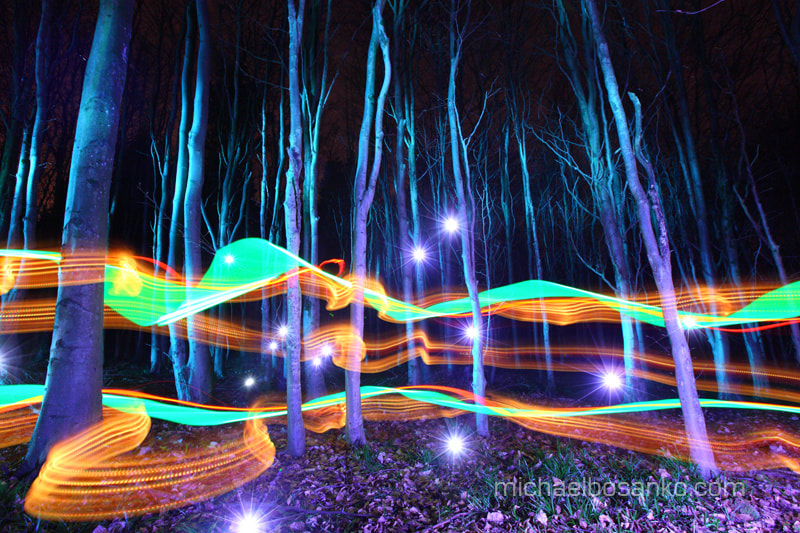


Today you will learn the basics of shutter speed and how to do light drawing. You need a good understanding of this ready for your practical next lesson!


|
|

Start a new page on your website called 'Gold project'.
Add a title ' Gold Project - Light Painting'
Next add a title: Initial research then two full size image blocks below.
Your task this lesson is to create 2 slides on a powerpoint, one should be a collage of creative light painting photographs (fill the page with 8+!)
EG:
The other slide should explain how to do light painting, including the information below:
- What is light painting and how does it work?
- What is shutter speed and how do you use it when light painting?
- What top tips can you find online to help explain the technique?
Light painting is...
The effect you get from light painting is...
It works by...
To take the photo, you have to alter the shutter speed. This is where...
When light painting, you have to adjust your shutter speed to...
From my research I found the following tips for success:
|
|
Save your finished slides as JPEGs then upload to the two image blocks on your new page.

Easy homework - watch these 4 videos to help you next lesson. ps. You can watch them on your phone!
You need your camera next lesson too.
You need your camera next lesson too.
|
|
|
First photoshoot in the studio: Trial and Error!
At the end of the lesson, upload all photos to a gallery.
Write a review on why trial and error is so important with this technique.
GOLD: Try to use these key words.
Shutter speed Light drawing Movement Blur Exposure timing Tripod Experimental
Write a review on why trial and error is so important with this technique.
GOLD: Try to use these key words.
Shutter speed Light drawing Movement Blur Exposure timing Tripod Experimental
Second photoshoot lesson in the theatre: Creating patterns in the style of our photographers

Doodle starter:
On paper, draw a range of patterns that you could try with your light drawings...

Overview of the day
P1 - finish off research, plan photoshoot. Print off any resources that you want to refer to later - eg. linking to your artists.
P2 - Studio photoshoot - experimenting with different light sources and techniques.
P3&4 - Editing in IT4
P5 - Theatre photoshoot - producing outcomes for this mini project
P6 - Further editing in IT4
This day alone will not be enough to get you the top grades, but if you put some time in at home to making this project ace then you will do really well!

|
|
Page layout and examples
after your photoshoot, add a title 'Editing photographs to enhance them' then edit 2 or more of your initial photos.
How to develop - step by step in order...


Linking to the work of the artist:
By using symmetry and repeat pattern, similar shapes.
Jeremy Jackson - layered images, big patterns around the edge, smaller towards the centre

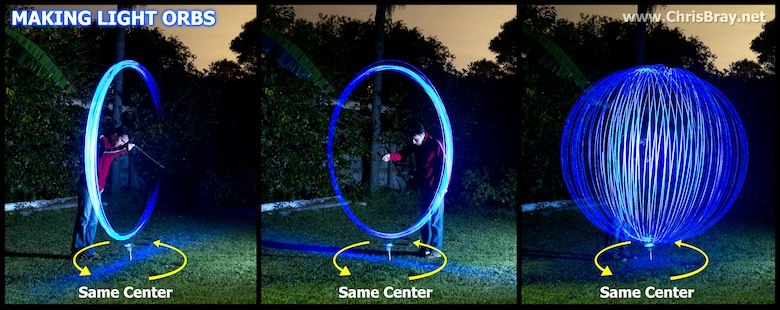
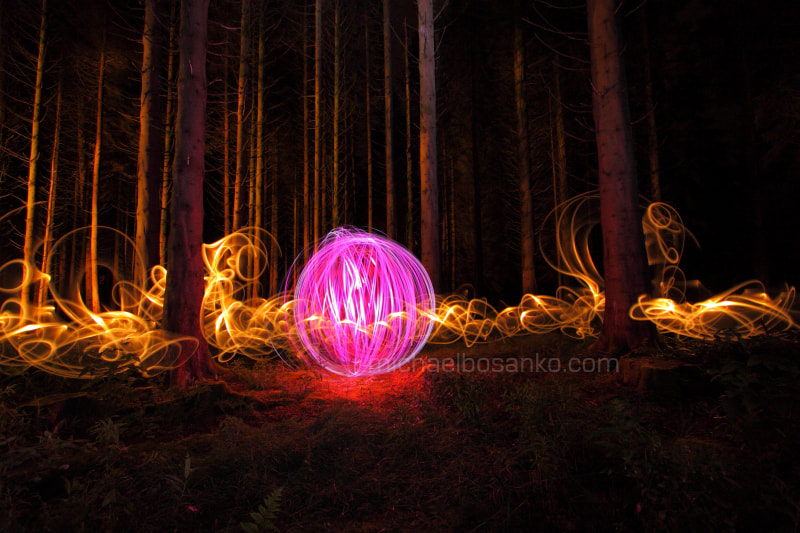
Michael Bosanko - makes use of landscape/surroundings, often a central ball with lots of other swirls around it
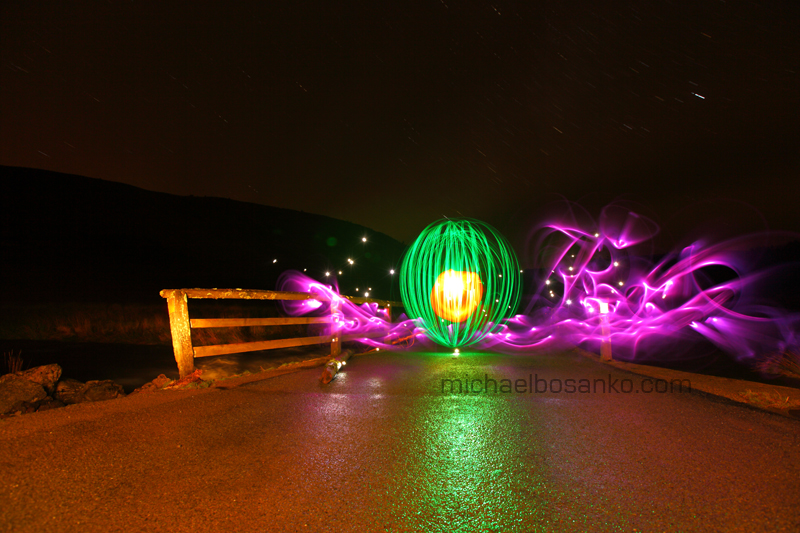
https://www.youtube.com/watch?v=Z_ZHkPTh6BI
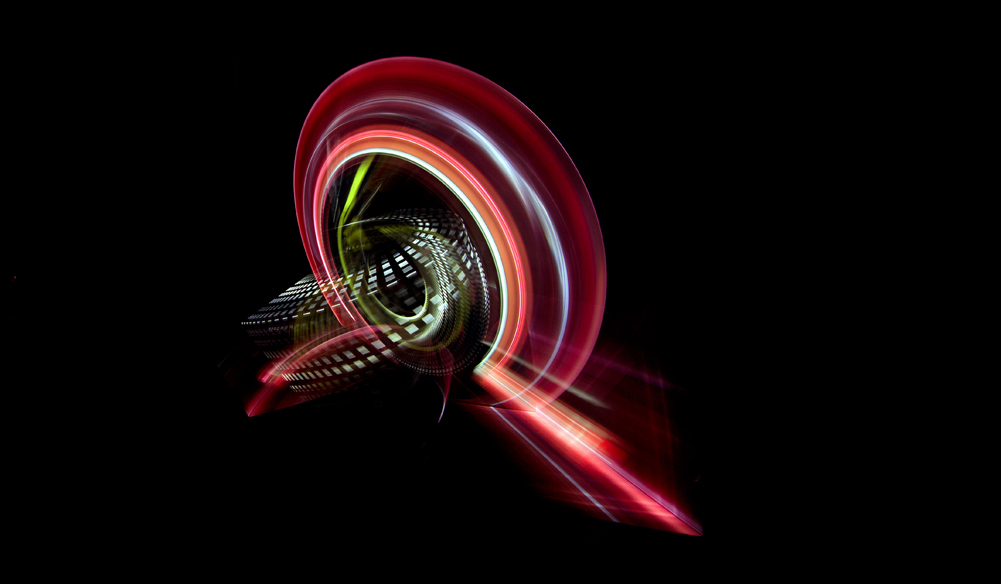
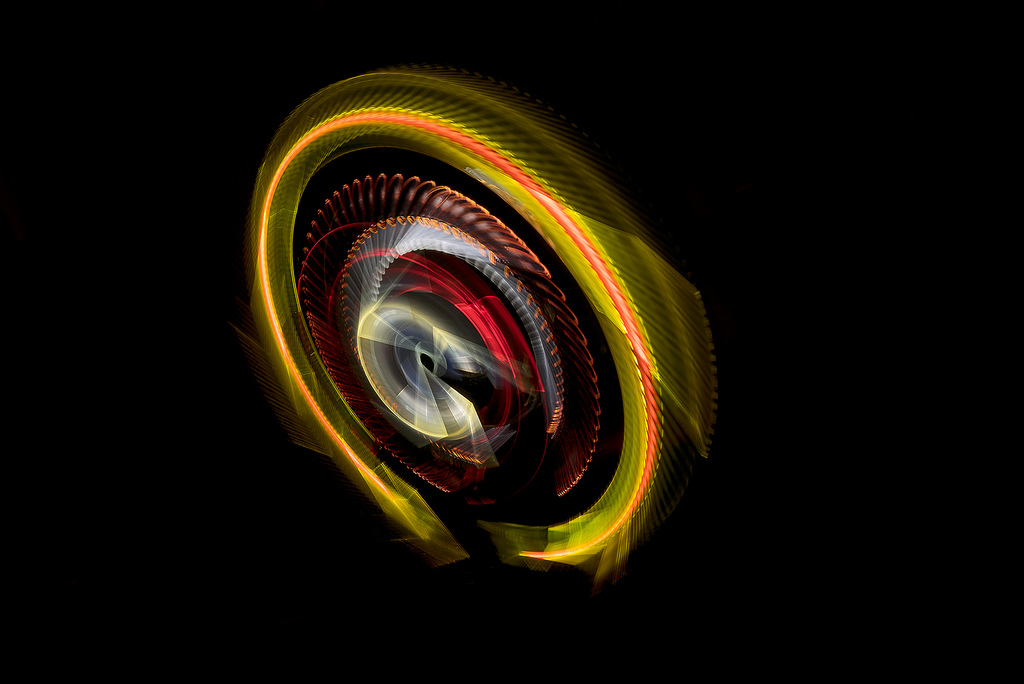
Jan Leonardo - Bold shapes created on black backgrounds - layered pieces look almost solid! Creative use of different light sources.

The rest of this project is homework. The only time you may have in lessons is if you finish all of your coursework early - don't rely on this time though, this could just be some bonus time to add to it instead!
To develop and finish the project from here, you need to:
1. write up your second artist paragraph and photos then upload.
2. edit a range of your photos in the style of Trevor Williams and your second artist SEPARATELY
3. Do a new photoshoot at home - maybe try outside at night??
4. Upload and review new photos.
5. Further edits to combine the two artists styles.
6. New photoshoot at home
7. Further experiments
8. 3+ outcomes
9. Evaluation of the project
Make sure you have suitable titles above each section/experiment - explain to the examiner what you have learnt, how they link to photographers and areas for improvement etc.
