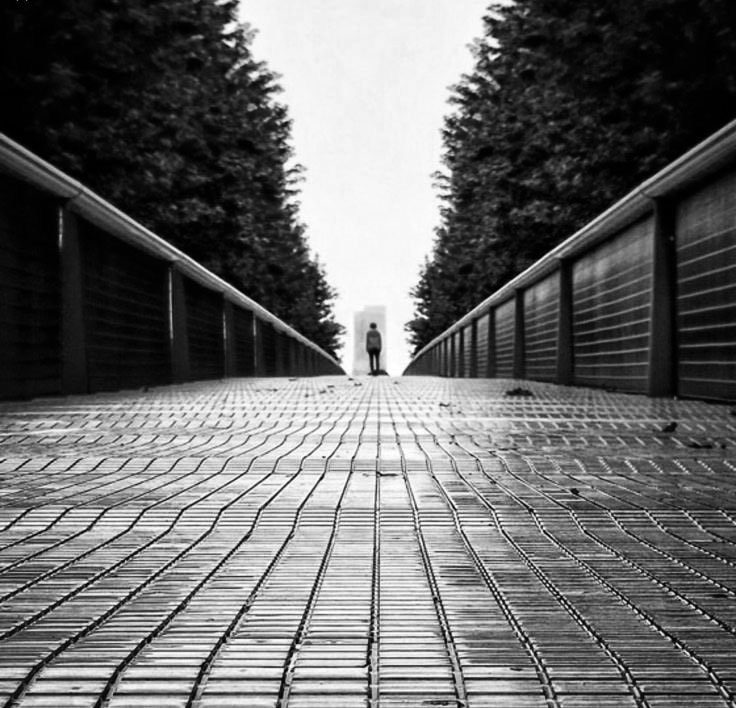
 Log into your website and upload your photos. If your photos are not yet on the area, use a card reader and copy them into a new folder on your area. - Add a title under everything else: 'Composition photos' - Below the title, add a text box. - Below this add a gallery block. Click it and add ALL of your photos from last lesson. if you used a school camera they are on the shared area in photography, year 10. ONLY INCLUDE THE PHOTOS THAT YOU TOOK. In the text box, copy and paste this sentence starters into the text box then complete them in as much detail as you can. The aim of this photoshoot was to... Something I found that worked well was... because... Composition is important in photography because... From here, when editing my photos I could enhance them by...  Today you are learning how to edit a photo effectively using photoshop, and how to present your edits.  Open photoshop. Select a photo that represents leading lines and open it in photoshop. Make this photo black and white by going to image, adjustments, desaturate. Then edit the contrast by changing brightness and contrast. Save the photo as a Jpeg - first edit. Under your gallery, put a title 'Editing Leading Lines' then two image boxes below it. Upload your edited photo next to the original then explain what you did using key words. Example: Editing Leading Lines
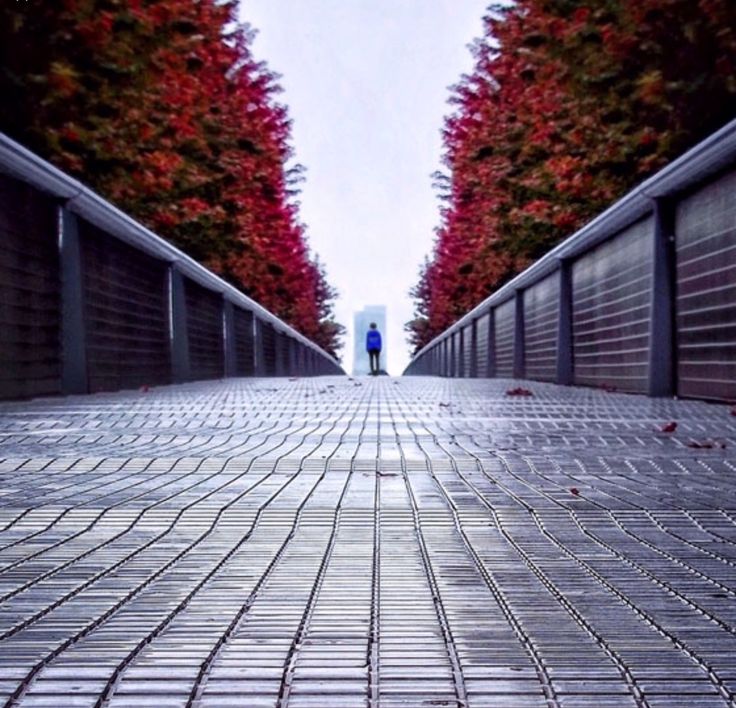
I have edited this image by desaturating the colour to make it black and white. I have then increased the contrast for bolder leading lines in the photo. Repeat this for different images: Rule of thirds - Increase saturation and change the hue - go to image, adjustments, hue and saturation. See what happens! Symmetry - Add a filter to the photo. Go to filter, filter gallery, and choose one that you think makes the photo look effective. Negative space - Go to image, adjustments, curves, then drag the line around to change the brightness and contrast. Save when you think it looks good then upload. Balance - Invert to swap the colours completely. Go to image, adjustments, invert. Then save and upload. Viewpoint - Change the Vibrance of your image - go to image, adjustments, vibrance. Drag the bars and save and upload when you are happy. For each image, ensure that you are including the original image next to the edit, and that you have a title and explanation for each one.
0 Comments
Leave a Reply. |
AuthorThese lessons have been written by Miss Wilson. Archives
December 2018
Categories
All
|
 RSS Feed
