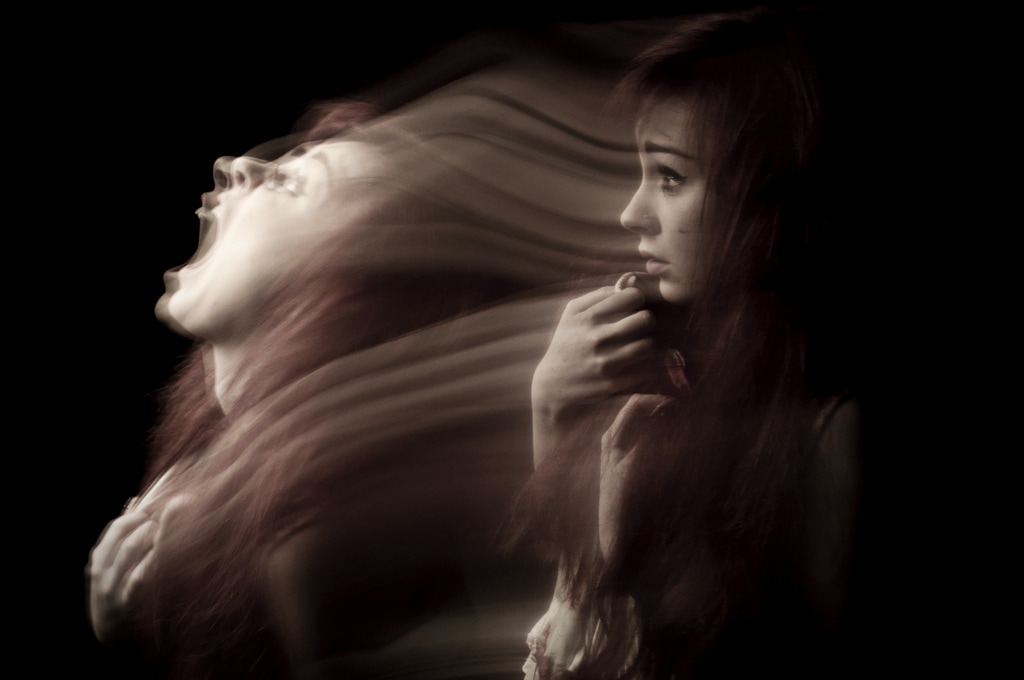
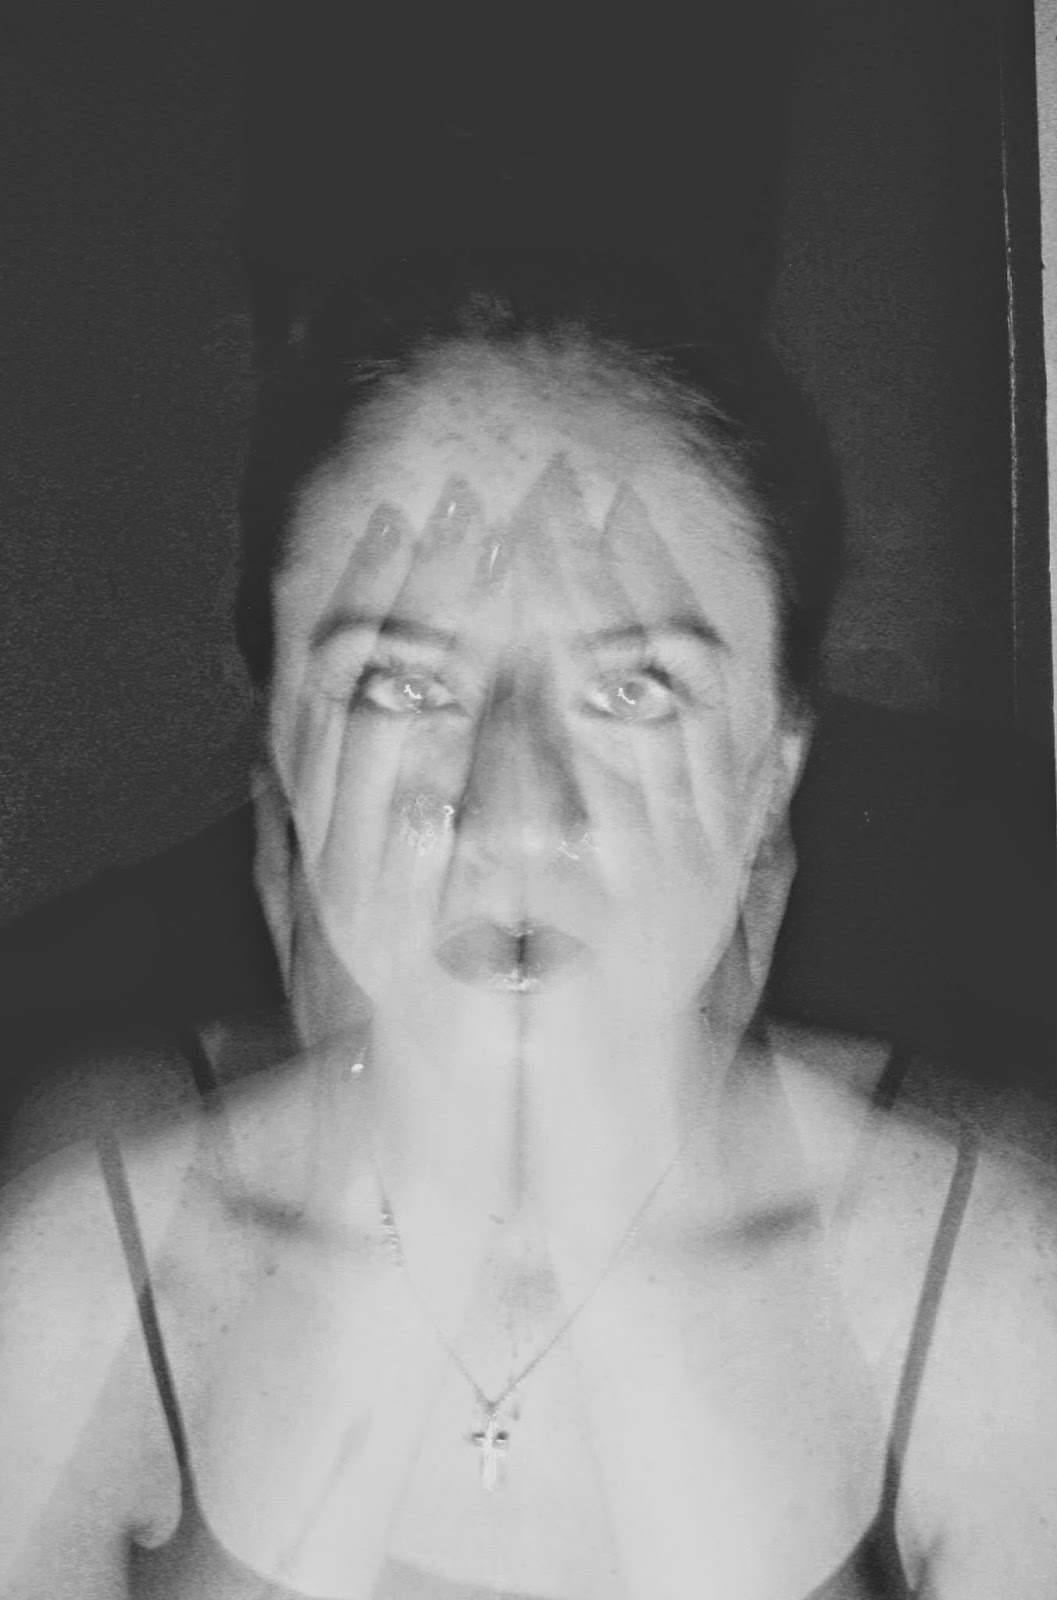
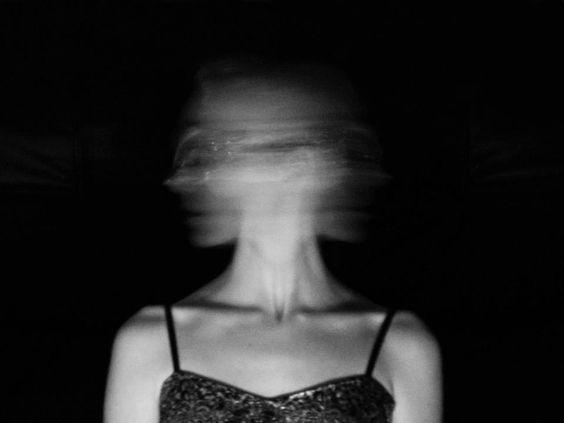
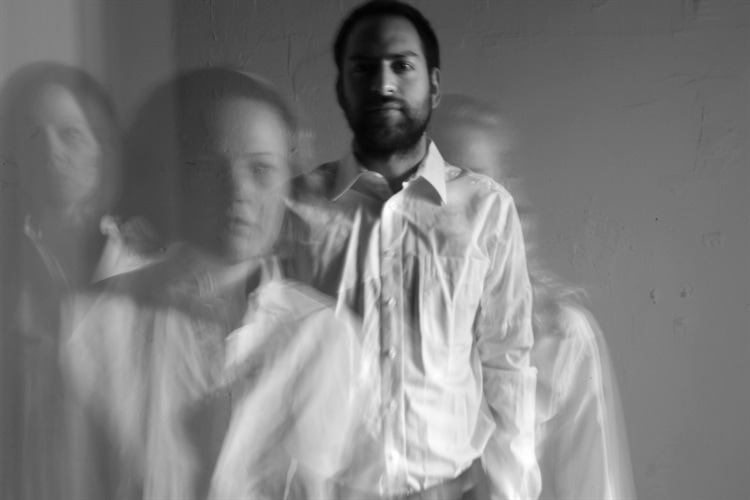
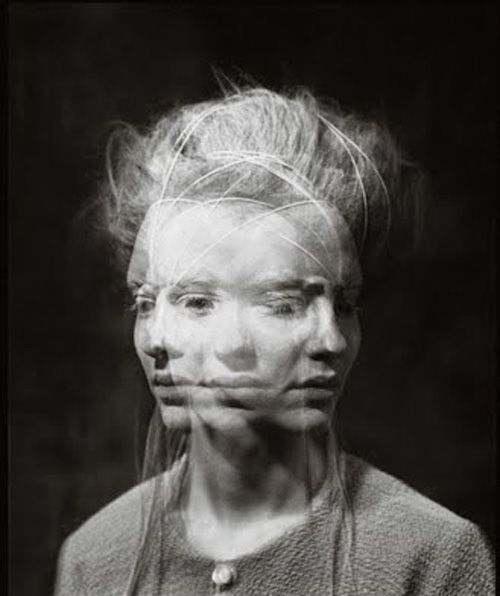
 How do you think these photographs have been created? Hint: There is no photo editing involved!
 You are learning how to create a slow shutter speed portrait through this task. When you get to the practical, it will be important that you learn how to review on your photos and make changes in order to improve through trial and error.  When the shutter stays open for longer, your photo will blur. There are many creative things that you can do with this when photographing a person! Here are just a few... - walk towards the camera - move your head slowly from left to right - stay still but have someone walk around/behind/infront of you - flick your hair if it is long - change position - move your arms around - stay still for a moment then do a quick movement  Download the worksheet below. Fill it in with pictures off the internet that you would like to try in the photo shoot next lesson, and next to it write how it has been created. If you cant find out how, then you should write down how you think they were created, and see if you can work it out when taking photos! Save your worksheet and upload it to your website under the title 'Slow Shutter Speed Portrait'.
 1. Make sure the worksheet is completed and uploaded to your website. 2. Bring in your camera on Thursday. GOING FOR GOLD: If your camera has shutter speed settings (read the book to find out!), practice further with your camera for slow shutter speed portraits. Any extra photos that you take, add them to your website for extra marks! TIP: Download a 'strobe light' or coloured torch app for creative alternatives! ALSO: If you cant work the shutter speed settings on your camera, please come and see me BEFORE the lesson as I will not be able to help you all effectively in the lesson!  Upload ONLY YOUR GOOD photos into a gallery/ contact sheet. Hold down CTRL and click the photos that you want to upload. Put the title 'Slow Shutter Speed Portrait' above your work. Write a few sentences to explain how to you took the photos, things you tried and the importance of resilience (not giving up!) and trial and error. Sentence starters: To take these photos I... During the photoshoot I found that I had to... Trial and error was an important part of this task because... I found that to create the most effective photos I had to... Something else I could try might be...  When choosing which photos to edit for this task, I would like you to choose 3 photos that show different techniques of the slow shutter portrait. Edit your photos independently in order to creatively enhance them. This might include: - changing the brightness and contrast - changing the hue and saturation - altering the background - blurring parts of the image - dodge and burn to lighten/darken - layering images and altering opacity When you are finished, upload each picture in single image blocks. Put 2 of them side by side, and your favourite/most successful image full size below them to show off your skills clearly. Underneath, add a couple of sentences to answer this one question: - How has your editing enhanced your photograph?   Due to time, we will not be able to do Fast Shutter speed portraits in lessons. For extra marks, complete the following lesson at home/lunch times, and add to your website. This is due Thursday the 23rd of March (you have over a week to complete it).
Click the button below for the lesson.
0 Comments
Leave a Reply. |
AuthorThese lessons have been written by Miss Wilson. Archives
December 2018
Categories
All
|
||||
 RSS Feed
