  In pairs/threes, take it in turns to put your hands into different positions that might be interesting to photograph! (no photos yet though!) Next, take it further, by joining hands! What positions can you get your hands into when there are four or six instead of just two? Photographing hands
 This lesson you are continuing to build on learning how to research and plan a response to an artist. This will give you marks for AO1 (using artists to inspire your ideas). 4,5,6: To do this well, you should aim to: - Comment on his style, techniques and the meaning of his work - Include pictures of his work that inspire you - Use key words when talking about his photography - Give your opinion clearly - Link to your own work and explain how he will inspire you. 7,8,9: Going for gold: For the higher marks, key words are essential and you should be starting to analyse the artist's work rather than describe. Ask yourself - why does he do things? What effect does it have on the picture? How might it change if it was done differently. Also, make sure you fully explain your opinion, perhaps justifying it with comments on the artist's use of the formal elements. 
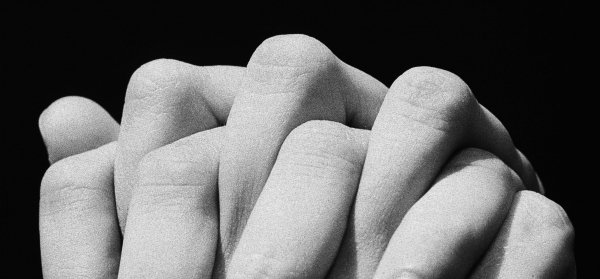
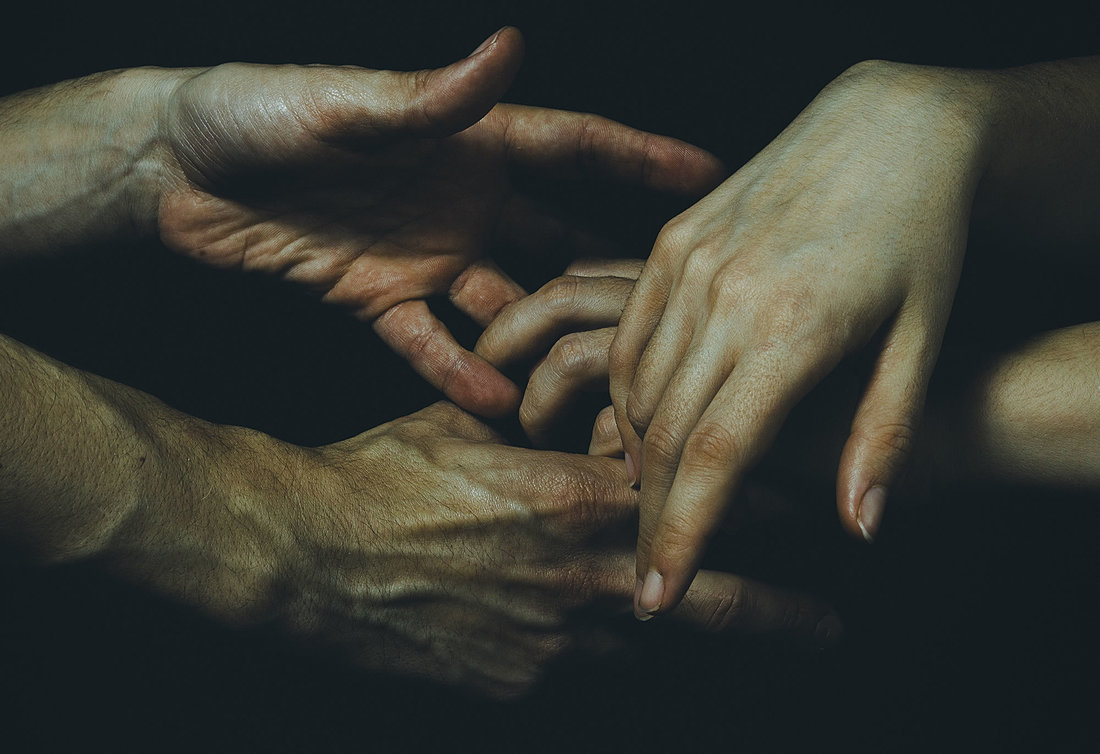
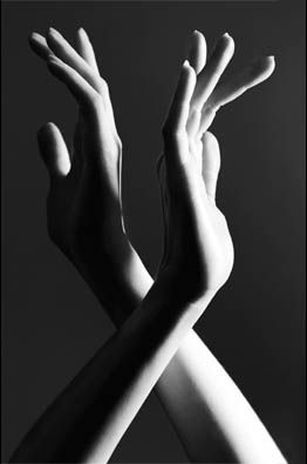
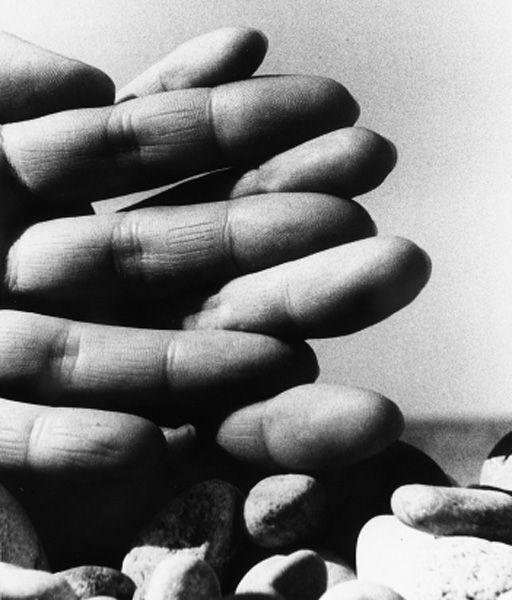
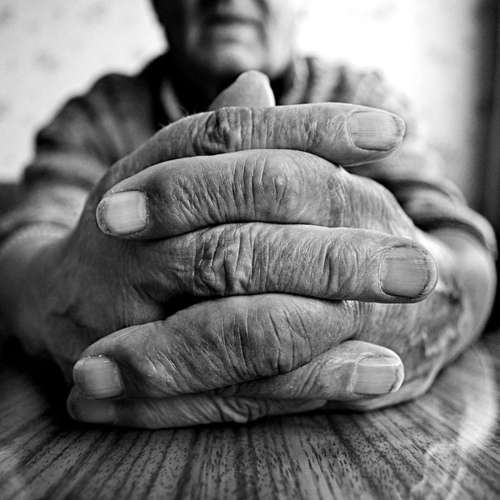
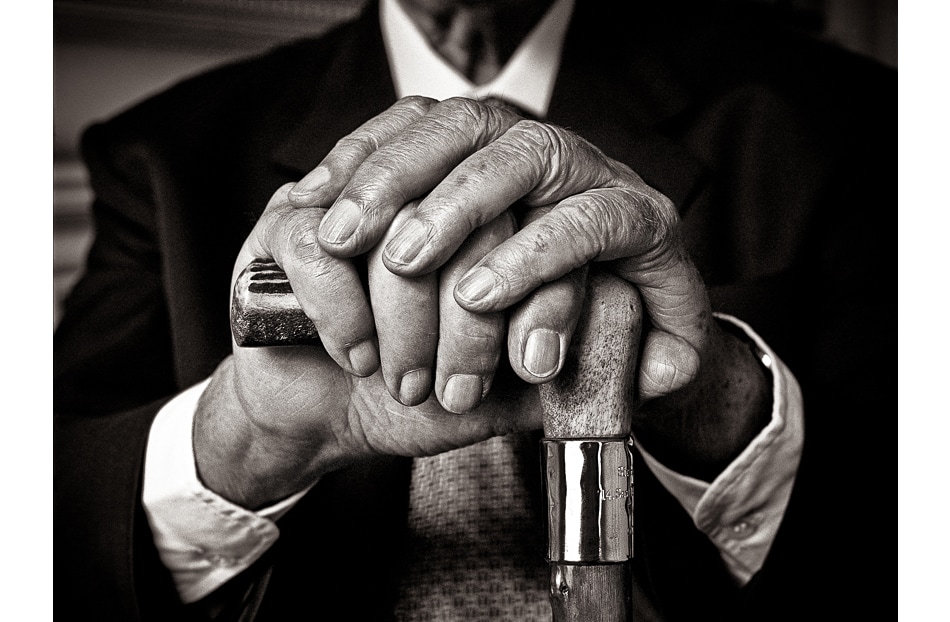
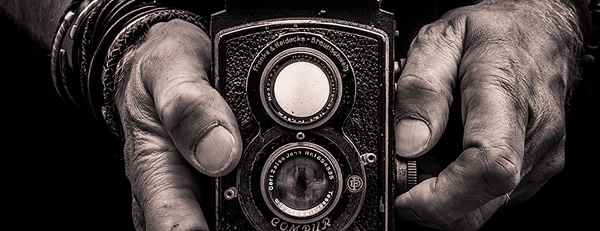
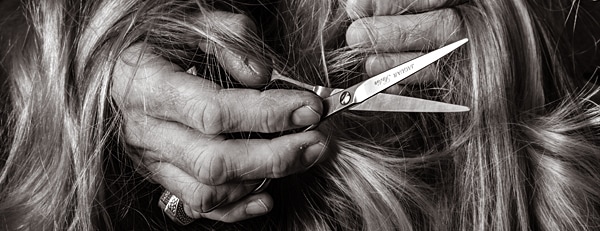
 On your Human Figure page, add the title 'Body parts: Hands'. It is a good idea to type up your paragraph on word then copy and paste into weebly so that you can check spellings etc! Carry out research into the work of Tim Booth and his project 'A Show of Hands'. Present the following on your web page: - 3 of his hand photographs (choose images that will inspire you later). - Information about his photography technique, choice of colours, lighting, models, poses, facial expressions etc. (in your own words) - Your own comment about his style - what do you like about it? How could it inspire your own photo shoot? Sentence Starters Tim Booth photographs hands by... Something interesting about them is... After researching, I have found that he creates his photos by... I think his work is about... Something I like about his photos is... They could inspire my own photos by... Going for gold reminder: For the higher marks, key words are essential and you should be starting to analyse the artist's work rather than describe. Ask yourself - why does he do things? What effect does it have on the picture? How might it change if it was done differently. Also, make sure you fully explain your opinion, perhaps justifying it with comments on the artist's use of the formal elements.  Get someone else to read through your paragraph before you upload it to your page. Look for spelling mistakes or typos, and check they have included everything without babbling! Upload your PowerPoint to your Human Figure page then move on to the review.  Following on from your research, add a title under your previous task with the title 'Hand Photo-shoot Plan' then a text box underneath. Copy and paste the following text, and list as much as you can next to each heading in order to plan for your photoshoot next lesson. - The different ways I will photograph hands: - How I will photograph multiple hands: - Lighting types I could try: - Backgrounds I could place the hands on: - Other things I could include in the photo with the hands:  Carry out some further research into hand photography. On either a powerpoint or directly onto your website, add a title of 'Other inspiring images' and add 6 hand photos that you like. Try some of the following search terms: - Hand photography - Intertwined hands photography - creative hands - moving hands photography - multiple/layered hands On your inspiring images page, add key words to describe the photographs and the techniques you can see in them. Use some of the words below - (also look at your key words page!) Going for Gold: Use key words! lighting, shadows, contrasting, bold, soft Composition, rule of thirds, symmetrical, balanced, negative space Background, foreground, perspective Focus, focal point, blur, subject, layered, intertwined, movement, position, angle Creative, artistic, symbolic, moving, emotive Hands: nails, knuckles, creases, wrinkles, muscles, veins, fingerprints  Bring in your camera for the photoshoot next lesson.
Also - if you want to feature any 'props' in your photos, bring them with you! eg. Jewellery, objects, money, a flower (this might be inspired by your research!) etc.
1 Comment
connor
2/27/2024 04:20:23 am
very good Leave a Reply. |
AuthorThese lessons have been written by Miss Wilson. Archives
December 2018
Categories
All
|
 RSS Feed
